filmov
tv
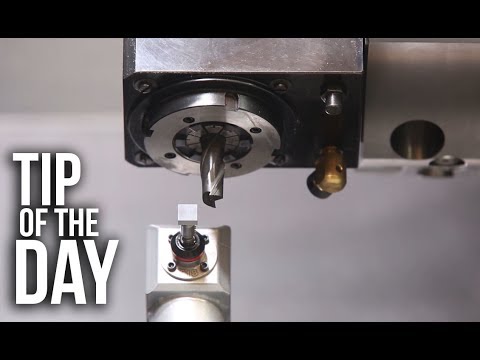
Set Your Lathe Offsets Manually - Haas Automation Tip of the Day

Показать описание
Mark is getting back to basics in this TOD. Setting your Tool and Work Offsets on a Lathe can sometimes be a confusing proposition for machinists who are just starting out. So Mark is explaining the process from beginning to end and focusing on how to do it when you aren't using the ATP (Automatic Tool Presetter) arm, but doing the job using the more traditional manual method.
Here are links to the various videos that Mark mentions along the way:
How to Indicate a Hole Video
Lathe G53 Home Video
Live-Tool Lathe Setup
Lathe Tool Probe
If you enjoyed this video, please hit the like button and share it with a friend who’ll find it helpful . . . and thanks!
Follow Haas:
Here are links to the various videos that Mark mentions along the way:
How to Indicate a Hole Video
Lathe G53 Home Video
Live-Tool Lathe Setup
Lathe Tool Probe
If you enjoyed this video, please hit the like button and share it with a friend who’ll find it helpful . . . and thanks!
Follow Haas:
 0:22:33
Set Your Lathe Offsets Manually - Haas Automation Tip of the Day
 0:11:36
How to set Z, G54, and X
 0:08:24
Tool Offsets and Manual Tool Setters - Haas Tip of the Day
 0:04:02
TITAN FUNDAMENTALS: Edge Finding Work Offsets Manually
 0:17:11
Lathe Tool Offsets Tutorial
 0:06:17
Set Tool Length Offsets Quickly – The Automatic Tool Presetter for your Haas CNC Lathe
 0:12:01
How to: Set Tool Length and Work Offsets – Haas Automation Tip of the Day
 0:11:14
Manually Setting Up Your G54 X & Y Work Offsets with an Edge Finder
 0:11:43
Doosan lynx lathe setup
 0:04:55
TITAN FUNDAMENTALS: Setting Tool Height Offsets Manually
 0:05:54
SETTING THE WORK OFFSET ON A HAAS LATHE
 0:02:44
HOW TO SET A WORK OFFSET ON A CNC LATHE
 0:13:19
Set Up Live Tools Properly on Your Haas Lathe – Haas Automation Tip of the Day
 0:10:23
How to: Set a work offset with an edge finder and indicator – Haas Automation Tip of the Day
 0:06:38
ADVANCED FIXTURING | Set Z Fixture Offsets to Numerous Heights… Set All Tools to Single Height
 0:10:37
Setting up Tool Length Offsets with a Z-Axis Touch-Off Gauge
 0:04:51
Setting Lathe Tool Offsets
 0:10:54
Tool Offsets Explained – Haas Automation Tip of the Day
 0:09:41
Set Tools Quickly with the Haas Automatic Tool Presetter - Haas Automation, Inc.
 0:23:31
Lathe Tool and Work Offsets
 0:01:09
Rough - Finish - Thread Using HaasTooling.com Inserts. Haas Automation, Inc.
 0:09:51
Hass sl20 lathe setup part 1
 0:12:17
Use G14 to Program Your Lathe Sub-Spindle The Easy Way - Haas Tip of the Day
 0:26:45
DRO BASICS? & Lathe Tool Offsets!! (SINO DRO)
Комментарии