filmov
tv
10 Tips for AWESOME 3D Printed Assemblies !

Показать описание
TIMESTAMPS:
0:00 Intro
0:50 Start with graph paper
1:31 The "three prototype" rule
3:30 Add clearance (at the end)
5:12 Threaded inserts are awesome
7:29 Wires exist and they break easily
9:43 If it's hidden, keep it rough
10:38 Consider your material choice
12:56 Consider the assembly process
13:43 Screws are not locating features
15:27 Hot glue, our naughty little secret :P
 0:02:44
5 must-know 3D printing tips & tricks. (stronger and better looking prints)
 0:04:35
10 Secret 3D Printing Tricks Only Experts Know...
 0:17:27
The Ultimate Guide to Perfect 3D Prints
 0:05:03
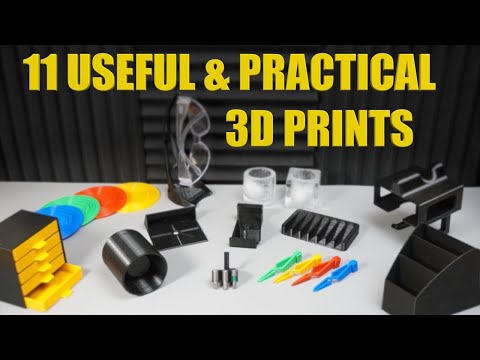
11 USEFUL Things to 3D Print First - Practical Prints 2023
 0:07:26
5 3D Printing Tips the ELITES don't want you to know... #3DP101
 0:01:00
5 Practical 3D Printing Tips
 0:12:40
3D Printing Tips & Tricks I Wish I Knew Sooner
 0:30:49
3D PRINTING 101: The ULTIMATE Beginner’s Guide
 0:00:16
'Create a 3D Cube Like a Pro! Fast Coding Tutorial for Beginners'
 0:09:49
Top 10 3D Printable Tools Every Maker Should, Like, Make
 0:00:15
3D painting Incredible 3D pencil drawings 😱
 0:00:41
How to connect 3D Printed Parts!
 0:00:58
First Tests for any 3D Printer ⛵
 0:24:02
50+ Useful 3D Prints You Never Knew You Could Print
 0:00:18
What Can You REALLY Make With a 3D Printer? #Shorts
 0:00:28
Creality CR-30: The INFINITE 3D printer!
 0:00:44
3D Printed Desk Art - Coffee Floating Cup
 0:16:25
My BEST TIPS for AWESOME 3D Prints! | Arranging Various Props in Ultimaker Cura
 0:11:06
3D Print 50% Faster with These Tips! (Slicer Settings)
 0:04:14
Stop 3d printing so slow!!! 🤯 (how to print faster)
 0:00:10
$100 3D Printer - The Ender 3
 0:00:39
I make $10,000 per year selling 3d printed parts
 0:15:38
12 more 3D printed tools you need for your workshop
 0:18:43
10 3D-Prints I Use On A Daily Basis - Bambu Lab A1
Комментарии