filmov
tv
How To Fix ANY Pipe Leak! 2 BEST Ways For DIY Plumbing!

Показать описание
ITEMS I USED ON THIS VIDEO:
PRESS FITTINGS
—————————
PIPE TOOLS
—————————
PIPE SOLDER TOOLS
—————————
☕️ Buy me a coffee 🙏🏽! This will greatly help support this channel and will allow me to help more People by creating more helpful and useful How To, DIY & Product Review videos! :
On today’s episode I will be showing you How To Fix ANY Pipe Leak! 2 BEST Ways For DIY Plumbing!
FOR BUSINESS INQUIRES SEND TO:
FIX THIS HOUSE
P.O. BOX 2511
BREMERTON, WA 98310
UNITED STATES
FOR BUSINESS INQUIRES EMAIL ME AT:
DO YOU HAVE QUESTIONS ON YOUR HOME REPAIR OR DIY PROJECT? GET TIPS, ADVICE AND ANSWERS! BECOME A FIX THIS HOUSE MEMBER!
DISCLAIMER:
Videos produced by Fix This House are provided for informational, educational and entertainment purposes only. Please use SAFETY precautions when following the tutorials on these videos. Viewers doing projects at their own home are doing it at their own risk and Fix This House cannot be held liable if they cause damage to their homes or injury. Fix This House cannot claim liability with all applicable laws, rules, codes and regulations for a project. Always stay informed of your local building codes! Happy and SAFE renovating!
DISCLAIMER: This video contains affiliate links, which means that if you click on one of the product links, I’ll receive a small commission.
#pipe #plumbing #diy
 0:09:30
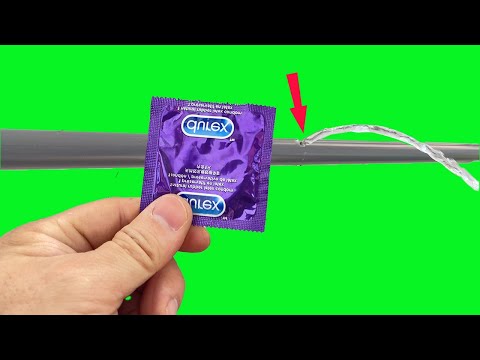
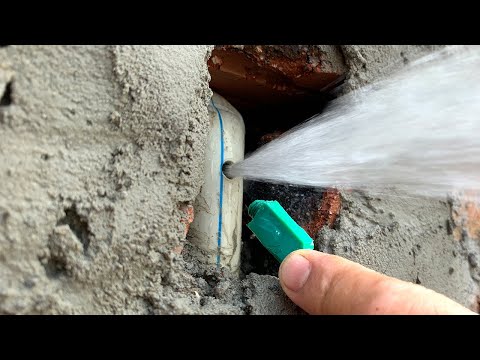
How To Fix ANY Pipe Leak! 2 BEST Ways For DIY Plumbing!
 0:10:31
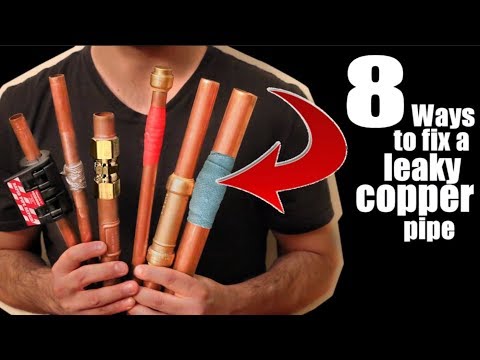
The ULTIMATE Leaky Copper Pipe Fix Guide | GOT2LEARN
 0:09:54
FIX LEAKING COPPER PIPE - PINHOLES - Plumbing Tips
 0:05:25
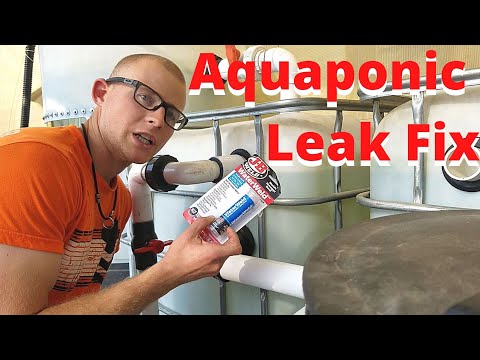
Aquaponics leaking pipe fix - Fixing a leak using epoxy (JB Water Weld)
 0:02:10
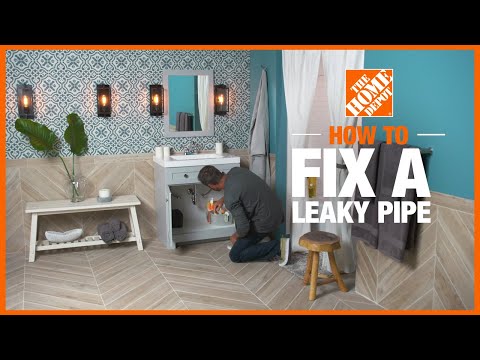
How to Fix a Leaky Pipe | Plumbing | The Home Depot
 0:03:53
Fix pipe leaking | Pro Poxy20 Epoxy |copper drain pipe
 0:04:44
Emergency Pipe Repair Techniques: Three Quick Solutions for Fixing Leaking Pipes
 0:08:05
3 Ways to REMOVE PVC Pipe From a FITTING
 0:00:33
Say Goodbye to Blocked Drains for Only £35 with EaseFix!
 0:00:50
Pipe relining is a quick way to fix cracked, leaky, or old sewage pipes. #sewage #pipes #fixit
 0:03:03
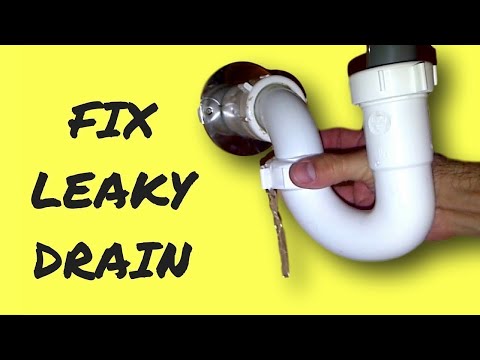
Repair Leaky Sink Drain Pipe
 0:07:15
FIX LEAKING COMPRESSION PIPE FITTING - pipe leak?
 0:00:26
How to Repair Leaking Metal Pipe
 0:03:04
No need to change, leaky pipe repair technique that very few plumbers apply, can actually be fixed
 0:17:10
How to Fix Leaking Cast Iron Pipe
 0:18:12
Fixing a Pipe Without Turning the Water Off
 0:05:10
How to Fix a Leaking Pipe Without Ever Breaking the Wall!
 0:10:48
How To Remove OLD Steel Water Pipe And Replace With NEW PEX Piping! DIY
 0:12:09
How To Fix A Pinhole Water Leak In Copper Pipe | No Soldering Needed!
 0:04:04
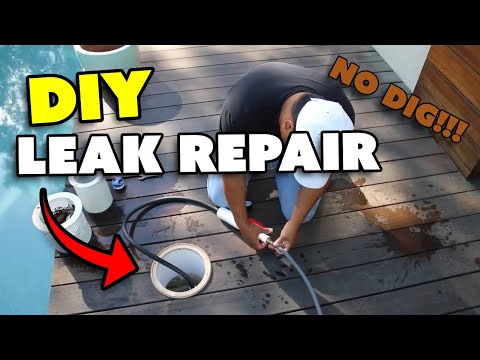
How to Repair Pipe Leaks Without Digging - DIY Guide
 0:03:33
How to Fix a Hole in a PVC Drain Pipe (Low Pressure Line)
 0:04:35
Fixing Ceiling Pipe Leak JB Water Weld
 0:07:08
How to fix a leaking galvanized pipe using a Johnson coupler
 0:03:09
How to Fix Hole in PVC Drain Pipe with JB Water Weld
Комментарии