filmov
tv
Best DIY CNC Plasma Cutter Just Got Better

Показать описание
Going though the next gen electronics and plans updates
#CNC #Plasmacutter #DIY
#CNC #Plasmacutter #DIY
 0:10:00
Best DIY CNC Plasma Cutter
 0:05:38
The BEST DIY CNC Plasma Table - Versa Cut 2x2
 0:25:26
How To Build a BIG CNC Plasma Cutter for under 750$!
 0:15:18
Budget-Friendly DIY Project: Build a CNC Plasma Cutter Table Around $500!|YesWelder
 0:08:29
The Best Plasma Cutter? Cheap to Expensive finally explained - How to choose the right one/winner!
 0:06:27
Cheap plasma cutter for cnc?
 0:10:00
Is The Langmuir Table The Best BANG For Your BUCK?
 0:07:17
Affordable Plasma Table with Pro Results! - Versa Cut 4X4 CNC Plasma Table with CNC Cut 40
 0:00:09
Flame plasma portable cutting tool- Good tools and machinery make work easy
 0:22:50
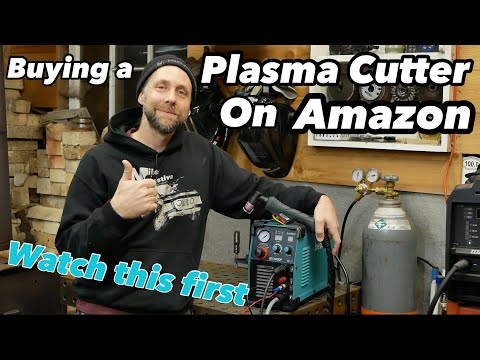
Buying / Testing a Cheap Plasma Cutter on Amazon Tips & Tricks
 0:15:57
Testing the Cheapest CNC-Ready Plasma Cutter: BestArc BTC500XP
 0:11:45
Best DIY CNC Plasma Cutter Just Got Better
 0:08:51
Middle Budget DIY CNC Plasma Table (MyPlasm) Update!
 0:08:46
I built a CNC plasma cutter machine torch because they're un affordable! DIY YesWelder CUT-55DS...
 0:01:56
TOP 5 sell CNC plasma cutter work with hand cutting torch shape cutting
 0:12:45
Finally a affordable CNC plasma table Crossfire from Langmuir systems
 0:21:33
Testing the most affordable CNC plasma cutter on Amazon Hynade CUT60DN
 0:09:26
$350 Budget DIY CNC Plasma Cutter - Quick and Easy
 0:12:00
✅ Best cnc plasma table: cnc plasma table - 2023 (Buying Guide) | How to Build a CNC Plasma Cutter
 0:10:44
Getting a CNC Plasma table for your small welding business.
 0:00:14
SoftCircuits Plasma THC for DIY CNC
 0:31:41
Building a CNC plasma table using the BestArc BTC800DP Plasma cutter. This machine is a beast!
 0:08:05
4'x4' CNC Plasma Table - The BEST Way to Cut Repetitive or Complex Shapes in Metal! Eastwo...
 0:28:08
You NEED to Know These Things When Buying a CNC Plasma Cutter
Комментарии