filmov
tv
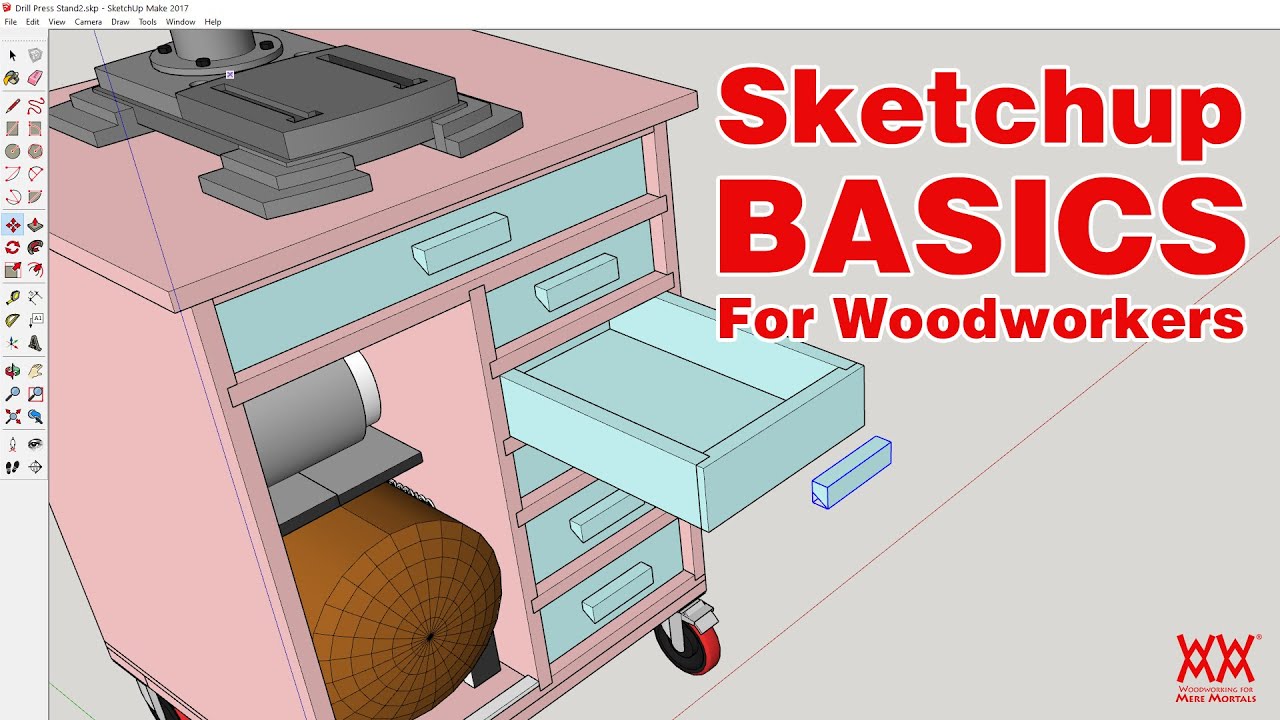
Sketchup BASICS for woodworkers. Follow along. | LOCKDOWN DAY 46
Показать описание
1:04 Which version of Sketchup do you need?
3:26 Starting Sketchup
6:55 Getting oriented
7:41 Make a simple board
11:50 Making components
24:15 Making dados
29:20 Making rabbets
33:12 More on components
41:00 Making the side panels
46:57 Drawer shelves
59:07 Making drawers
1:00:09 Fixing a problem
1:12:20 using the 3D Warehouse
1:16:21 Adding support strips
1:18:54 Additional tools
MAILING ADDRESS:
WWMM
448 Ignacio Blvd. #237
Novato CA 94949
----------------
Woodworking for Mere Mortals® is a registered trademark of ZRAM Media, LLC.
#woodworking #lockdown #quarantine
 1:22:15
Sketchup BASICS for woodworkers. Follow along. | LOCKDOWN DAY 46
 0:10:17
SketchUp Tutorial for Beginners - Learn SketchUp in 10 MINUTES | (SketchUp Free 2022)
 0:13:00
SketchUp Woodworking Tutorial for Beginners | 5 Woodworking Joints
 0:35:29
Modeling a Complete Project in Sketchup for Beginners Pt.1 - Sketchup for Woodworkers
 0:16:43
How to use SketchUp (free) for Beginners | 2023
 0:18:36
Sketchup for Woodworkers Beginner Tutorial
 0:00:42
Follow Me example from Woodworker's Guide to SketchUp
 0:25:53
98 - Learn SketchUp in 20 Minutes - Complete Sketch Up Tutorial of a Coffee Table
 0:16:00
Watch This Before You Get Started with SketchUp Free (7 Tips)
 0:10:26
Using The Follow Me Tool - The SketchUp FREE Essentials #1!
 0:19:25
SketchUp Woodworking Tutorial for Beginners - Part 1
 0:13:24
SketchUp - Tutorial for Beginners in 13 MINUTES! [ FULL GUIDE ]
 0:00:46
The QUICK Way to Make a Follow Me Profile
 0:22:33
GETTING STARTED with SketchUp Free - Lesson 1 - BEGINNERS Start Here!
 2:15:20
SketchUp for Woodworking Plans: Beginner Tutorial Guide
 0:09:55
Follow Me Tool - Sketchup for Woodworkers Tutorial 6
 0:29:25
Getting Started with SketchUp Video 1
 0:24:34
Beginner SketchUp Tutorial for Woodworkers Video 2
 0:11:25
Is SketchUp the Right Tool for Woodworkers?
 0:00:28
Create molding in sketchup with follow me tool | SketchupTips
 0:22:37
Generate Cut-list Woodworking 3D SketchUp
 0:00:48
Sketchup tutorial for beginners #short
 0:10:16
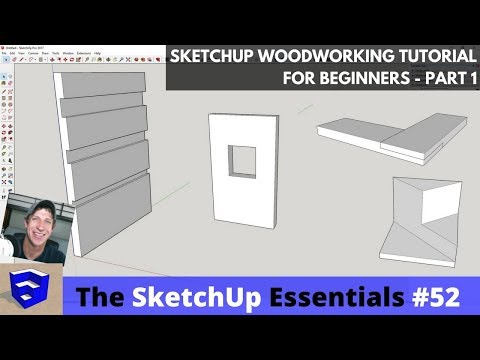
Modeling Wood Molding and Trim in SketchUp with the Follow Me Tool - The SketchUp Essentials #52
 0:17:14
Building a Workbench in SketchUp (Start to Finish) - Beginner Tutorial
Комментарии