filmov
tv
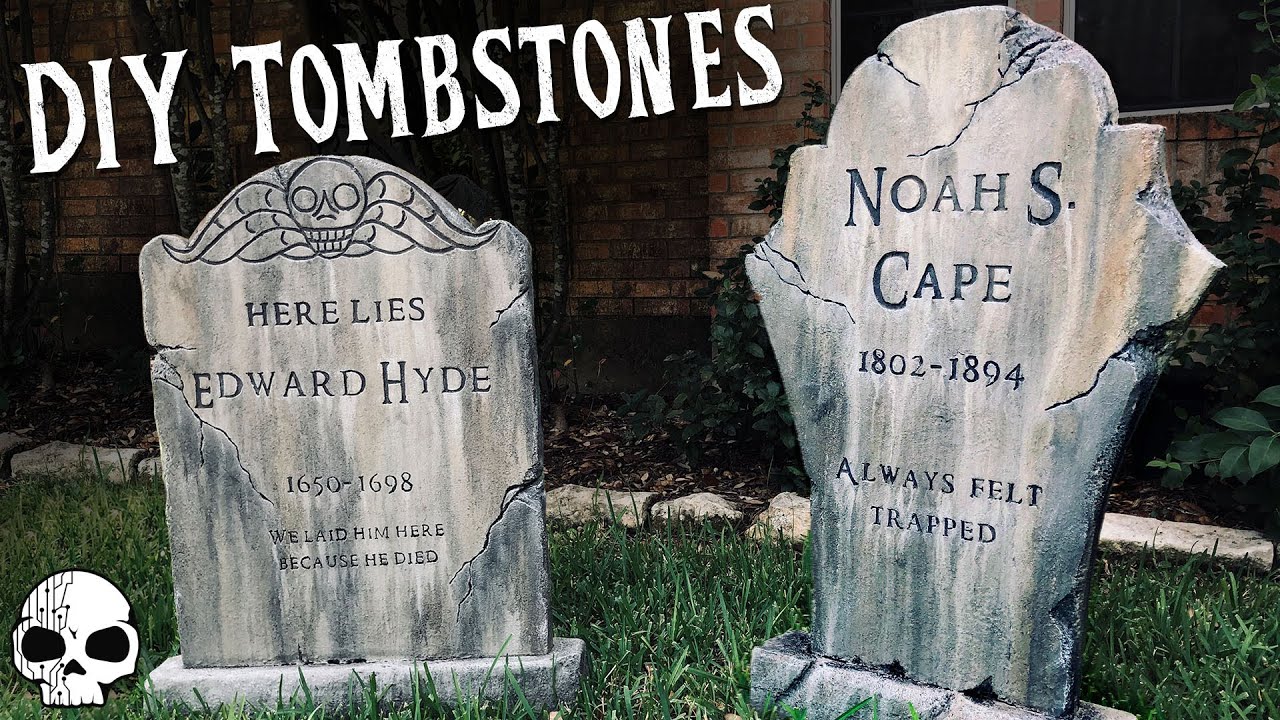
How to make Tombstones 💀 DIY Halloween Props
Показать описание
Jaimie and Jay make realistic DIY Halloween Tombstones out of foam!
Join the SKELETON CREW on Patreon! ►
Want to see more of our work? 👇
Halloween is almost here!! 🎃 We make lots of DIY Halloween Props, decorations, and fun stuff this time of year and these foam Halloween Tombstones are the newest thing we've added to our DIY Halloween décor.
DIY Halloween Tombstones are CLASSIC! They're one of the most fun and popular DIY halloween props and there are so many fun ways to make them. This is our first time making tombstones from insulation foam and going through the whole process of texturing and engraving them and we had a blast.
If you'd like to make your very own DIY halloween tombstones for your halloween graveyard, this video will get you a long ways towards being inspired to making your own at home.
MATERIALS USED:
2" Insulation Foam Board
Water
TOOLS USED:
(These are affiliate links. Clicking them really helps support our channel!)
🎃💀🕸 Want to build more Halloween props and decorations? Check out our other easy DIY Halloween projects! ►
Who are we?
We're Jaimie and Jay! We're a husband and wife team and we make stuff together. Halloween and other awesome props, woodworking, electronics, and whatever we want.
#Halloween
#Props
#DIY
 0:01:00
How to Make Cardboard Tombstones
 0:14:54
How to make Tombstones 💀 DIY Halloween Props
 0:00:59
How to make DIY Halloween Tombstones! 💀🎃
 0:05:21
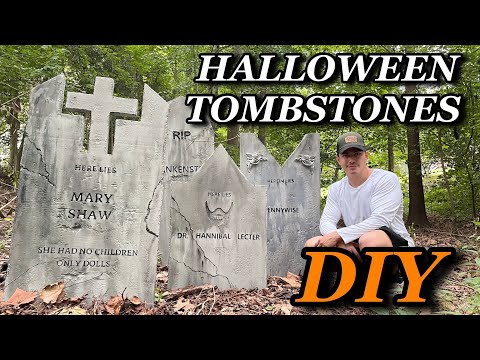
How To Make Halloween Tombstones | DIY Decoration
 0:09:42
Engraving a Headstone
 0:00:36
How to Make Halloween Tombstones
 0:02:26
How to make Headstone for grave | Making Tombstone | DIY Gravestone
 0:02:39
How I Create Gravestones
 0:14:10
Celebrities Whose Graves Were Exhumed
 0:19:51
HOW TO MAKE REALISTIC HALLOWEEN TOMBSTONES - TUTORIAL
 0:02:01
How to Make Halloween Tombstones
 0:04:14
How to make headstone For grave at home/ concrete Slabe Making/Making Tombstone/ Cement Slabe Making
 0:10:41
EASY Halloween Store Tombstone Makeover!
 0:16:34
Gravestone start to finish
 0:09:38
Make Your Own Realistic Halloween Tombstones
 0:06:02
Make your Halloween Tombstones MORE Realistic!
 0:00:41
Halloween is coming 🎃 - how to make miniature tombstones 🪦 #halloween #howto #shortsart #death
 0:00:46
DIY Cardboard Lightbox Tombstones
 0:00:39
How to make small tombstones.#halloween #tutorial #halloweendecor #tombstone
 0:01:23
How to make tombstone, produce tomb from concrete in ABS plastic moulds
 0:00:56
How to create and setup a self-made concrete base for headstones
 0:12:55
HOW TO MAKE A HEADSTONE
 0:06:31
How to Make Easy Photo Tombstones Halloween DIY
 0:00:23
How to Make Foam Tombstones! #Shorts
Комментарии