filmov
tv
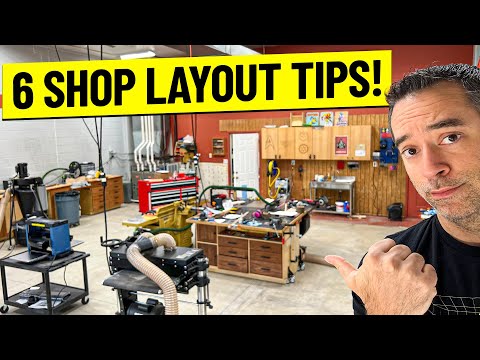
a better way to layout your workshop

Показать описание
Get _The Brief Guide To Joinery_ *FREE E-BOOK* here:
DO YOU LIKE MY WORKBENCH? I have build PLANS here:
FULL ARTICLE:
BUILD PLANS FOR SALE:
US & CANADIAN AFFILIATE LINKS
DOWELMAX:
DOWELMAX 3/8" Kit:
DOWELMAX 1/2" Expansion:
BLADES:
TOOLS:
BITS:
SUPPLIES
INSTAGRAM:
MUSIC:
Epidemic Sound
Use my referral link and start your free 30-day trial:
DO YOU LIKE MY WORKBENCH? I have build PLANS here:
FULL ARTICLE:
BUILD PLANS FOR SALE:
US & CANADIAN AFFILIATE LINKS
DOWELMAX:
DOWELMAX 3/8" Kit:
DOWELMAX 1/2" Expansion:
BLADES:
TOOLS:
BITS:
SUPPLIES
INSTAGRAM:
MUSIC:
Epidemic Sound
Use my referral link and start your free 30-day trial:
 0:15:44
a better way to layout your workshop
 0:15:04
A Better Way To Layout Your Stones: ArrayCrvPLUS
 0:10:09
6 Tips For a Better Shop Layout #shoptour
 0:07:33
How To Design Good Layouts
 0:04:44
How can we design a better way to learn?: Meghan Athavale at TEDxWinnipeg
 0:07:10
32 PRO TIPS To Make BILLIONS In Grow A Garden!
 0:09:41
How to ACTUALLY Get Better at Graphic Design (My Playbook)
 0:00:20
Your shop needs a better layout (Tip 2) #woodworking #woodshop
 0:00:19
How Can We Design Better Streets?
 0:16:50
Why doesn't the green man flash anymore?
 0:17:22
How to Build a GOOD Bloxburg House SHAPE and LAYOUT
 0:16:12
How To Make A Good Layout! (Geometry Dash 2.11) [FULL GUIDE FOR BEGINNERS] | DeVeReL
 0:14:52
Design Better Than 99% of UI Designers
 0:04:28
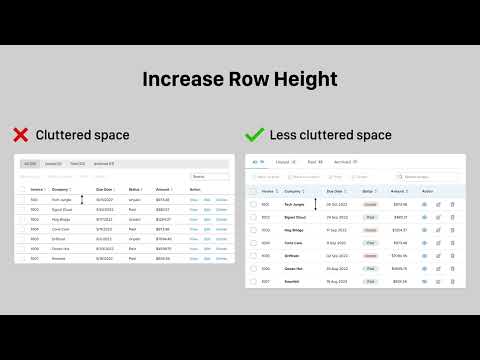
UI Design Tips for a Better Data Table UX
 0:00:11
How to change your iphone keyboard layout #shorts
 0:00:34
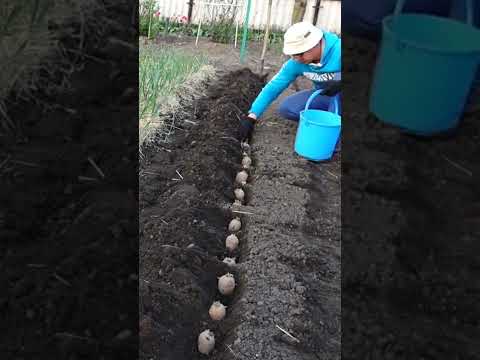
How to plant potatoes and get a lot of big tubers
 0:00:21
The SECRET Setting To Edit FASTER on Fortnite! (Console & PC!) #shorts
 0:00:29
Many ways to furnish a 3mx3m room! #smallspace #fengshui #bedroom #dorm #smallapartment #tinyhouse
 0:12:20
10 TIPS To BECOME RICH in GROW A GARDEN! ROBLOX
 0:08:07
How To GET ALL SEEDS FOR FREE in GROW A GARDEN! ROBLOX
 0:00:29
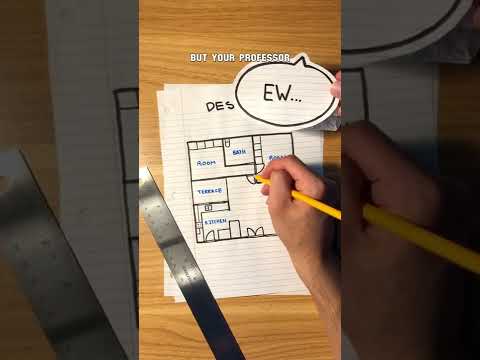
A Day in the Life of an Architecture Major
 0:03:07
HOW TO GET BEANSTALK SEED (FREE) SHOWCASE in GROW A GARDEN! ROBLOX GROW A GARDEN
 0:59:55
Altium Design 21: A Better Way to Design - What's New Webinar
 0:10:04
Another Way To Layout Stair Stringers With Only A Level, Pencil And Tape Measure
Комментарии