filmov
tv
How To Repair a Broken PVC Water Main - DIY!

Показать описание
"The simplest solution is not always the best, and "haste makes waste" aptly describe the first two attempts to repair the broken 3/4" PVC water main pipe leading to our house. In retrospect, I should have done this repair myself! That said, I learned a lot from the mistakes made by Joe, an independent contractor who did many of our home improvements. And Joe quickly responded to my call for help when I broke the water main pipe, and when mistakes were made, he followed through with fixing it right. I hope that you find this video both entertaining and informative, and that you will now know what not to do should you need to repair a PVC water pipe.
 0:00:26
The Cheap Way to Fix Broken Back Glass #Shorts
 0:04:00
Ingenious way to repair broken plastic
 0:01:56
How To Fix a Broken TV Screen
 0:13:27
6 Ways to Fix Broken Wires - Beginner Through Pro
 0:07:50
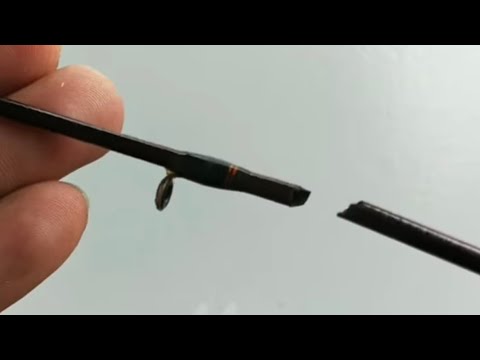
How To Repair Broken Fishing Rod
 0:06:30
How to Fix / Repair Broken Wires, Cords and Cables
 0:30:43
How to Repair Broken Outer Ring of Giant Bearing | Broken Bearing Restoration| Scrap Metal Recycling
![[Basic Kit] Traditional](https://i.ytimg.com/vi/HSQWRxaKEyw/hqdefault.jpg) 0:15:50
0:15:50
[Basic Kit] Traditional Kintsugi Tutorial - Food safe method - Broken ceramics
 0:01:00
Lincoln Towncar how to repair broken intake manifold, major coolant leak #lincoln #towncar #shorts
 0:01:01
You Crushed the Corner on your Furniture? #diy #howto #broken #furniture #repair #fix
 0:00:30
Fix your broken makeup palette in 3 easy steps (without alcohol) | Shrutistry
 0:13:02
Practical Invention - Easily Repair Broken Plastic Chairs With A 1.5V Battery
 0:12:26
How to fix a broken heart | Guy Winch | TED
 0:03:52
How to FIX Broken Makeup!
 0:02:57
How To Fix a Broken Zipper
 0:05:28
Ingenious way to repair broken plastics with plastic welding method
 0:01:00
how to fix a broken nail 😩🔪 #nails #gelnails #diynails #broken
 0:00:26
Fence Repair - Replace broken wood fence post.
 0:00:25
How to Fix a Broken Stem [Plant Surgery] creative explained
 0:02:55
How to fix broken glasses at home
 0:04:02
Ingenious Ways to Repair Broken Plastics With Plastic Welding Method
 0:12:05
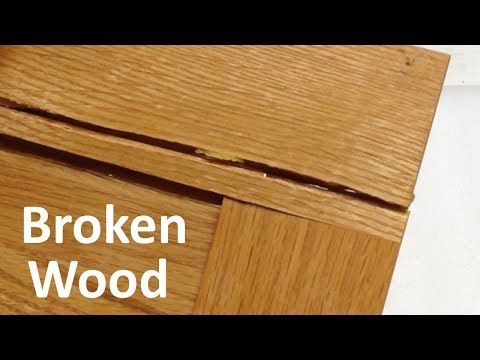
How to Repair Broken and Cracked Wood | Woodworking Tips
 0:20:26
How to Repair Broken Axle of a Truck Trailer || Complete Process
 0:16:49
HOW TO FIX broken plastic ULTIMATE Welding Forming Repair techniques
Комментарии