filmov
tv
The Cheapest CNC Milling Machine

Показать описание
PCB Milling was on my TODO list. So I thought I'll give the cheapest CNC mill a try that isn't made from card board. You would be surprised how far I got within two days of messing around with that. The fun alone was worth every penny of this purchase. Enjoy!
Links to parts and tools (affiliate links):
My camera and lens (4k 60fps):
plz share :-)
Twitter: @bitluni
reddit: u/bitluni
Music:
Jeremy Blake - Powerup!
Wayne Jones - Brain Trust
Gunnar Olsen - West Coast Trip
Silent Partner - Hold On a Minute
Andrew Langdon - Keys
Francis Preve - Komputo
Quincas Moreira - Grasshopper
Dan Henig - Low Life High Life
#electronics #maker
 0:17:55
The Cheapest CNC Milling Machine
 0:11:49
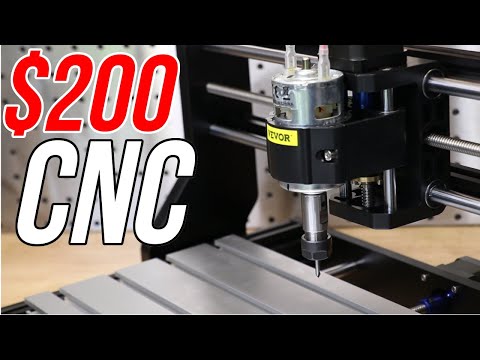
What Can a $150 CNC Do?! Vevor 3018 Pro CNC Router Review
 0:19:24
A CNC Mill For Less Than $200 - Is It Worth Buying? (CNC 3018 Pro)
 0:00:44
Affordable Desktop CNC Mill
 0:02:06
Introducing MR-1 - An Affordable CNC Gantry Mill for Machining Metal
 0:00:27
Affordable Small 5 Axis CNC Milling Machine for Metal
 0:31:02
Cheap CNC Machine Worth Your $ ?…
 0:13:23
What Can a $500 CNC Do? Genmitsu 3020 Pro Max
 0:04:22
Top 7 Best Cheap Affordable CNC Machines
 0:16:17
Bantam Tools Desktop CNC Milling Machine Review!
 0:04:46
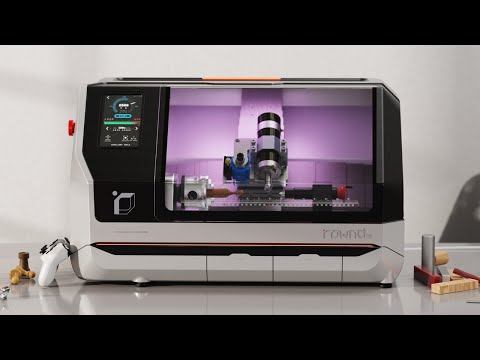
Rownd CNC Lathe - The World’s First Consumer And Hobbyist-Friendly CNC Machine
 0:17:43
A Cheap But Impressive Hobby CNC Router Machine: Two Trees TTC450 Review
 0:15:05
The Cheapest CNC Router on Amazon
 0:09:35
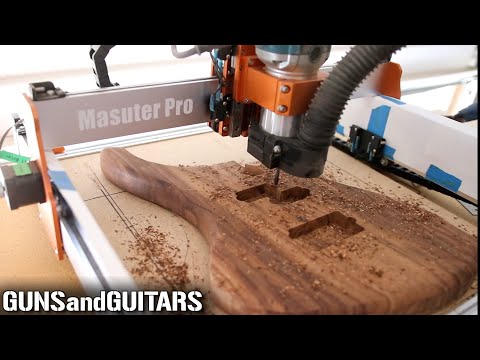
Can you use a CHEAP CNC ROUTER for GUITAR BUILDING?
 0:22:49
The CHEAPEST CNC for guitar building! (FoxAlien Masuter Pro full review)
 0:22:45
Is a Cheap CNC Machine Worth Your $ ?… Haas VF0
 0:05:13
What CNC should I buy
 0:01:57
The First Samurai - The pinnacle of Desktop CNC Machines - Official launch
 0:15:28
Best CNC Router Machine for Beginners in 2024 | Top 5 | Cut/Engraving
 0:08:55
Watch BEFORE You Buy a CNC Router in 2024
 0:00:46
Cheap CNC Router 4*8ft for Cutting Wood
 0:03:46
Pocket NC 5-Axis Desktop CNC Mill!
 0:01:21
2022 Newest! Cheap!Yornew Desktop 5 Axis CNC Milling Machine Creats 3 version CNC For Free,3 In 1!
 0:07:36
BEST CNC Machine Starting Under $30,000
Комментарии