filmov
tv
how to make electronic component tester, using Arduino nano ,dfrobot

Показать описание
dfrobot . website
👇👇👇👇👇👇
Circuits and diagrams can be found on the blog
👇👇👇👇👇👇
COMPONENTS
👇👇👇👇👇👇
1- Arduino Nano
2- OLED Display- SSD1306
3- Diode - 1N4148
4- Switch
5- Resistor 100ohm,100k , 470k
6- : Monochrome 0.96" 128x64 I2C/SPI OLED Display (Breakout)
7- : 3W Mini Audio Stereo Amplifier - W2.54 (Breakout)
8- Gravity: Capacitive Fingerprint Sensor
9- Transistor Pack (170 PCS)
10- HIFI Digital Bluetooth Amplifier-100W*2
11- 4PCS Coreless Micro Motor (6*10mm)
12- MTO1804 Brushless DC Motor (CW) with 20A ESC
13- Potentiometers Kit (55PCS)
$2 for 1-4 Layer PCBs, sign up to get coupons
👇👇👇👇👇👇👇👇👇👇
Banggood website
👇👇👇👇👇👇
You can buy all electronic components for the product here
👇👇👇👇👇👇
Circuits and diagrams can be found on the blog
👇👇👇👇👇👇
For business enquiries
👇👇👇👇👇👇
I hope to help me grow the channel through PayPal
👇👇👇👇👇👇
All you have to do is join this channel to take advantage of the benefits
👇👇👇👇👇👇
Hello my friends I am an electrical engineer and uploading Science &Technology
videos twice a week ( Friday and Sunday ). Please Subscribe My channel. if you want to learn
how to make electronic component tester, using Arduino nano ,dfrobot
#inventor_KR
#arduino_nano
#tester
#dfrobot
#oscilloscope Get a free trial of Altium Designer
👇👇👇👇👇👇👇
Free search engine for electronic parts
👇👇👇👇👇👇
Circuits and diagrams can be found on the blog
👇👇👇👇👇👇
COMPONENTS
👇👇👇👇👇👇
1- Arduino Nano
2- OLED Display- SSD1306
3- Diode - 1N4148
4- Switch
5- Resistor 100ohm,100k , 470k
6- : Monochrome 0.96" 128x64 I2C/SPI OLED Display (Breakout)
7- : 3W Mini Audio Stereo Amplifier - W2.54 (Breakout)
8- Gravity: Capacitive Fingerprint Sensor
9- Transistor Pack (170 PCS)
10- HIFI Digital Bluetooth Amplifier-100W*2
11- 4PCS Coreless Micro Motor (6*10mm)
12- MTO1804 Brushless DC Motor (CW) with 20A ESC
13- Potentiometers Kit (55PCS)
$2 for 1-4 Layer PCBs, sign up to get coupons
👇👇👇👇👇👇👇👇👇👇
Banggood website
👇👇👇👇👇👇
You can buy all electronic components for the product here
👇👇👇👇👇👇
Circuits and diagrams can be found on the blog
👇👇👇👇👇👇
For business enquiries
👇👇👇👇👇👇
I hope to help me grow the channel through PayPal
👇👇👇👇👇👇
All you have to do is join this channel to take advantage of the benefits
👇👇👇👇👇👇
Hello my friends I am an electrical engineer and uploading Science &Technology
videos twice a week ( Friday and Sunday ). Please Subscribe My channel. if you want to learn
how to make electronic component tester, using Arduino nano ,dfrobot
#inventor_KR
#arduino_nano
#tester
#dfrobot
#oscilloscope Get a free trial of Altium Designer
👇👇👇👇👇👇👇
Free search engine for electronic parts
 0:00:53
Exploding electronic components in HD
 0:38:06
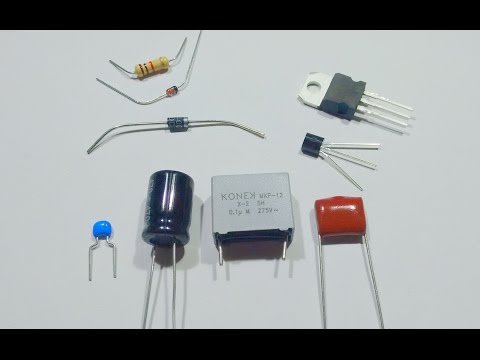
A simple guide to electronic components.
 0:13:37
How To Get Cheap Electronic Components (Salvaging From Circuit Boards)
 0:00:19
school project || electronic projects for beginners
 0:11:54
Top 5 Simple 3 Components Electronic Projects
 0:04:41
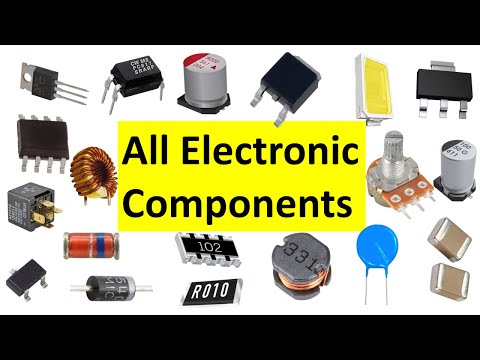
All electronic components names, pictures and symbols
 0:09:34
how to make electronic component tester, using Arduino nano ,dfrobot
 0:08:18
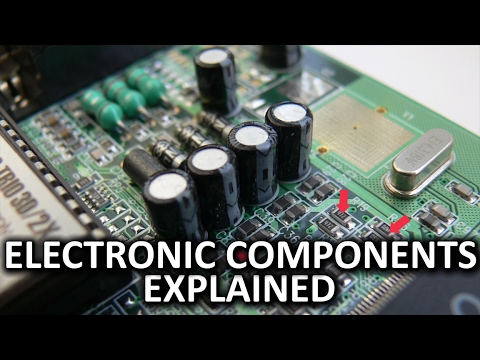
Electronic Components Guide
 0:10:27
What are PCBs? || How do PCBs Work?
 0:11:58
How to Manufacture a New Electronic Product
 0:00:37
Electronic Components Art
 0:05:32
Capacitors, Resistors, and Electronic Components
 0:01:00
I built a manual charger 💀 #electronics #engineering #arduino
 0:00:16
Arduino project how to make a laser electronic alarm, an amazing invention DIY
 0:30:15
Basic Electronics For Beginners
 0:02:28
Electronic Parts Manufacturing
 0:00:15
basic electronics components symbol | electronic parts symbol #shorts #short
 0:20:56
Amazing Electronic Projects From Old Scrap Circuit Boards
 0:18:20
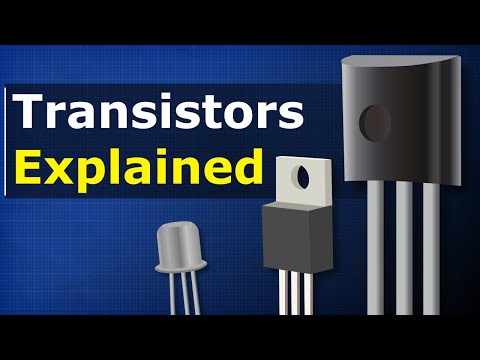
Transistors Explained - How transistors work
 0:04:43
Salvaging Electronic Parts: Power Supply
 0:10:13
Electronic component tester | How to make Diy continuity tester at home ||
 0:02:44
a DELICIOUS way to organize your through hole electronic components!
 0:05:35
💻 How Are Microchips Made?
 0:25:48
Salvaging Electronic Components
Комментарии