filmov
tv
Getting started with Arduino Portenta (customized host)

Показать описание
★☆★ DO YOU WANT TO HAVE FREE GIFTS 🏅🤖 ★☆★
👉☆ Check my Giveaway monthly program☆
All what you need to do is :
1- Write a comment on this video (even your name).
2- Subscribe to my YouTube channel
-------------------------------------
★☆★ LIST OF WINNERS (September)🏅🤖 ★☆★
👉 1st PRIZE WINNER : Electronics hobbyy
👉 2nd PRIZE WINNER : Bora Yurtoren
👉 3rd PRIZE WINNER : Ibrahim KHADRAOUI
Coupon discount code : JLCPCBcom
-------------------------------------
I introduced in this tutorial the steps that I followed to get started with this board and how I made a customized circuit board to do some practicing with my cute Portenta, my circuit board has been designed under Altium designer and produced at JLCPCB factory.
This is my very first tutorial built around the Arduino Portenta dev board made by Arduino, I discovered this advanced development board from the makers community after it gets very popular in a short period of time.
Taking such dev board in hands will make you feel its great available feature, very well designed board that contains many peripherals.
★☆★ Trusted sources ★☆★
★☆★ DOWNLOAD PCB GERBER FILES ★☆★
★☆★ DOWNLOAD SCHEMATICS & BOM ★☆★
★☆★ DOWNLOAD THE SOURCE CODE ★☆★
★☆★ My Video filming tools ★☆★
★☆★ 💻 FOLLOW ME BELOW 💻 ★☆★
Keywords
#ArduinoProjects #ArduinoPortenta #DIYGUYChris #electronics #howToDiy #HowToDesignPCB #Altium #PCBdesign #PCBAssembly
 0:09:05
Getting started with Arduino Portenta (customized host)
 0:09:26
Arduino To ESP32: How to Get Started!
 0:09:29
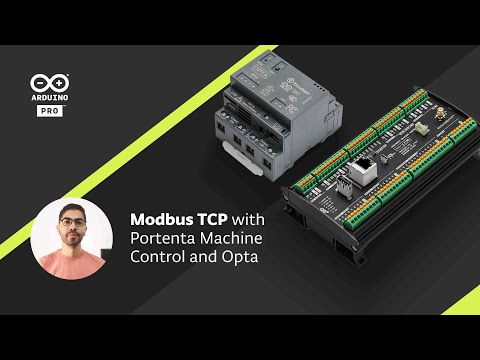
Modbus TCP with the Arduino Portenta Machine Control & Opta
 0:10:43
ArduinoPRO Portenta Machine Control [Unboxing and Initial Impressions]
 0:01:22
Introducing the Portenta X8 by Arduino Pro
 0:04:12
Arduino Portenta H7 Pro - What is it and what can the Portenta H7 do
 0:04:22
Arduino Portenta Machine Control The Simplest Way to Add a Powerful Brain to Your Machines
 0:00:35
PLC Final Project #engineering #plcprogramming #mechatronics
 0:56:45
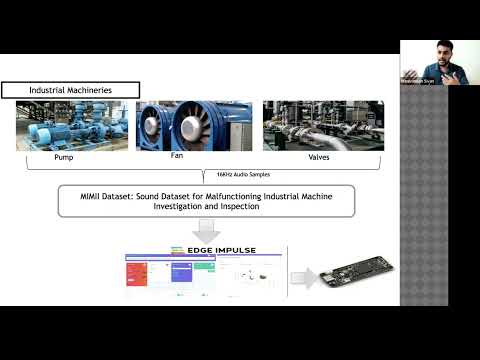
tinyML Talks: Industry 4.0: Predictive Maintenance using Arduino Portenta H7 and Edge Impulse
 0:01:00
Introducing the Arduino Portenta H7
 0:06:45
Arduino Portenta H7 Unboxing Part 4: Setup for Linux
 0:10:56
PlatformIO: All you need to know in 10 Minutes!
 0:03:18
Arduino Portenta H7 How to upload your first sketch
 0:00:18
When Your Crush Knows Morse Code 💀 #electronics #arduino #engineering
 0:22:06
Portenta C33 -- Arduino, Renesas, and Mouser Electronics
 0:00:10
home automation
 0:00:13
Arduino based automatic water tap usingultra sonic sensor and micro servo
 0:00:21
ESP32 Remote Computing #esp32berry #arduinoVNC #thatproject
 0:00:57
Can chatGPT Program an ESP32?
 0:00:52
Introducing the Arduino Portenta Breakout
 0:00:19
MicroPython MBUS Library running on Arduino Portenta
 0:38:21
Arduino PLC
 0:06:55
Who Needs High-Performance MCU? (Arduino Portenta H7 vs Espressif ESP32-S3)
 0:00:37
Arduino portenta H7 as a wifi host
Комментарии