filmov
tv
How To Install A Bath And Shower Surround | Delta Classic 400

Показать описание
As part of a larger bathroom remodel I will walk you through all the steps to install a Delta Class 400 Series Acrylic Tub And Shower Surround. It is very important to follow all of the steps of the installation or the final product might not live up to your expectations and the potential for this product if properly installed
Free Home Maintenance Checklist:
Chapters
0:00 Project Overview
0:57 Wall Bracing And Stud Modifications
3:52 Glass Shower Door Bracing
5:07 Dry-Fit And Adjustments
8:16 Valve and Tub Spout Hole Location and Cutting
9:45 Dry Fitting Tub To Check For Issues
17:02 Final Dry-Fit Check
18:14 Fire Resistant Pad Install On Valve Side Panel
18:48 Applying Adhesive To Studs and Sealant Between Panels
22:57 Bracing Walls While Adhesive Dries
24:29 Sealing All The Panel Gaps
26:34 Final Thoughts
DISCLAIMER: This video and description contain affiliate links, which means that if you click on one of the product links, I’ll receive a small commission.
 0:15:07
HOW TO INSTALL A BATH - Plumbing Tips
 0:15:20
How to Install a Bath the Easy Way - Complete Beginners Guide!
 0:02:57
How to install a standard acrylic bath
 0:06:44
Wickes How to Fit a Bath
 0:25:33
How to Install a Bath
 0:03:21
Learn how to install a bathtub by yourself | DIY Projects
 0:04:27
How to Install a Bathtub | Step-by-Step Bathtub Installation | Installing Bathtub Like a PRO
 0:39:46
How To Install a Bath Tub
 0:02:41
Safe Bathing Solutions for Parents: Preventing Falls in Bathtub Showers
 0:15:14
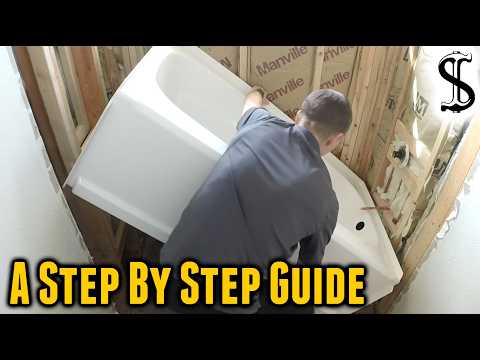
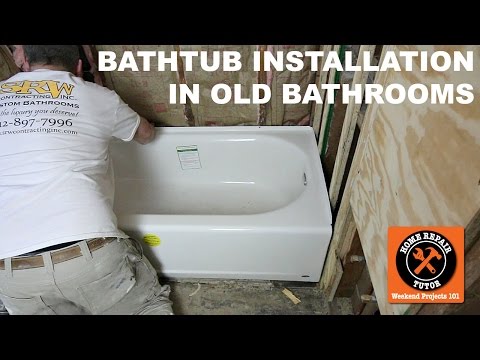
How to Replace a Bathtub (Step By Step)
 0:15:09
HOW TO FIX A BATH TO A WALL AND SCREW THE FEET DOWN.
 0:57:59
Step-by-Step Guide For Installing a Bathroom
 0:06:38
How to Fit a Bath and Prevent it Wobbling
 0:04:37
How to Remove and Replace a Bathtub 🛁 | The Home Depot with @thisoldhouse
 0:10:25
How to install and plumb bath tub waste with overflow taps and bath trap
 0:08:27
Bathtub Replacement | How to Install a Bathtub | The Home Depot
 0:01:28
How to fit an acrylic bath panel | Bathroom installation guides from Victoria Plum
 0:12:32
HOW TO FIT A BATH OVERFLOW AND WASTE
 0:04:51
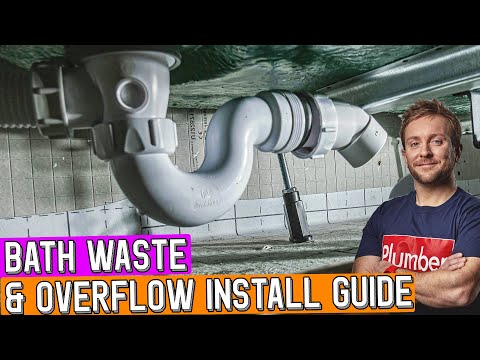
How to install a Bath Waste and Overflow
 0:32:42
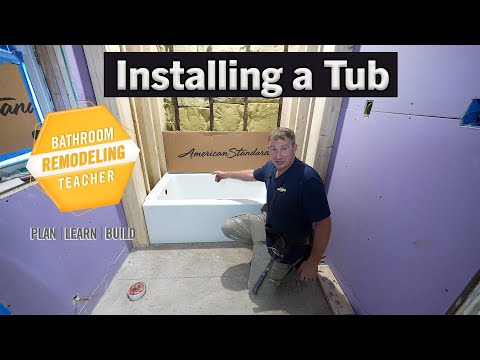
How to Install a Bathtub | Deep Soaker | American Standard Studio
 0:19:09
How to Install a Bathtub...American Standard's Americast (Step-by-Step)
 0:08:56
How to Install a Bathtub Drain
 0:12:55
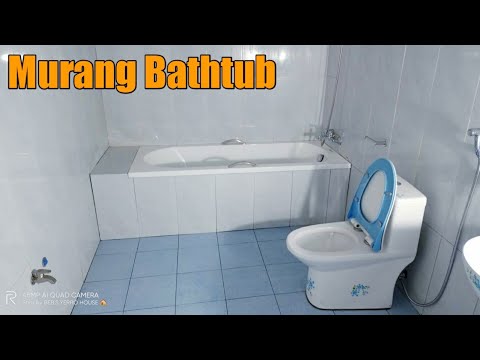
How To Install a Bathtub Step by Step Installation Process, OFW SIMPLE HOUSE IN PHILIPPINES
 0:21:01
Installing All Plumbing for a Full Bath
Комментарии