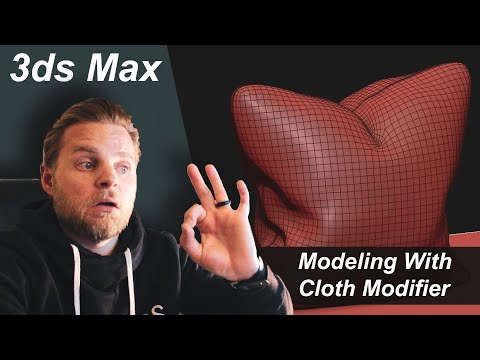
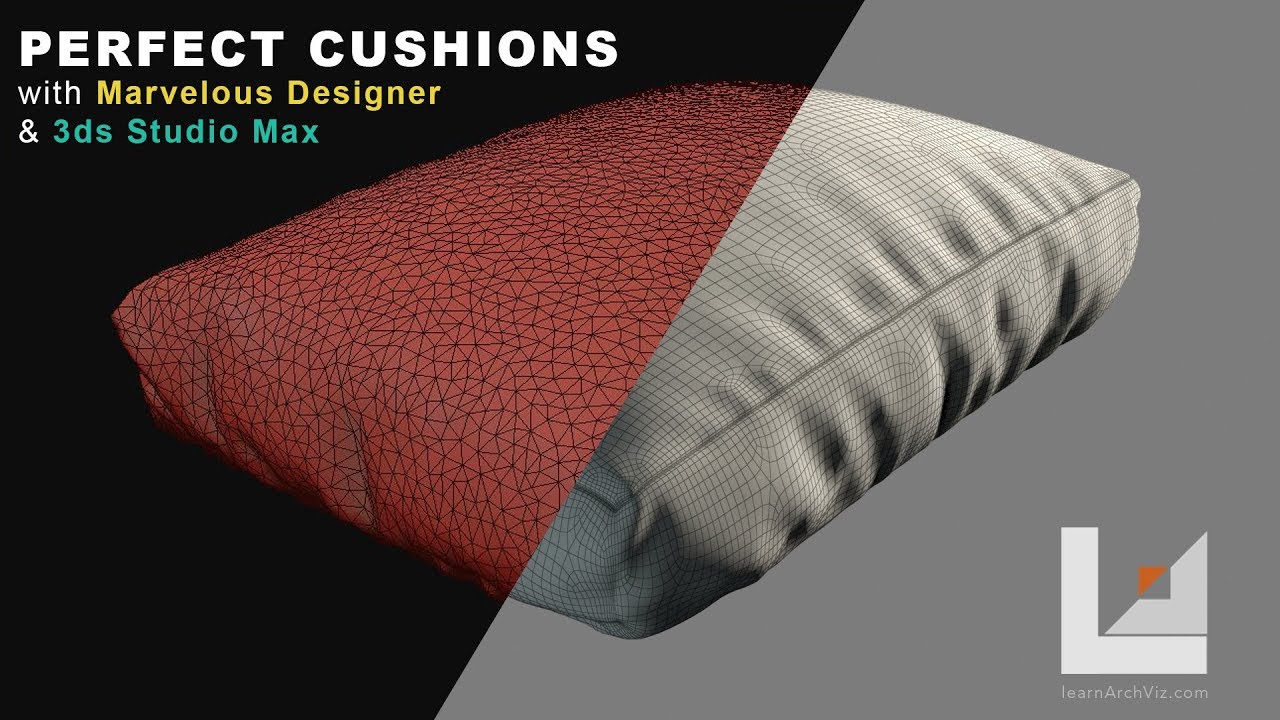
Model Perfect Wrinkled Cushions & Furniture With Marvelous Designer and 3ds Max
preview_player
Показать описание

If you want to model cushions and other furniture with perfect wrinkles in 3ds Max, it can be very hard. I have other videos showing how to do that using the cloth modifier.

This technique starts with a very basic model in 3ds Max, fully unwrapped in the simplest of ways. If you are lost for that part, see my other video regarding UVW unwrapping using the basic 3ds Max tools.

From there, you can take the model into Marvelous Designer, where the new tools for Marvelous Designer 8 make it very easy to turn that basic model into a soft cushion. You can import the model as an avatar, and as a garment generated from the simple unwrap that we have done. Then, with some simple 3d sewing fixes (new for MD8), we immediately simulate in Marvelous Designer.

Once we have our simulations done in Marvelous Designer, we can come back into Max and use the retopo tools, specifically the conform brush, to turn our simulation into something that is much cleaner and editable. Once we have that we can add some finer details through basic poly modeling. In the end we should end up with a super clean, wrinkled cushion or piece of furniture that wasn't that hard to create. The hardest part is figuring out the proper workflow, and that is what I will lay out here in this tutorial.

This is a perfect way to add more organic detail to your scenes, specifically for your arch viz furniture. Retopo tools and Marvelous designer are both great tools to have in any architectural visualization artists toolbox.

Software:
3ds Max
Marvelous Designer 8

Main tools:
Conform Brush
Poly modeling 3ds Max
Pressure in Marvelous Designer
Shrinkage Weft / Warp
3d Sewing
Рекомендации по теме
Комментарии
Автор

Hello,
Thanks!
if you don't care to get only quads, a little trick to avoid the conform part in max (between 9:42 to 16:30)
1 - imported mesh -> convert to edit poly
2 - select all borders with mouse
3 - add modifier PolySelect
4 - vertex subObject -> get selection from edge
5 - add modifier EditPoly
6 - vertex subObject -> weld the vertex selected
7 - add another modifier PolySelect
8 - edgeSubObject -> get selection from vertex
9 - add another modifier EditPoly
10 - edgeSubObject -> extrude with your parameters
11 - add modifier ProOptimizer with keep UV's checked
12 - decimate

leo
Автор

Wow, what a great tutorial!!. Thanks 🙌🏽

mxrtin_gali
Автор

Great tutorial! Just a quick tip for when you flip the bottom section at the start. There is a 'Flip normals' button in Marvelous.

leighmaltby
Автор

This is one of the best MD tutorials on youtube, GREAT JOB!

FUNHOUSEGuymer
Автор

I should really get marvelous designer.. that program is too amazing for cloth, stuffed objects

mrmensje
Автор

@learn Arch Viz, you can flip normal in MD if you see the surface is a little darker instead of rotating it.

mozzarellaarc
Автор

Great turorial! Thanks a lot, so useful!

PbIcka
Автор

This is so damn well explained that I can apply it on any 3d modeling program!!! Amazing! Thank you!

acanalesc
Автор

I think Retopology modifier can make nice quad mesh instead of relaxing it the way you did (3ds max 2022.2 and after) does it?

WaseemOnlines
Автор

Looks dopeeee!!

You should do a lightmass settings only tutorial..finished both of your unreal courses but for some reason i cannot get a clean movie renders..

Thank you in advanced. This video is dopeee

mae
Автор

May you tell me that what kind of configuration should have for MD software

imranchauhan
Автор

It might be possible with Adobe Substance, too instead of Marvelous Designer.

Pixelsplasher
Автор

When I import the model as garment it gets really small. I don't know how to fix it and resizing doesn't work

aminDehghann
Автор

didn`t work for me, I've been struggling the whole day to make It work but it seems not to recognize UV coordinates from max, whenever I click on simulate it just messes up. you should go step by step, including even the unwrap technique you used ( already saw your unwrap video...din`t elaborate much on the basics)

camilogranados
Автор

Hi Adam, I am takıng at your course and I currently am at the part of MD introduction. The stuff shown in course simply dont work for me, I don't know why so I came to see thıs. And thıs also doesn't work as well....I make the sımple box and sımple uvw unwrap but when I want to import it to MD it says that it cannot trace UV edges or something like that, the only way it works is if I do unfold mapping but in that case again it imports as one piece and can't be sown. I know I am doing something wrong I just can't figure out what. I have spent whole day making one simple cushion in MD and I couldn't do ıt...it is really so frustrating at this point

merjemazubaca
Автор

It doesn't work for me, unwrapped UVW from max comes in MD as a single mesh and cannot separate or sew.

evelynfive
Автор

Can u please show us How to do this with solidworks instead of 3dmax pleaseee? I need it

anaosorio
Автор

I have a question. I can see that your final re-topo model, the poly count seems like almost the same with your exported model from MD. If you wanted the model to be quad, can't you just choose quad under misc tab at 9:06? And how about the new remeshing (Beta). Is it any good?

jintat
Автор

Hi! This content it’s also included into your training course about furniture modelling in max? It include more contents than this playlist?

Thanks!

georgeneverland
Автор

You are taking a very long and not that accurate way of projecting the clean mesh onto the MD simulated mesh. You can use the skin wrap modifier and set it to UV space. because both the clean mesh and simulated mesh both share the same UV coordinates this option is perfect because with one click it looks at the UV and then morphs the mesh to fit perfectly :) Hope it speeds up your workflow!!

AwakeningAnimations