filmov
tv
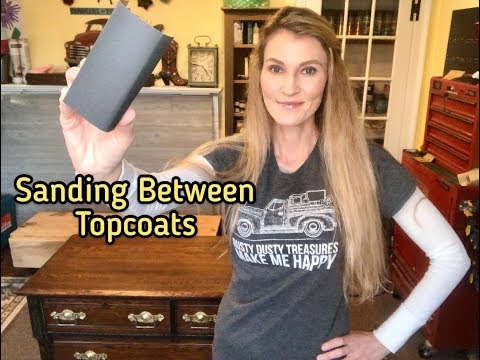
Sanding Between Topcoats - Getting a SMOOTH Finish

Показать описание
Bethany from Madeline Jean Antiques & Restoration shows you how to sand between topcoats to achieve a flawless and smooth finish.
****FOLLOW ME HERE*****
ORDER YOUR FELT BLOCK HERE:
ORDER YOUR 500 GRIT SAND PAPER HERE:
ORDER YOUR 400 GRIT SAND PAPER HERE:
ORDER YOUR GENERAL FINISHES GEL TOPCOAT SATIN FINISH HERE:
Other tutorials to check out:
TOPCOATS! HOW TO CHOOSE THE RIGHT ONE-
****FOLLOW ME HERE*****
ORDER YOUR FELT BLOCK HERE:
ORDER YOUR 500 GRIT SAND PAPER HERE:
ORDER YOUR 400 GRIT SAND PAPER HERE:
ORDER YOUR GENERAL FINISHES GEL TOPCOAT SATIN FINISH HERE:
Other tutorials to check out:
TOPCOATS! HOW TO CHOOSE THE RIGHT ONE-
 0:09:14
Sanding Between Topcoats - Getting a SMOOTH Finish
 0:06:44
Improper sanding between coats of finish- HOW TO AVOID IT!
 0:02:02
How to Finish Sand
 0:06:36
How to Sand Topcoat of Polyurethane
 0:11:46
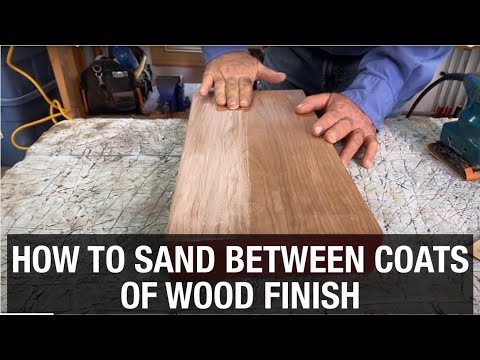
How to Sand Between Coats of Wood Finish
 0:04:56
Do you need to sand between coats of paint?
 0:00:08
How do you get that buttery smooth finish? Sanding between coats. Details in description.
 0:05:37
Sanding Between Clear Coats On A Guitar
 0:14:53
How I get that glass smooth top with polyurethane Tips and Tricks for Furniture Makeover
 0:00:56
Quick Base sanding Tip
 0:01:58
Sanding between coats of primer on cabinet doors
 0:00:40
Sanding Between 2 Coats of Polyurethane
 0:05:33
WOOD FINISHING: Glass-Smooth Results With Polyurethane
 0:00:51
CONTROVERSY: Sanding Between Coats, BETTER FINISH?
 0:08:13
Beginners guide to wet sand and buff your paint like glass!
 0:05:16
How To Wet Sand Clear Coat
 0:01:01
Sand after top coat for a smooth finish
 0:02:21
Sanding Between Coats - kitchen cabinet painting
 0:06:21
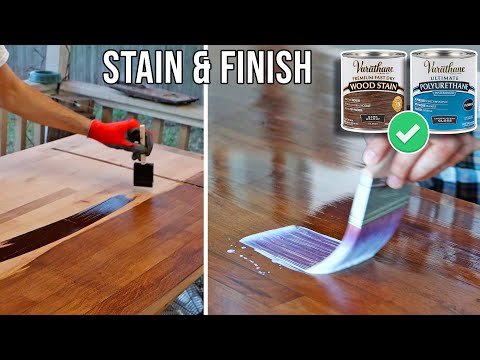
Stain & Finish Wood Like A Pro Step By Step + Tips & Tricks...
 0:15:29
How to Sand Between Coats
 0:07:47
The Secret to a Perfect Finish - Sand Between Coats!
 0:00:51
Should you sand in between coats of paint? #diy #sandingtips #remodel #shorts
 0:00:06
Sanding Between Coats
 0:00:21
Quick sanding between coats trick!
Комментарии