filmov
tv
How i make real metal enamel pins at home

Показать описание
My process of making metal pins, I do it myself at home. This is how I make enamel pins from brass sheets with photoresist ink and electro etching. Not a tutorial or howto/diy, just to show beauty of process, maybe someone will inspired like me.
Next part - trying to make hard enamel from glass
Next part - trying to make hard enamel from glass
 0:09:11
QUICK Molds and Casts in 1 HOUR OR LESS! (+ Real Metal Effect!)
 0:00:11
Making a spider out of scrap metal #shorts #sculpture
 0:06:25
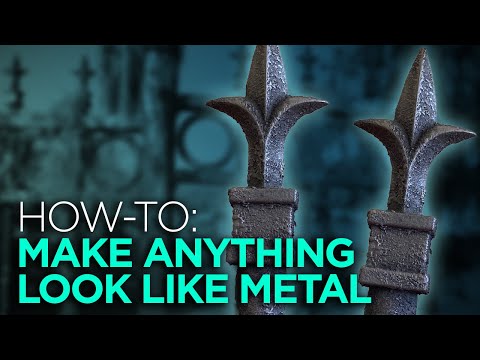
Make ANYTHING look like metal!
 0:00:32
How Metal Detectors Work 🤔
 0:10:42
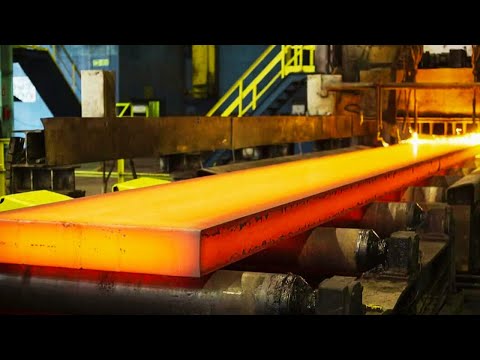
How STEEL is Made - From Dirt to Molten Metal
 0:00:32
We Made a REAL Performance Grade Katana
 0:04:34
Metal Casting: Transforming 3D Printed Models into Real Metal Objects
 0:02:28
How i make real metal enamel pins at home
 0:00:20
✨ Steel Polishing Transformation | Mirror Finish Grinding #shorts #viral
 0:06:51
Turning Foam into Metal | Painting Tutorial
 0:00:16
beyblade metal monster beyblade making
 0:00:40
Making a pure gold bead
 0:07:05
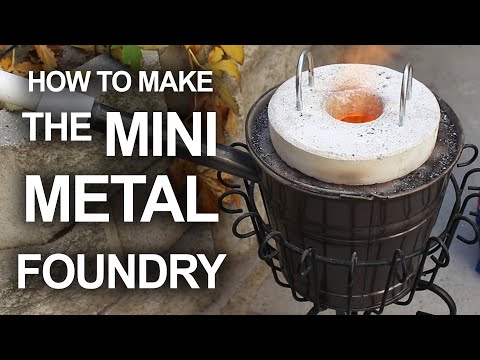
How To Make The Mini Metal Foundry
 0:00:30
My First DIY Metal Melting Foundry
 0:00:16
1:1 Beretta M92A1 lighter (All Metal)
 0:01:31
Making a Metal Rose🌹 out of Scrap Metal
 0:00:21
Metal Casting EP 705 | molding | making AK-47 Gun toy molding | metal making | Experiment
 0:00:15
Look what we found while metal detecting
 0:09:31
How to Make a Metal Detector at Home
 0:19:35
Smelting Iron from ROCKS (Primitive Iron Age Extraction)
 0:00:41
REAL Iron Man Tech!? #engineering #science #marvel #ironman ironman
 0:01:32
Metallic Painting Techniques - Real Metal Effects - PREVIEW
 0:02:34
How To Make Foam Look Like Metal in 4 Easy Steps (Cosplay, LARP, DnD, Halloween, Prop Making)
 0:03:45
How to Make a Metal Detector at Home - Everyone can Make - Easy to build
Комментарии