filmov
tv
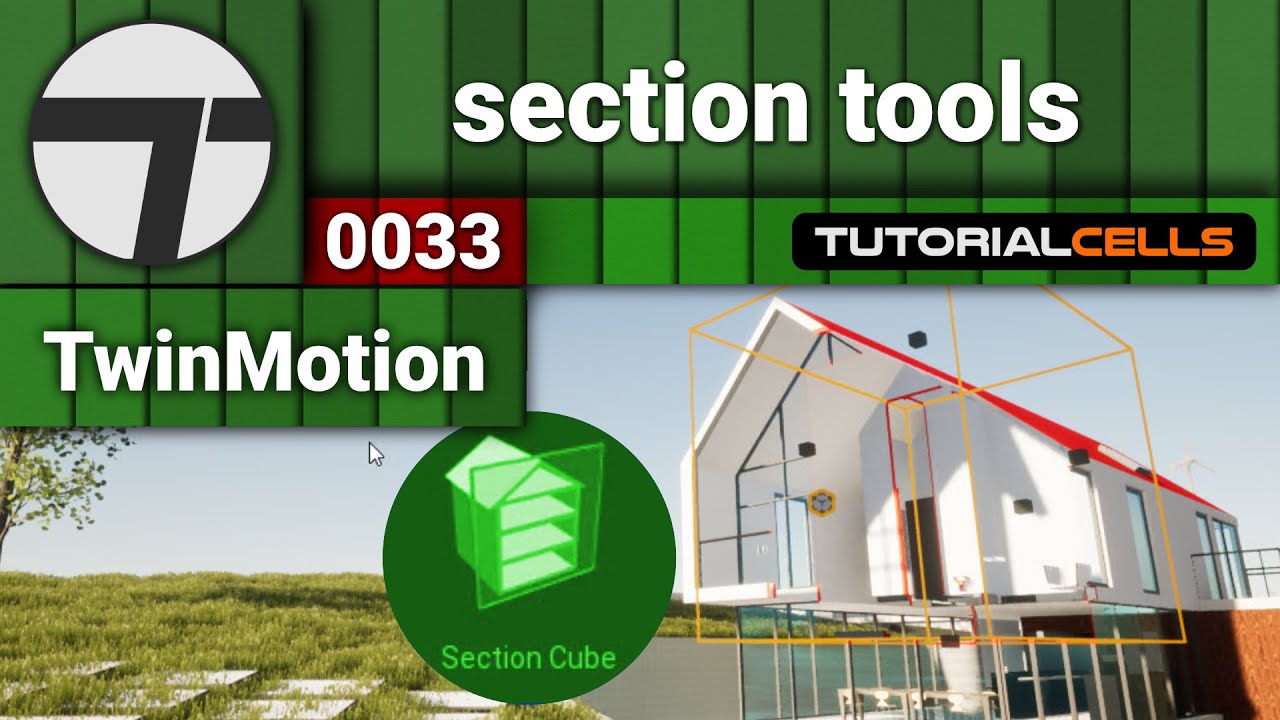
0033. section tool in twinmotion
Показать описание
twinmotion tutorials playlist
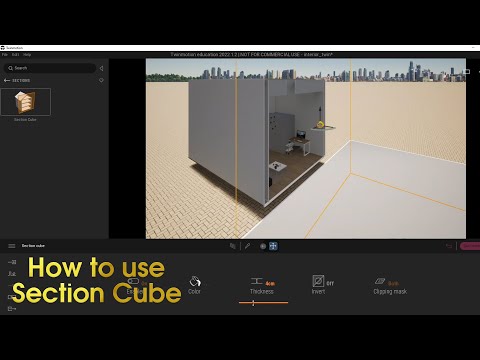
In this lesson, we want to explain the section tools. To do this, enter the tools section in the library. And then sections. There is only one item, we insert the section cube. And put in the desired place. You can move it with the translate tool. as you see . this tool cut all the geometries and you can see inside the building. You can also rotate it with the rotate tool. And resize it with the scale tool. There are handles that you can use to change the dimensions of the cube. In settings .. You can enable or disable this tool in enabled. In color you can change the color effect that shows the cut location. This effect is determined by the thickness in thickness. If set it to zero, the cut is made exactly at the edges of the cube. But if you increase the number a little, you will see that a little offset is created. In invert you can reverse how to execute this command. That is, only objects inside the cube are seen and the rest disappear from view. In the clipping mask, which is both by default, you can specify whether this tool cuts on geometries, point clouds, or both. You can use this tool as many times as you want in different places of the scene and refer to the scene manager to access them.
In this lesson, we want to explain the section tools. To do this, enter the tools section in the library. And then sections. There is only one item, we insert the section cube. And put in the desired place. You can move it with the translate tool. as you see . this tool cut all the geometries and you can see inside the building. You can also rotate it with the rotate tool. And resize it with the scale tool. There are handles that you can use to change the dimensions of the cube. In settings .. You can enable or disable this tool in enabled. In color you can change the color effect that shows the cut location. This effect is determined by the thickness in thickness. If set it to zero, the cut is made exactly at the edges of the cube. But if you increase the number a little, you will see that a little offset is created. In invert you can reverse how to execute this command. That is, only objects inside the cube are seen and the rest disappear from view. In the clipping mask, which is both by default, you can specify whether this tool cuts on geometries, point clouds, or both. You can use this tool as many times as you want in different places of the scene and refer to the scene manager to access them.
 0:03:48
 0:05:26
 0:18:15
 0:02:49
 0:15:34
 0:02:40
 0:00:21
 0:00:10
 0:07:02
 0:00:33
 0:08:33
 0:04:33
 0:00:21
 0:01:30
 0:00:29
 0:09:54
 0:35:42
 0:00:31
 0:00:33
 0:00:33
 0:01:24
 0:05:33
 0:01:33
 0:00:34