filmov
tv
DIY Privacy Fence | How to build a Fence | 150+ Feet 6' Shadow Box | Fence Makeover Pt. 1

Показать описание
I am currently extending my fence closer to the property lines to enable us to fully utilize more of our backyard and increase privacy. In this video will show you how to build a fence or at least the way I built our 6 foot privacy fence. The project starts in this video with the creation of 150+ feet of new 6’ tall shadow box fence to match the existing fence we have. I show my plans, method of installing the posts and building the new sections of fence. I believe this is a great DIY Fence project that most anyone could handle with enough time and a few key tools. In future videos I will give more details of how I built the large gate, how I reuse the old sections of fence, and the staining process of the sections built in this video.
I hope you enjoyed the video and come back to see how the project turns out!
Special thanks to my dad for helping out with this one!
Links (Some affiliate links to help channel)
Tools:
 0:05:51
Horizontal Fence Build A to Z
 0:32:10
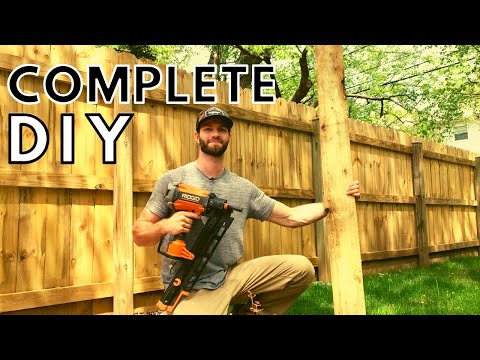
NO EXPERIENCE NEEDED on HOW TO BUILD a FENCE from START to FINISH | Gate Build and Fence Staining
 0:12:14
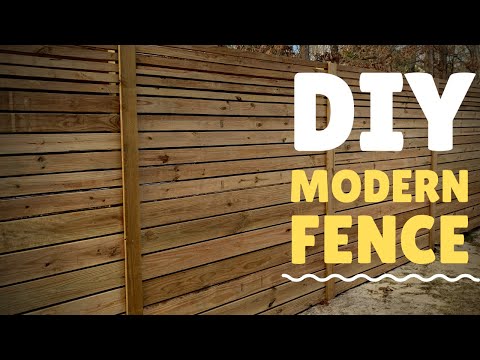
How To Build a Modern Horizontal Privacy Fence - DIY Friendly Project
 0:09:17
DIY Fence On a Budget!
 0:07:06
How to Install a Vinyl Fence DIY Privacy Fence Build
 0:04:08
DIY Wood Privacy Fence | Easy Step by Step Tutorial for Beginners and DIYers
 0:11:23
How To Easily Build Horizontal Cedar Privacy Fence
 0:04:42
Is it CHEAPER to hire a FENCE contractor or to take the DIY ROUTE? (Full Video)
 0:16:36
Paying to have a new fence built is expensive! Do this instead.
 0:05:54
How to make DIY cedar fence panels with built in lights | The DIY Tribe
 0:23:44
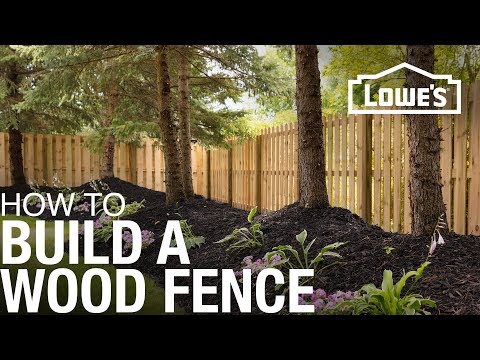
How to Build a Wood Fence
 0:16:49
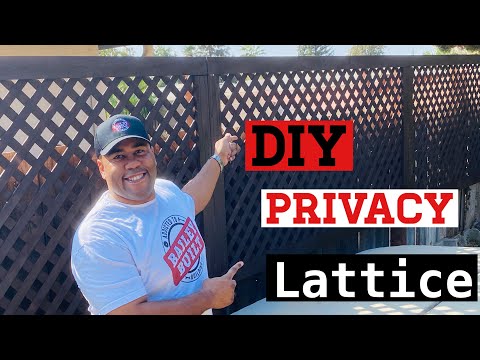
How to build a DIY Privacy Lattice Fence
 0:00:48
DIY Wooden Privacy Fence #fence #diy #privacyfence #woodenfence #fence #ideas #chainlink #backyard
 0:08:32
How to Build a Privacy Fence! (on a budget)
 0:02:52
How to Build a Wood Privacy Fence
 0:07:34
DIY Menards premade fence panels ON a BUDGET
 0:03:05
EASY DIY Privacy Fence
 0:05:05
CHEAPEST Way To Build A Fence In 2023
 0:08:12
How To Build A Privacy Fence (Easy DIY Weekend Project!)
 0:09:13
DIY Modern Privacy Fence
 0:20:22
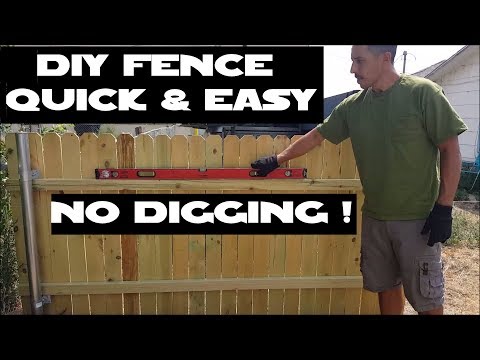
Installing A No Dig Privacy Fence Crazy Fast!
 0:04:35
Convert Your Chain Link Fence To Privacy In 2 Easy Steps
 0:08:08
The Simplest Fence You Can Build
 0:03:23
5 Mistakes NOT to Make When Building a Fence
Комментарии