filmov
tv
Traditional Style Wardrobes Build

Показать описание
How we built these wardrobes with some more traditional looking features. Footage from November 2019.
(This is a direct link to an unlisted video - usually for members only, it is not public visible or searchable on my YouTube Channel)
I'm also putting brief updates on my stories on instagram:
(This is a direct link to an unlisted video - usually for members only, it is not public visible or searchable on my YouTube Channel)
I'm also putting brief updates on my stories on instagram:
 0:05:24
HOW TO CREATE YOUR PERFECT CLASSIC WARDROBE | LOOKBOOK
 0:08:28
How to Build a Classic Timeless Wardrobe on Any Budget
 0:05:26
How To Build An Old Money Aesthetic Wardrobe (Properly)
 0:17:33
Traditional Style Wardrobes Build
 0:19:48
16 Old Money Clothing ESSENTIALS * Capsule Wardrobe for a Classic Style!
 0:00:16
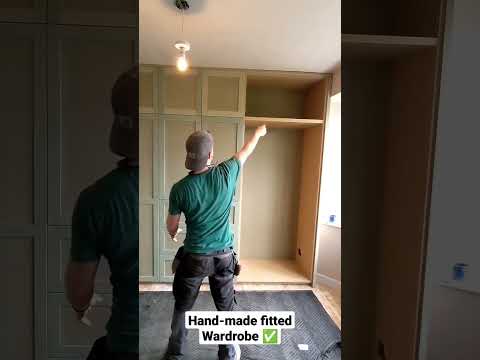
Doors on the handmade fitted wardrobe. #diy #diytips #carpenter #woodworking #diyprojects #howto
 0:00:59
How Build A Wardrobe From Scratch
 0:00:30
IKEA PAX DIY Closet Q&A
 1:00:00
HSN | Jambu Footwear 03.08.2025 - 02 PM
 0:01:01
Building a wardrobe unit #diy #closet #walkincloset #makeover #dreamcloset
 0:00:30
IKEA PAX Wardrobe Hack #DIYShorts #IKEAHack
 0:01:00
How to make sliding wardrobe base & how to do level #stepbystep #howtodo #justwatchit #slidingdo...
 0:01:00
IKEA PAX wardrobe hack
 0:13:25
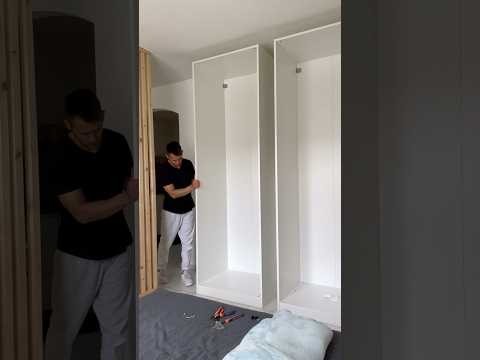
DIY Fitted Wardrobe Build with Basic Tools - Video #1 : PLINTH & CARCASSES
 0:00:16
HOW TO BUILD AND CREATE A SPRING CAPSULE WARDROBE / MINIMAL STYLE & SPRING ESSENTIALS
 0:09:10
How To Build a Classic Wardrobe
 0:00:31
Budget wardrobes
 0:00:32
Making My Whole Wardrobe For A European Vacation! #sewing #fashion #style
 0:00:28
How To Build A Beginner’s Wardrobe
 0:13:23
How to Build a Wardrobe Armoire Cabinet--{Using 2x4s and Plywood!}
 0:00:19
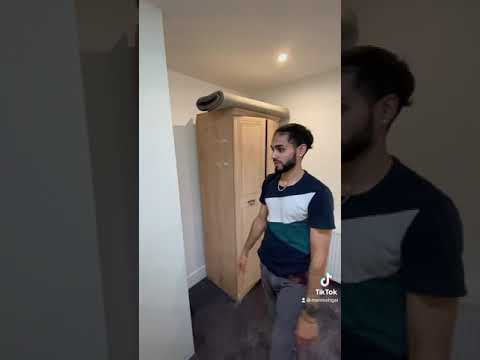
Small closet install #diy #process #closet
 0:00:50
Sliding wardrobe installation .
 0:00:58
Closet makeover! Would you have kept the doors? #closetmakeover #diycloset #closet
 0:00:24
IKEA PAX WARDROBE | How to connect
Комментарии