filmov
tv
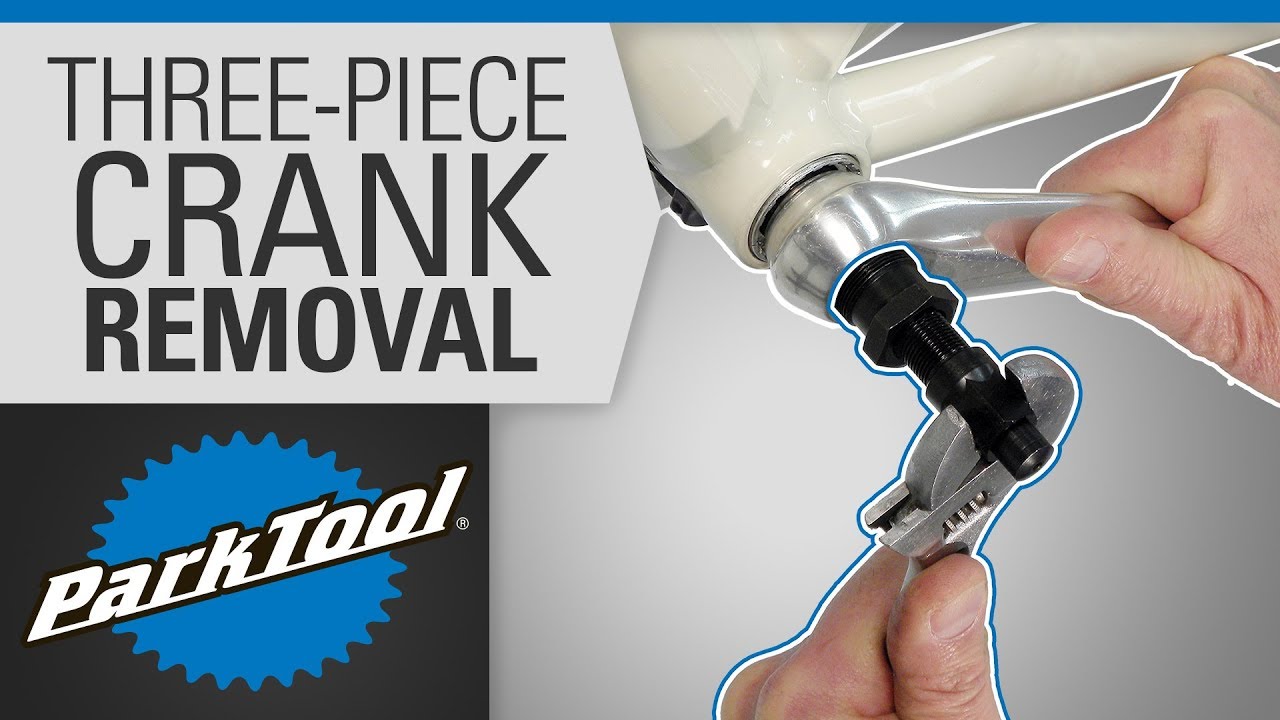
Crank Removal and Installation - Three Piece Crankset (Square Spindle, ISIS, Octalink)
Показать описание
How to remove and install a three-piece crank on a bike, including ISIS Drive, Shimano® Octalink®, and traditional square-type spindle arms.
Questions or comments? Leave them below!
Video contents:
02:02 Tools Needed
02:42 Removal
06:37 Installation
➤ Tools & materials used:
➤ Fix It:
Did you know that Park Tool is the #1 resource for bicycle repair education?
➤ About Park Tool:
Since our founding in 1963, Park Tool has been the leading name in bicycle tools. Our YouTube channel is an extension of our mission to be the ultimate resource for mechanics and riders of all skill levels. Here you will find comprehensive repair help tutorials for a wide range of components and processes, as well as troubleshooting guides, tips and tricks, and information on the latest Park Tool products.
➤ More Crank & Pedal Repair Help:
 0:09:30
Crank Removal and Installation - Three Piece Crankset (Square Spindle, ISIS, Octalink)
 0:06:39
Crank Removal and Installation - Two Piece Compression Slotted (Hollowtech II, FSA)
 0:00:58
How to Remove and Install a Crank Arm on a Bike
 0:11:21
How To Remove And Install Bicycle Cranks | Road Bike Crankset Removal & Replacement
 0:06:09
Crank Removal and Installation - Self Extracting
 0:10:17
How To Remove & Reinstall Mountain Bike Cranks | MTB Maintenance
 0:06:39
Bike Crank Removal and Installation - Three Piece Crankset
 0:06:46
Crank Type Identification
 0:00:55
2012 LandRover LR4 5.0 crank bolt removal, left hand thread with special service tool.
 0:05:52
One Piece Crank & Bottom Bracket Removal and Installation
 0:05:29
Crank & Bearing Removal and Installation - Campagnolo® Ultra-Torque™
 0:02:58
Crank Removal and Installation - Campagnolo® Ultra-Torque™
 0:04:29
Park Tool Bike Crank Removal Puller Tool Review and Demonstration
 0:10:52
Remove Cranks Without A Crank Puller
 0:01:54
Bottom Bracket Preload Adjustment (SRAM® DUB®, Shimano® XTR®, etc.)
 0:02:13
Avoid This Common Shimano Crank Installation Pitfall
 0:04:51
How To Remove/Install Crank Arms On A Bike
 0:07:43
What Type of Bottom Bracket do I Have?
 0:02:02
Early Rider - How To: Crank Removal and Installation
 0:02:20
Tech Tuesday #44: Crank Puller in Action
 0:06:44
S-Works Crank TOTAL Rebuild & Removal + Install
 0:01:59
Indoor Cycling Bike Crank Removal Instructions
 0:04:40
SRAM MTB: DUB™ Bottom Bracket and Crankset Installation
 0:01:21
FSA Crank Removal
Комментарии