filmov
tv
Meng Merkava Mk 4M Part 3

Показать описание
We are now on the third installment of the MENG Merkava Mk4M construction series. We glue everything in place on the hull and turret, then soldier on with building the single link tracks that come with the kit.
 1:00:42
Meng Merkava Mk 4M Part 1
 0:05:58
Meng Merkava Mk.4m 1/35 scale | 5 Minute Review
 1:00:10
Meng Merkava Mk 4M Part 3
 1:00:47
Meng Merkava Mk 4M Part 2
 1:39:33
Meng Merkava Mk 4M Part 6
 0:09:03
Meng 1/35 Merkava Mk.4M com Sistema 'Trophy' – Análise
 0:11:30
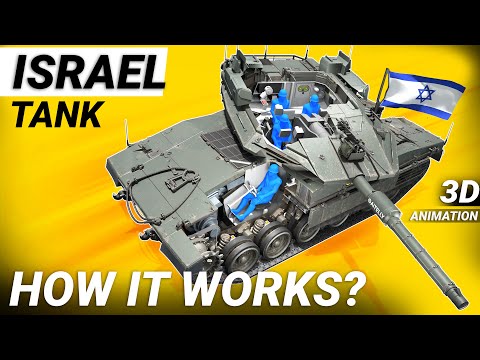
Israel Merkava Tank | Ground Operation Vehicle
 0:12:12
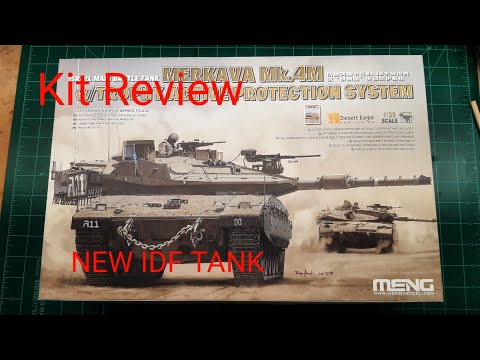
Unboxing MENG MERKAVA Mk.4M. 1/35
 0:15:11
Meng 1/35 Merkava MK.4M With Trophy Active Protection System Review (Video #79)
 0:25:15
MERKAVA Mk.4M with Trophy Active Protection System (Part 1)
 0:18:01
Merkava Mk.4m W/Trophy Active Meng 1/35 TS-036 Israel Main Battle Tank Полная сборка и окраска 1 ч....
 0:58:25
Weathering a Merkava Mk4 part 7
 0:40:38
MERKAVA Mk 4M with Trophy Active Protection System (Part II)
 0:18:17
Merkava Mk.4m W/Trophy Active Meng 1/35 TS-036 Israel Main Battle Tank. Покраска.
 0:01:00
Новинка от MENG в 35 масштабе. Израильский основной боевой танк Merkava Mk.4M с крышей....
 0:03:10
Merkava Mk.4M, Meng 1/35.
 1:04:08
Nearing completion: MENG Merkava Mk4M pt8
 0:00:52
Merkava Mk.4 with Trophy #scalemodel #militarytanks #1/35scale #Meng #IsraeliDefenseForces
 0:36:39
Merkava Mk.4 with Mine Roller Unboxing | Meng | #askHearns
 0:39:33
Обзор Merkava 4 - израильский основной боевой танк от Meng в 1/35 (Merkava 4 Meng model 1:35 Review)...
 0:20:40
UNBOXING Meng Model TS-049 Israel Main Battle Tank Merkava Mk.4/4LIC w/Nochri-Kal Mine Roller System
 0:00:45
“Sneak Peek “MERKAVA Mk.4M with trophy #scalemodel #militarytanks #merkava #vonfalaguestudio
 0:18:00
Обзор модели танка 'Merkava Mk 4m WTrophy Active' фирмы 'Meng' в 1/35 масштабе....
 0:00:40
The Merkava Mk IV Main Battle Tank. #military #navy #soldier #marine #militarypersonnel #army #tank
Комментарии