filmov
tv
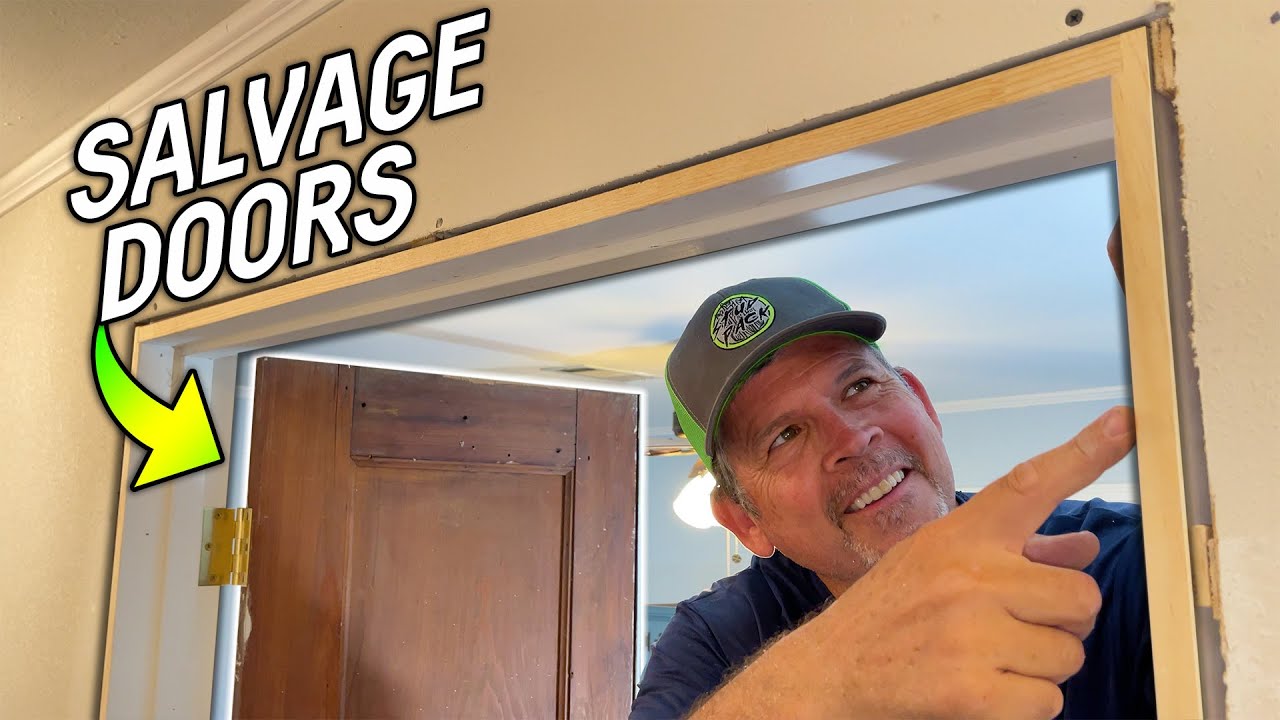
How to Build a Custom Door Jamb (and Hang Your Salvage Doors!!)
Показать описание
Hey Gang! Today's video is all about Salvage Doors and custom door Jambs! We love salvage furniture and would love to start seeing it in more homes! Unfortunately, we don't see Salvage Furniture too often, and we think that might be because people just simply don't know how to tackle a task like this! We're excited to bring this video to you and hopefully it can help a few people out there put a piece they've fallen in love with. Thanks for watching and we'll see ya in the next one!
PO BOX
7516 Bluebonnet Blvd box number 439
Baton Rouge, LA 70810
PO BOX
7516 Bluebonnet Blvd box number 439
Baton Rouge, LA 70810
 0:17:53
How to Build your FIRST Custom Keyboard (In 2024)
 0:13:06
How to build your FIRST custom keyboard! (ON A BUDGET)
 0:08:01
How to Build a Custom Keyboard From Scratch | Part 1 Layout and Design
 0:23:18
How to Build Your FIRST Custom Keyboard... (in 2023)
 0:17:40
How to build your own custom watch (Don't do what I do, learn from my failure!)
 0:15:00
Making a CUSTOM guitar: The OPAL (Full BUILD)
 0:17:42
How to build your FIRST custom keyboard! (BUDGET FRIENDLY)
 0:23:24
Build a Custom Bike in a Day with Only Hand Tools!
 0:00:44
How To Build Custom AI Tools That Solve Your Business Needs #ai #aitools  #customgpt #chatgpt
 0:17:51
BUILD vs BUY Custom Mechanical Keyboard!
 0:22:48
How to build a custom center console
 0:16:02
I Tried the $2 Keycaps From AliExpress...
 0:14:03
How to Build a Custom Knowledge ChatGPT Clone in 5 Minutes
 0:20:07
Making A Custom Electric Guitar (Full Build)
 0:11:29
Full Custom Cruiser Bicycle Build In 11 Minutes!
 0:34:48
How To Build Your Own Custom Automatic Watch from Online Parts
 0:13:52
How to build a CUSTOM keyboard. (BEGINNER FRIENDLY)
 0:16:27
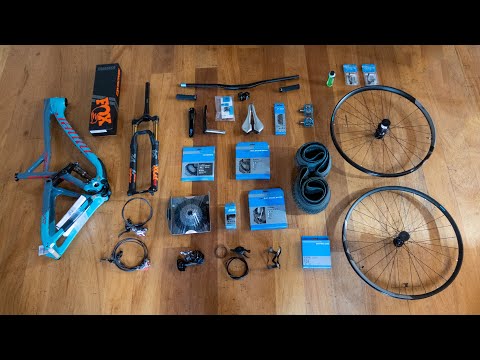
Everything you need to know to build a custom bike from the frame up!
 0:16:21
BUILD vs BUY: DIY Custom Closet System
 0:09:52
How to Build an Epic Work Desk for Under $75 | Custom All Wood Desktop
 0:18:46
How To Build Custom Seats with Cato's Custom Upholstery | Bitchin Stichin | Ford Era
 0:54:14
Building a Custom Bicycle in 4 weeks, THE Full Build
 0:00:45
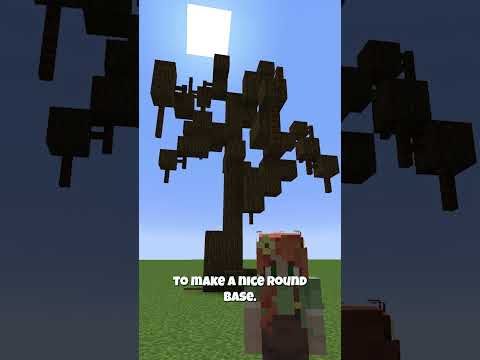
How to Build Custom Minecraft Trees #Shorts
 0:20:43
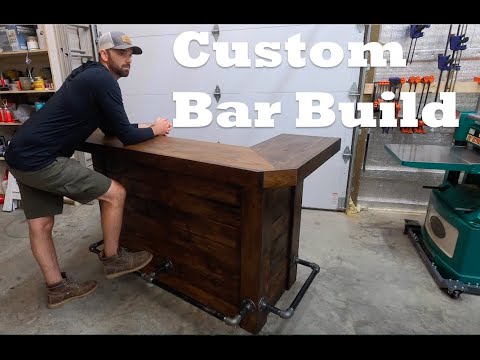
Custom Bar Build - Tutorial Style DIY Video
Комментарии