filmov
tv
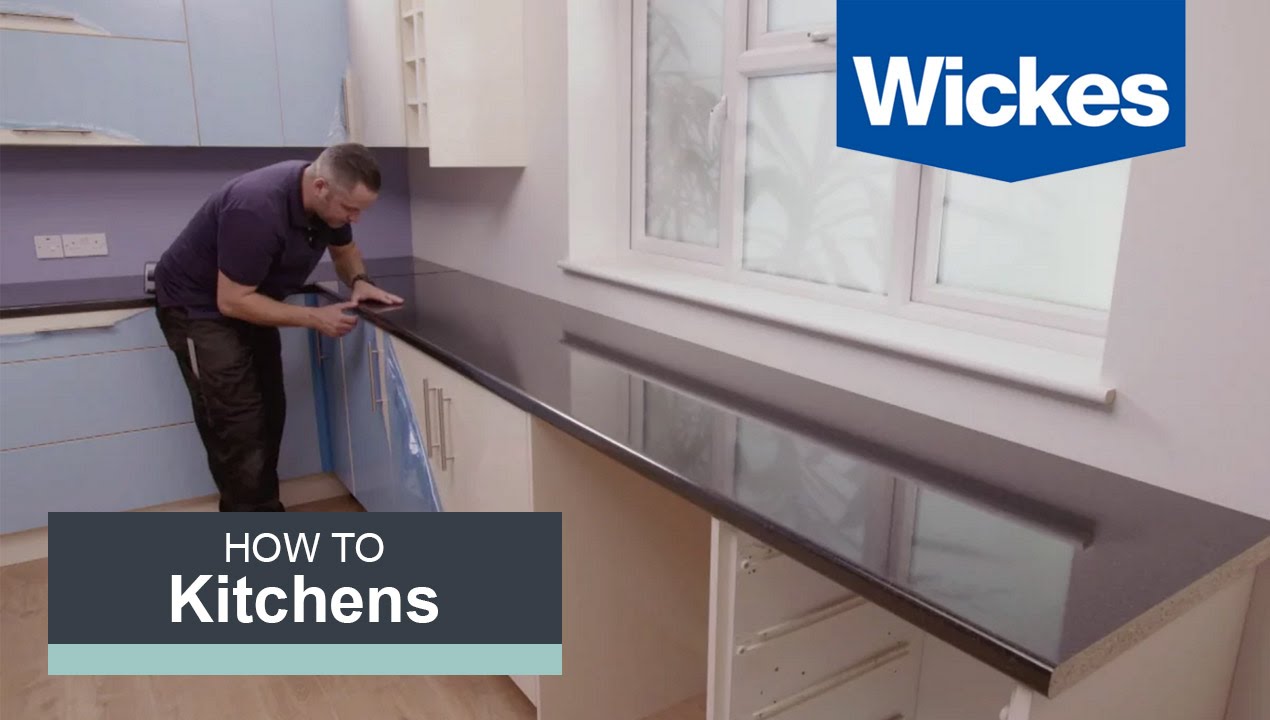
How to Fit a Kitchen Worktop with Wickes
Показать описание
There are many different types of kitchen worktop available including wood, granite and laminate. Learn how to fit a laminate kitchen worktop with this step by step guide from one of our Wickes experts.
These are the steps to fit your worktop:
1. Position the worktop on the base units, checking the overhang is even.
2. To join the worktop to another piece of worktop, start by measuring it's width. Use a joining strip and cut to the correct length using a hack saw.
3. Place the strip with the flat surface against the cut edge and screw into place.
4. Clamp the worktop into position, fixed to the units from the underside.
5. Drill three holes in the back and front support struts of each cabinet – one hole both ends and one in the middle for each unit.
6. Screw the units to the worktop.
7. To finish the cut edges use the supplied end strip. Cut the correct size by taping it to the end and using the worktop as a template.
8. Carefully cut using scissors.
9. Use masking tape to protect the surface of the worktop before applying contact adhesive.
10. Brush the contact adhesive on to the end strip and the end of the worktop, make sure the surface you are doing this on is protected and keep a window open to allow ventilation.
11. Leave the contact adhesive for 15 minutes to dry.
12. Stick the end strip into place and peel off the tape (if the end strip still protrudes, use sandpaper or a file to neaten).
Watch more helpful DIY videos from Wickes below;
For more tips and general advice on how to do it yourself from Wickes, you can visit;
 0:39:00
How to fit a kitchen
 0:19:28
How to fit a kitchen
 0:40:20
How to Install a Kitchen | Step-by-Step Guide
 0:08:24
How to fit kitchen units part 1: assembling & fitting units
 0:16:46
FITTING SMALL KITCHEN ,HOW TO
 0:10:50
Montage kitchen #kitchen
 0:22:23
Kitchen Fitting with Dan Cox
 0:03:40
5 Tips & Tricks Every Kitchen Fitter Should Know
 0:00:41
5 Quick Kitchen Tips You Need!🍽️✨👩🍳
 0:05:08
How to Install Base Cabinets with Wickes
 0:05:39
How to Fit a Kitchen Worktop with Wickes
 0:02:20
How to fit a kitchen worktop
 0:08:28
Kitchen fitting How to install corner post in a Base corner unit
 0:37:10
How To Install Kitchen Cabinets: The Ultimate DIY Guide
 0:00:41
How to fit a straight corner base - Kitchen Warehouse
 0:03:11
How to Fit a Kitchen Plinth, Pelmet and Cornice with Wickes
 0:11:31
Kitchen fitting basics plus 12 kitchen fitting tips
 0:16:24
KITCHEN FITTING UK. ***GLOSS GREY HANDLE LESS KITCHEN*** PT1
 0:16:46
KITCHEN FITTING TOP TIPS
 0:04:41
How to fit a kitchen sink with Wickes
 0:16:50
Kitchen fitting basics. PART 1. Base units
 0:27:22
Small kitchen installation full job fitting
 0:08:27
Kitchen INSTALLATION for Beginners
 0:14:52
how to fit a kitchen worktop and make kitchen worktop butt joint without router
Комментарии