filmov
tv
How to Fit a Kitchen Plinth, Pelmet and Cornice with Wickes
Показать описание
Kitchen plinths, pelmets and cornices complete the look of your kitchen. Learn how to fit all three with these step by step guides from one of our Wickes experts.
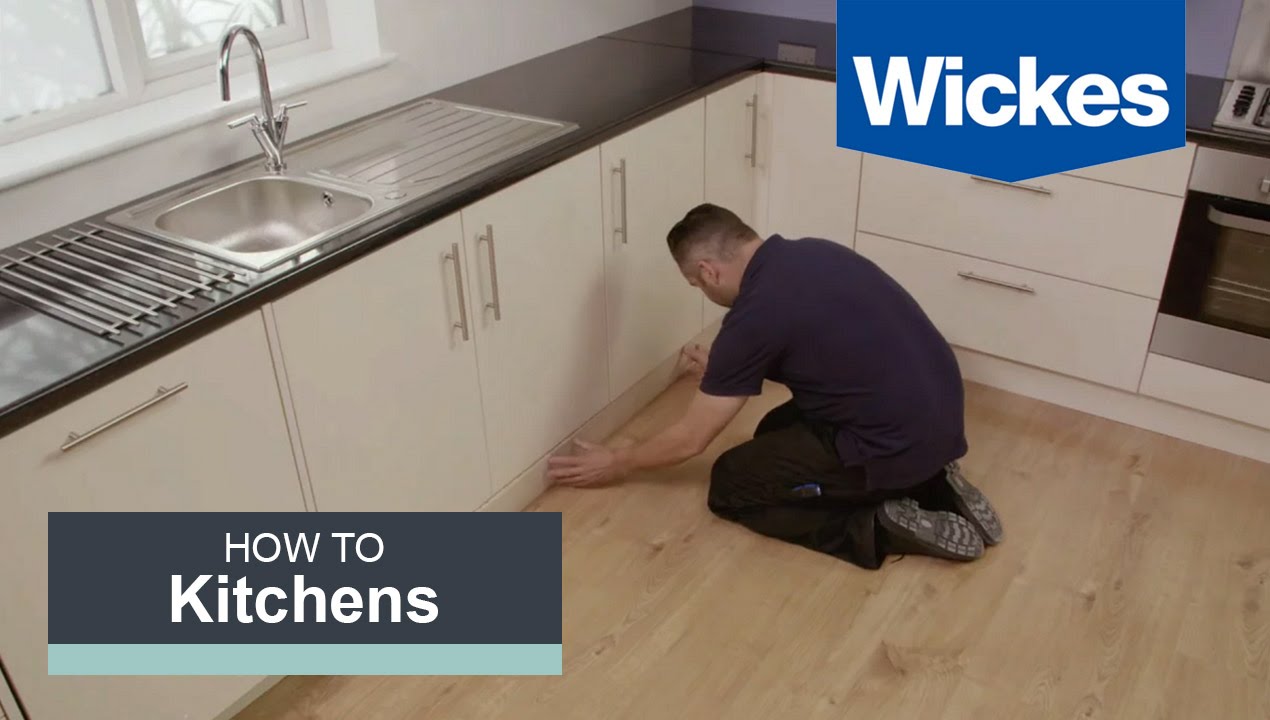
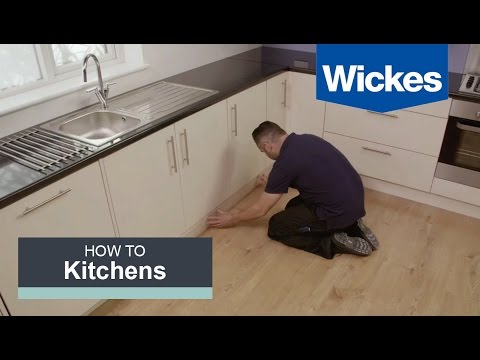
The plinth fits under your kitchen cabinet and stops rubbish and debris from collecting underneath. These are the steps to fit your plinth:
1. Place the correctly cut plinth in front of the cabinet feet.
2. Mark the centre point of the feet on the board.
3. Screw the brackets centrally to the mark and roughly halfway up the plinth.
4. Slide in the clip.
5. Clip the plinth onto the legs.
Pelmets sit underneath your wall units and help hide lighting above your worktop, these are the steps to fit your pelmet:
1. Cut your pelmet to the correct length. To ensure neat joins at the corners use a mitre block to cut 45 degree angles.
2. Screw joining blocks to the top inside edges of your pelmet.
3. Position the pelmet flush with the edge of the unit.
4. Screw the joining blocks to the underside of the unit.
5. Apply mitre bond to the mitred end.
6. Butt the next piece of pelmet against the first and press against the mitred end.
7. Screw the joining blocks, on the next piece of pelmet, into the unit and repeat for all pelmets.
The cornice allows you to finish the top of your wall units seamlessly and is fitted in the same way as the pelmet but you may not need to use joining blocks as the screws will not be visible from ground level.
Watch more helpful DIY videos from Wickes below;
For more tips and general advice on how to do it yourself from Wickes, you can visit;
 0:39:00
How to fit a kitchen
 0:19:28
How to fit a kitchen
 0:40:20
How to Install a Kitchen | Step-by-Step Guide
 0:08:24
How to fit kitchen units part 1: assembling & fitting units
 0:16:46
FITTING SMALL KITCHEN ,HOW TO
 0:22:23
Kitchen Fitting with Dan Cox
 0:03:40
5 Tips & Tricks Every Kitchen Fitter Should Know
 0:05:08
How to Install Base Cabinets with Wickes
 0:00:41
5 Quick Kitchen Tips You Need!🍽️✨👩🍳
 0:10:50
Montage kitchen #kitchen
 0:05:39
How to Fit a Kitchen Worktop with Wickes
 0:02:20
How to fit a kitchen worktop
 0:08:28
Kitchen fitting How to install corner post in a Base corner unit
 0:00:41
How to fit a straight corner base - Kitchen Warehouse
 0:03:11
How to Fit a Kitchen Plinth, Pelmet and Cornice with Wickes
 0:11:31
Kitchen fitting basics plus 12 kitchen fitting tips
 0:37:10
How To Install Kitchen Cabinets: The Ultimate DIY Guide
 0:16:24
KITCHEN FITTING UK. ***GLOSS GREY HANDLE LESS KITCHEN*** PT1
 0:16:46
KITCHEN FITTING TOP TIPS
 0:04:41
How to fit a kitchen sink with Wickes
 0:16:50
Kitchen fitting basics. PART 1. Base units
 0:23:44
Kitchen Fitting Trade Tips with Robin - Capel #25
 0:14:52
how to fit a kitchen worktop and make kitchen worktop butt joint without router
 0:27:22
Small kitchen installation full job fitting
Комментарии