filmov
tv
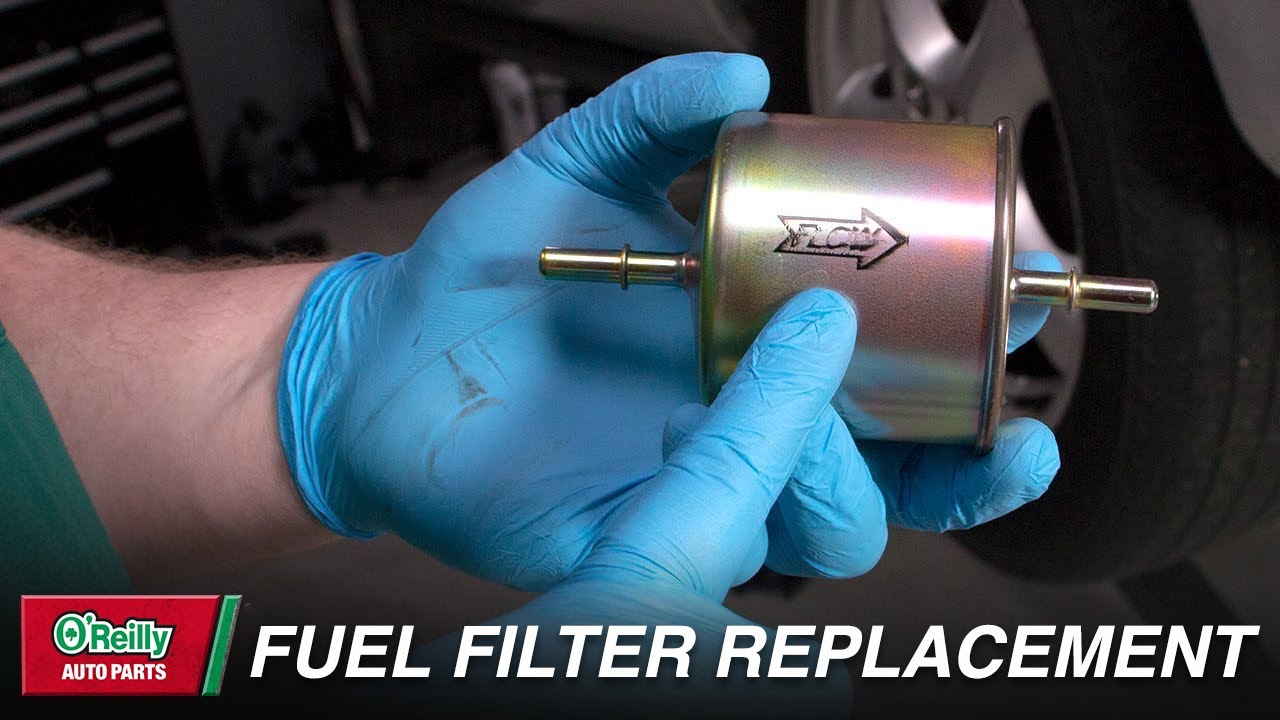
How To: Replace Your Vehicle's Fuel Filter
Показать описание
Changing your vehicle's fuel filter is not a job easily performed on every vehicle. There are different ways that your vehicle's fuel line can be connected to the filter and different places that the fuel filter can be located. It's important to look at your manufacturer's specifications for your vehicle and it's fuel filter placement before performing this DIY job.
Supplies Needed for This Job:
0:00 Welcome Back
0:29 Fuel Filter Tips
0:50 Remove the Fuel Pump Fuse
1:00 Start Your Engine
1:17 Disconnect the Negative Battery Cable
1:29 Move a Drain Pan In Place
2:00 Remove the Old Filter
2:43 Install the New Filter
3:25 Reattach the Fuel Pump Fuse
3:30 Reconnect the Negative Cable
3:43 Start Your Engine
3:53 Check For Leaks
On our channel we cover several different topics:
Automotive Product Overviews
Do It Yourself Automotive Repair
DIY Auto Maintenance
Simple Automotive Diagnostics
Automotive and Vehicle Education Videos
O’Reilly Auto Parts is an auto parts retailer that provides automotive aftermarket parts, tools, supplies, equipment, and accessories in the United States serving both the professional service providers and do-it-yourself customers. From our roots as a single store in 1957 to our current size of 5,219 locations (and growing), we've come a long way. We pride ourselves on offering well researched, and reliable automotive information on our channel.
#OReillyPowered #CarRepair
#CarMaintenance #TeamOReilly
Transcript:
A couple tips before we get started: changing your fuel filter when you’re down to less than a quarter tank of fuel will make removing pressure from the fuel line easier. Also, make sure you’re working in a well-ventilated area so combustible fumes don’t accumulate.
We can recommend a professional technician in your area if you’re not completely comfortable doing the job yourself, but if you are, here’s what you’ll do:
[Hood open]
• First, you need to remove pressure from the fuel line. So remove your fuel pump fuse or relay. In this case, the relay is under the hood.
[Inside vehicle]
• Start your engine and allow it to idle until it stalls. This may trigger your Check Engine Light.
• Once it stalls, crank the engine again for about 5 seconds to release fuel pressure. This should relieve most of the pressure, but there could still be a little fuel that squirts or leaks when you detach the filter.
• Turn the ignition back to the OFF position.
[Under hood]
• Now, disconnect the battery ground cable, marked with a minus sign. Set it to the side and make sure it isn’t touching anything metal.
• Raise and support your vehicle. In this case, we’ll be working in the rear.
[Under car]
• Once you’ve located the filter, push the release buttons on either side that are holding it in place. Your model may have clips that require a quick-release tool or screwdriver to detach from the line. Be careful not to kink your fuel lines as you detach the filter—this can cause leaks.
• It may be helpful to push the line into the filter while you’re trying to loosen the clips.
• Have a drain pan of some kind in place under the filter to catch any fuel that’s left in the line or filter when you detach them. It’s also a good idea to have some rags handy. Some vehicles will leak continually until everything is reassembled.
• Used automotive fluids are toxic and harmful to the environment and people. Used fuel is considered hazardous waste, so we can’t recycle it in our stores. Most communities have hazardous waste collection sites, so we suggest visiting your city or county website for details.
• Loosen the clamp… then disconnect the fuel line fittings… and remove the filter.
• Your old filter may or may not have an arrow indicating the direction fuel is flowing, but the new one should. The direction of fuel flow will always be toward the front of the vehicle.
• Now, you’ll install the new filter. These are a few of the possible types of fittings you could see. Use the fittings that came with the filter to attach it to the fuel line… and secure the clamp to hold it in place.
[Under hood]
• Reinstall the fuel pump relay or fuse… and reattach the negative battery cable.
[Inside vehicle]
 0:10:06
How to Replace Struts in your Car or Truck
 0:28:24
How to Replace a Transmission (Full DIY Guide)
 0:02:20
How to Change a Car Battery | DIY Car Repairs | The Home Depot
 0:32:00
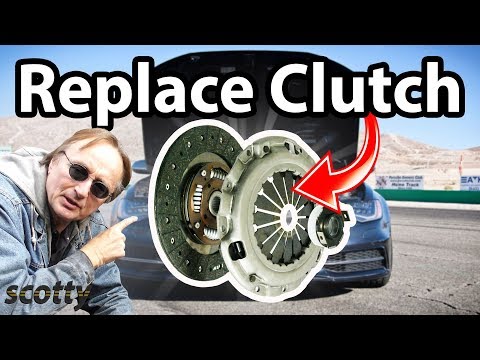
How to Replace a Clutch in your Car or Truck (Full DIY Guide)
 0:18:26
How to Replace a Radiator (Complete Guide)
 0:13:11
How to Diagnose and Replace a Starter
 0:06:27
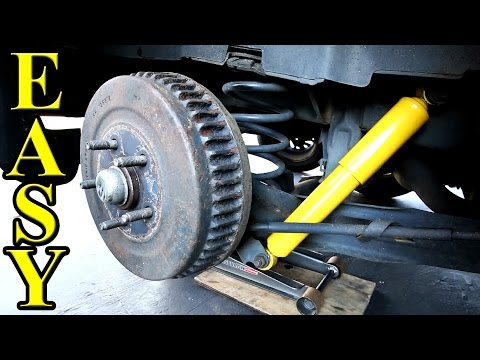
How to Replace Shock Absorbers on your car FAST and Easy
 0:08:30
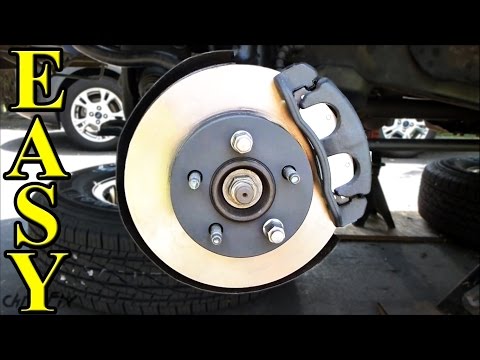
How to Replace Front Brakes, Pads and Rotors
 0:22:06
2020 Honda CR-V AWD 1.5 Turbo - Rear Differential Service
 0:15:26
Under the Hood Basics! Learn About the Stuff Under Your Car's Hood!
 0:03:23
How to Replace a Bad Thermostat in Your Car
 0:03:12
How to Replace a Bad Starter in Your Car
 0:05:09
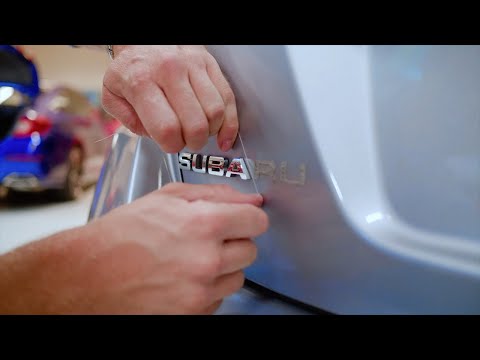
How To Remove Car Emblems (Debadging) WITHOUT DAMAGING THE PAINT!
 0:14:21
How to Change a Tire (plus jacking it up)
 0:02:59
How to Replace a Bad Computer in Your Car
 0:04:04
How to Replace a Clutch in Your Car
 0:20:29
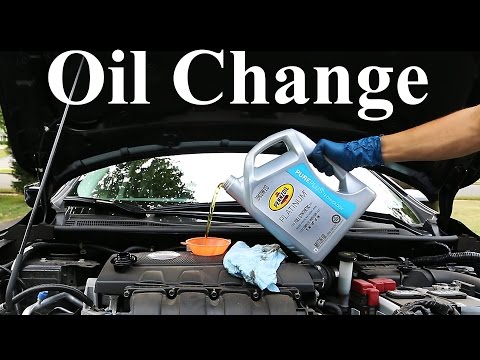
How to Change Your Oil (COMPLETE Guide)
 0:13:53
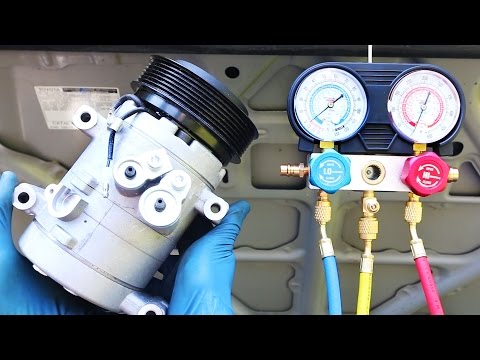
How to Replace an AC Compressor in your Car
 0:03:17
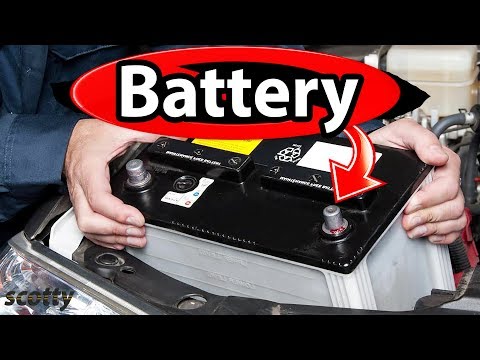
How to Replace a Car Battery (the Right Way)
 0:06:50
How to Quick Flush Your Cars Cooling System
 0:21:55
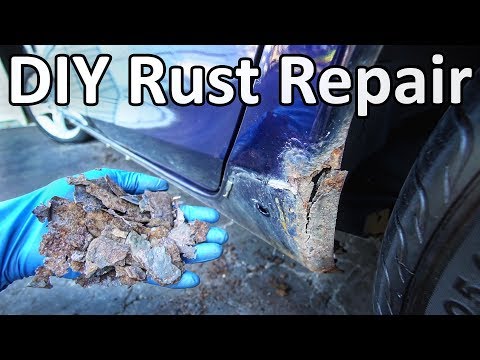
How to Repair Rust on Your Car Without Welding (No Special Tools Needed)
 0:02:01
How to Replace Windshield Wipers on Your Car (Easy)
 0:09:55
How To Change Replace Brake Pads Easy Simple
 0:01:57
How To: Replace Your Vehicle's Side View Mirror Glass
Комментарии