filmov
tv
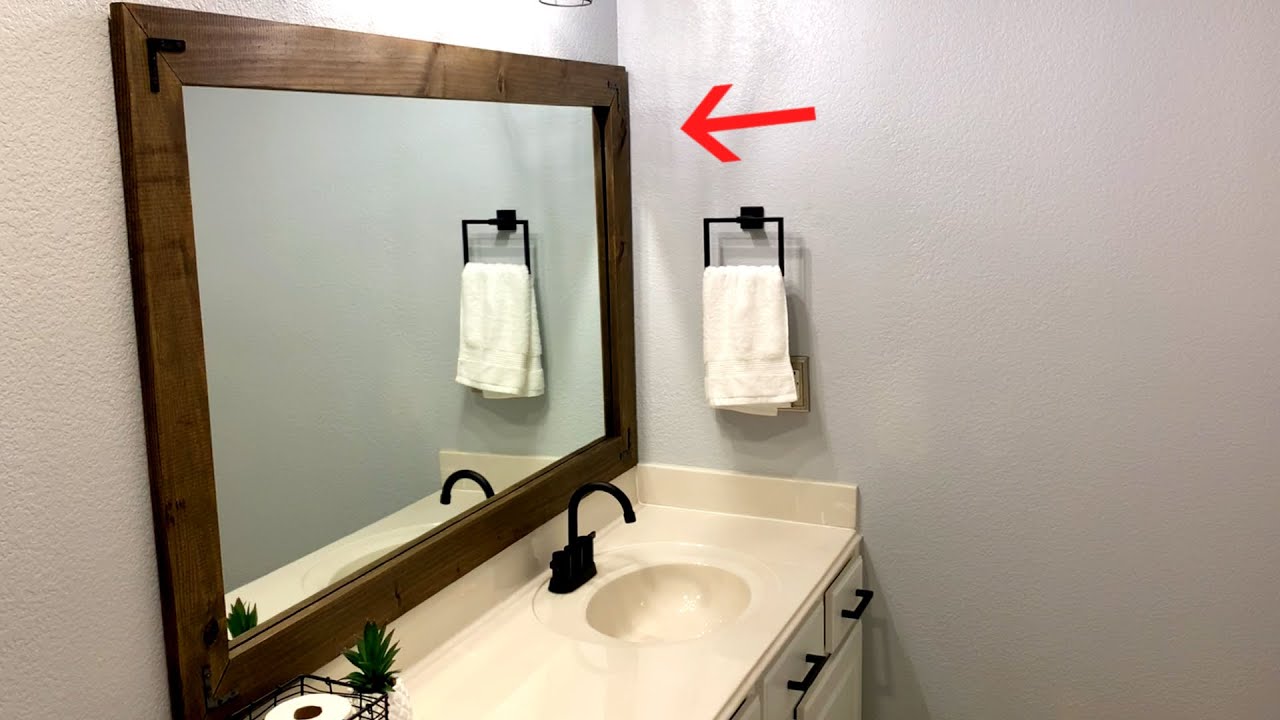
How To Easily Make A Custom Mirror Frame
Показать описание
Materials Used:
Bathroom Fixtures:
Bathroom Accessories:
-----------------------------------------------------------------
Tools Used:
---------------------------------------------------------------
Other Bathroom Budget Makeover videos:
Thanks for watching!
---------------------------------------------------------------
Not Sponsored.
TheBeefmaster assumes no liability for property damage or injury incurred as a result of any of the information contained in this video. All material provided within this Youtube channel is for informational, educational, & entertainment purposes only. Some of these projects, materials, and techniques may not be appropriate for all ages or skill levels. No information contained in this video shall create any express or implied warranty or guarantee of any particular result.
TheBeefmaster will not take responsibility of what you do with the information provided by this channel. Any injury, damage or loss that may result from improper use of these tools, equipment, or the information contained in this video is the sole responsibility of the user and not Beefmaster. TheBeefmaster does not make any claims of the safety of the projects, techniques, or resources listed on this channel. Please do not attempt anything contained in this video unless you accept personal responsibility for the results, whether they are good or bad.
-----------------------------------------------------------
 0:01:51
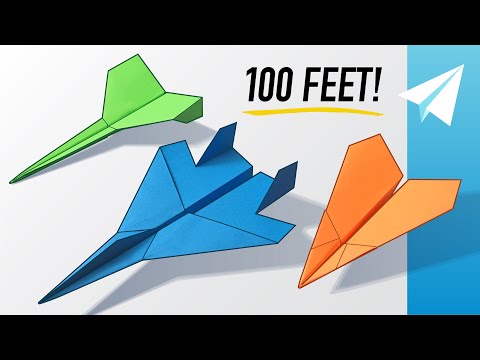
How to Make an Easy Paper Airplane in 1 Minute! (60 Seconds) Competition Winner — Flies 100+ Feet!
 0:02:51
How to Make a PAPER AIRPLANE!! - (Easy for Kids!)
 0:01:27
How to Make a Paper Airplane (EASY)
 0:12:47
27 Quick And Easy Crafts To Make At Home
 0:12:22
How to Make a Website in 10 mins - Simple & Easy
 0:02:16
How To Make An Easy Balloon Sword
 0:08:11
How to make ONLY PAPER diy MINI NOTEBOOK. Easy origami notebook no glue no scissors.
 0:01:49
DIY crafts - How to Make Simple Easy Bow/ Ribbon Hair Bow Tutorial // DIY beauty and easy
 0:00:52
How to make an easy Envelope Share and Subscribe #artistic crafts
 0:03:37
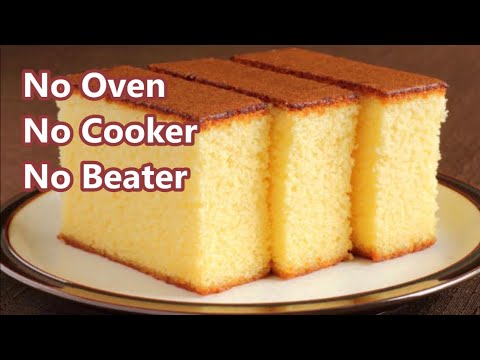
cake in 2 minutes! you will make this cake every day! easy and quick to prepare
 0:03:30
How to make a Cool Paper Jet Plane / EASY origami airplane
 0:03:39
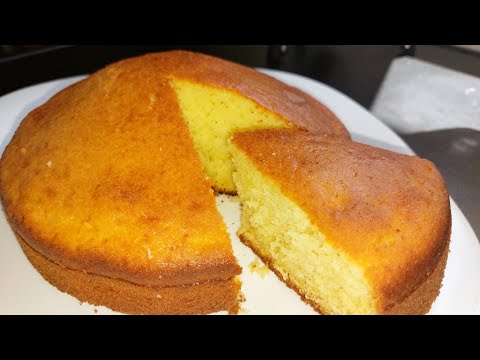
Easy Vanilla Sponge Cake Without Oven Recipe | How To Make Basic Sponge Cake | Plain Sponge Cake
 0:00:58
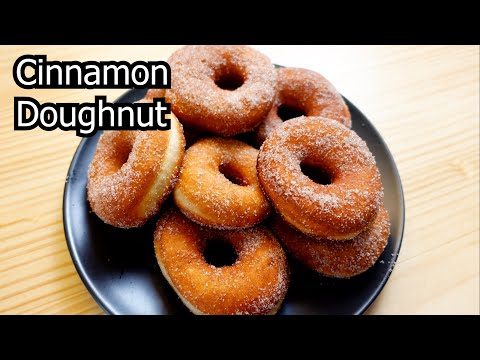
Make doughnuts easily at home!
 0:25:09
How to Make 3 EASY Paper Airplanes that Fly Far — Best Planes in the World — Dagger, F-15, Arrowhead...
 0:04:20
HOW TO MAKE SLIME For Beginners! NO FAIL Easy DIY Slime Recipe!
 0:01:05
How to make a volcano: A super quick and easy project
 0:04:08
Easy Sourdough Starter Recipe | Make a Wild Yeast Starter at Home
 0:03:03
How To Make A Smoke Bomb | Easy And Simple Smoke Bomb | DIY
 0:01:38
World's Easiest Origami Paper Fish Making 🐟 - Easy Tutorials | How to Make a Simple Paper Fish ...
 0:06:34
How to Make A Stress Ball (Easy Peasy DIY!)
 0:01:38
How to make an Easy Egg Custard | Vanilla Custard
 0:06:50
Kids easy origami - How to make a jumping frog ver.1
 0:02:32
HOW TO MAKE THE PERFECT WHITE SAUCE | QUICK, EASY & LUMP FREE WHITE SAUCE | Kerry Whelpdale
 0:07:20
EASY PAPER AIRPLANES for KIDS - How to make a Paper Airplane thatFlies | Triangle
Комментарии