filmov
tv
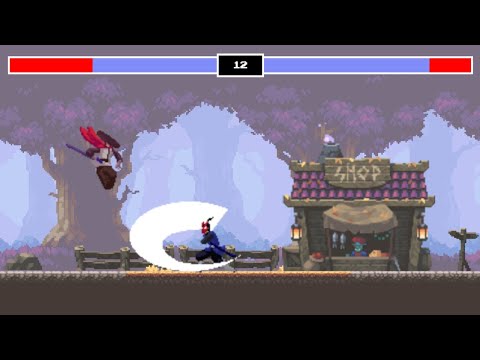
JavaScript 2D Game Tutorial

Показать описание
Who says learning JavaScript cannot be fun. Let's take another step towards Front End Web Development mastery and practice fundamental programming principles and techniques in this vanilla JavaScript 2D game tutorial.
Some people skip my generative art and HTML canvas animation videos and just focus on game tutorials, but I want to show you that all canvas techniques I teach can improve your games, if you get creative with it.
Relevant links:
The main reason that people don't succeed in becoming a self-taught Front End Web Developer is because they loose motivation. My tutorials focus on teaching you everything you need to know about HTML, CSS, JavaScript and HTML5 canvas element, while at the same time building fun, visual and memorable projects.
In today's vanilla JavaScript 2D game tutorial I will show you how to add sound to your games, how to make player character follow the mouse whenever we click somewhere, how to handle simple collision detection that triggers sprite animation and how to rotate our fish sprite correctly to face the direction the player is moving. We will also cover repeating backgrounds, how to handle score and couple of other things. First we will build a solid good quality game skeleton that can be used for more than just this particular fish game. Then we will start adding graphics with sprites, particle effects and make the game look polished and clean.
To become a professional Front End Web Developer, you need to practice and work on your skills, these are some of my favourite well structured courses that cover everything you need to know:
#javascript #htmlcanvas #frankslaboratory
Music: (YouTube audio library) Vacay In Fiji Riddim - Konrad OldMoney, World Map - Jason Farnham
The description of this video may contain affiliate links, which means that if you buy one of the products that I recommend, I'll receive a small commission without any additional cost for you. This helps to support the channel and allows me to continue making videos like this. Thank you for the support!
 0:44:42
JavaScript 2D Game Tutorial
 3:09:37
JavaScript 2D Game Tutorial (with physics)
 9:37:20
JavaScript Game Development Course for Beginners
 3:03:24
Multi-room Platformer Game Tutorial with JavaScript and HTML Canvas
 0:08:34
The Easiest Javascript Game Ever
 0:05:49
Making a Game in JavaScript with No Experience
 0:22:48
Phaser Tutorial | Make Your First 2D JavaScript Game
 3:09:53
JavaScript GameDev Tutorial – Code an Animated Physics Game [Full Course]
 3:43:43
Vertical Platformer Game Tutorial with JavaScript and HTML Canvas
 7:16:37
Pokémon JavaScript Game Tutorial with HTML Canvas
 3:56:20
JavaScript Fighting Game Tutorial with HTML Canvas
 2:34:30
Build a Game with JavaScript and HTML Canvas [RPG Kit series]
 1:09:14
JavaScript 2D Game Tutorial
 0:06:35
6 Months of Learning JavaScript Game Dev in 6 Minutes
 1:37:41
Build a Dev Portfolio as a 2D Game – JavaScript Course
 0:27:45
JavaScript Game Tutorial with HTML Canvas
 0:28:22
Building a JavaScript RPG game + Releasing on Steam (Danger Crew presentation)
 2:31:46
Code a 2D Game Using JavaScript, HTML, and CSS (w/ Free Game Assets) – Tutorial
 1:14:15
JavaScript Game Tutorial - 2D Tower Defense
 0:05:33
JavaScript Game Engines. Building Cross-Platform Games Made Easy
 2:11:03
Mario Game Tutorial with JavaScript and HTML Canvas
 0:09:37
Create Game in 10 Minutes with JavaScript Physics Engine
 0:05:23
How Isometric Coordinates Work in 2D games
 0:33:32
Making Games with Javascript and React
Комментарии