filmov
tv
Classic Mopar Electronic Distributor Explained

Показать описание
This video was created for the moderately experienced person, or the beginner to tuning classic Mopar electronic distributors and ignition.
I made a couple of mis speaks in the video.
One is where I said the part number for the timing limit plate from 4secondsflat,com and that is part J685S Timing limit plate.
This limit plate is for the small block electronic distributor.
Another is where I said to turn the whole distributor when talking about the rotor position.
Once the distributor is reassembled and going back in the motor, just turn the distributor shaft so the rotor points where it did before the distributor was removed.
Then drop it in the motor while lining up the marks on the distributor housing and engine block.
The engine will will be back within a degree or two, but always check your timing after changing anything about the ignition system just to be safe.
I also said we were going to assemble this distributor.
I'm learning though.
 0:15:42
Classic Mopar Electronic Distributor Explained
 0:14:48
Classic Mopar Ignition Systems - How They Work, How To Diagnose Issues
 0:03:21
Setting Electronic Ignition Gap - Classic Mopar - Basic Tech
 0:12:29
Mopar electronic ignition distributor setup and demonstration
 0:19:49
Diagnosing The Chrysler Electronic Ignition System
 0:13:52
Mopar Points to Electronic Ignition -Proform 66993 Kit 361-383-400 Engines
 0:36:23
No Spark Troubleshooting [Mopar Electronic Ignition with Ballast Resistor]
 0:12:59
The Big HEI Ignition Conversion Video! How To Convert Your Classic Mopar (Or Anything Else) To HEI
 0:14:16
The Big Ballast Resistor Video! A Simple, Yet Misunderstood Part Of Your Classic Chrysler Product
 0:08:17
The Mopar Ignition Choice Built to Beat MSD! #mopar #d100 #bigblockmopar
 0:05:48
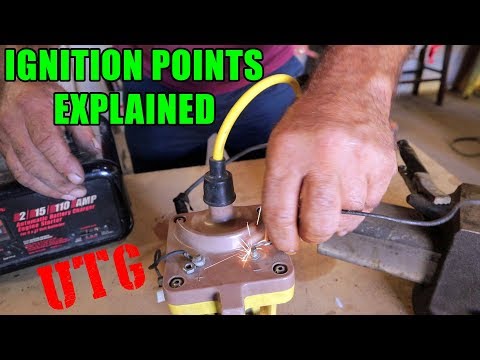
Classic Car Tech-Ignition Points Explained
 0:25:51
Diagnosing Intermittent Spark Issue with Classic Mopar Electronic Ignition 400CID
 0:01:00
GM HEI module in a Mopar Electronic ignition system @mostlymopar
 0:06:46
FBO Ignition Install on an Original Points Car#mopar #ignition #dodge #howto
 0:02:48
What is a ballast resistor... How do I know if my classic car has one?
 0:03:43
How Ignition Coils Work
 0:10:59
The Distributor that I Always Wanted! #mopar #ford #chevy #engine #nonamenationals #firecore
 0:10:48
Mopar electronic ignition system without the ballast resistor
 0:07:38
Mopar electronic ignition upgrade to GM HEI module. Cheap Dodge high energy ignition conversion!
 0:06:18
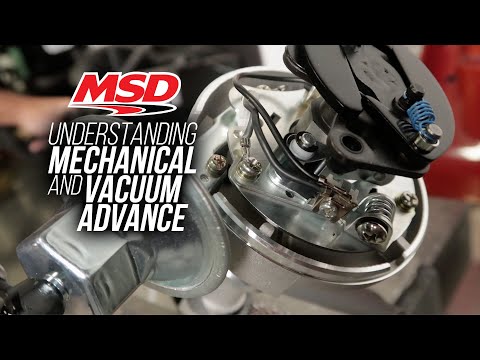
How Ignition Timing Works: Vacuum and Mechanical Advance Explained!
 0:12:26
How to Time your New Engine, and it Start Instantly! #smallblock #mopar #engine #howto #classic
 0:00:43
Mopar Ignition Module Upgrade
 0:07:58
how to wire ELECTRONIC IGNITION on ANYTHING custom automotive wiring from scratch part 3
 0:01:13
Points and Condenser classic car ignition... What is it and how does it work?
Комментарии