filmov
tv
How to complete Phase 3 - Mass Frames | Satisfactory 1.0 Masterclass

Показать описание
A Satisfactory guide on how to progress & build efficiently, while still making optimal & great looking builds. Today: Setting up the bulk of Phase 3 production!
The goal for this phase:
The build for this episode (Iron/Steel based production):
About the game
Satisfactory is a first-person open-world factory building game with a dash of exploration and combat. Play alone or with friends, explore an alien planet, create multi-story factories, and enter conveyor belt heaven!
Construct
Conquer nature by building massive factories across the land. Expand wherever and however you want. The planet is filled with valuable natural resources just waiting to be utilized. As an employee of FICSIT it’s your duty to make sure they come to good use.
Automate
Construct your factories with gracious perfection or build intricate webs of conveyor belts to supply all your needs. Automate trucks and trains to reach your faraway outposts and be sure to handle liquids properly by transporting them in pipes. It’s all about minimizing manual labour!
Explore & Exploit
Venture on expeditions to search for new materials and be sure to put everything to good use. Nature is yours to harvest! You have vehicles, jetpacks, jump pads and more at your disposal to make the exploration easier. Equip the proper safety gear as well, just in case you run into the local wildlife.
I am not sponsored in any way.
#Satisfactory #Letsplay #tutorial #guide
 0:21:12
How to complete Phase 3 - First setup | Satisfactory 1.0 Masterclass
 0:17:42
CAT PAT TIPS | Phase 3 | Website Layout Tips
 0:07:53
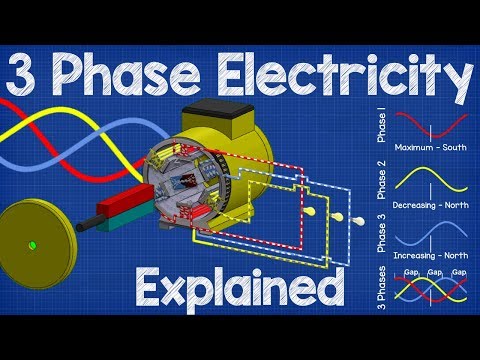
How Three Phase Electricity works - The basics explained
 0:17:46
Phase 1 VS Phase 2 VS Phase 3 VS Phase 4 VS Phase 5 vs Phase 6 in Incredibox Sprunki!?
 0:01:46
Phase Sequence/Motor Rotation Tester on 3-Phase Motor [IUEC 394]
 0:01:24
Incredibox Sprunki PHASE 3 and 4 but recreated in REAL LIFE!
 0:02:38
Three phase electrical 400v wiring installation in home
 0:04:46
CAT PAT TIPS | Phase 3 | Website Convert charts into images
 0:05:23
Phase 3 Step 1 - Introduction
 0:03:54
How to use 3 Phase Machinery WITHOUT 3 Phase Power!
 0:08:34
Grade 12 CAT PAT | Phase 3
 0:06:31
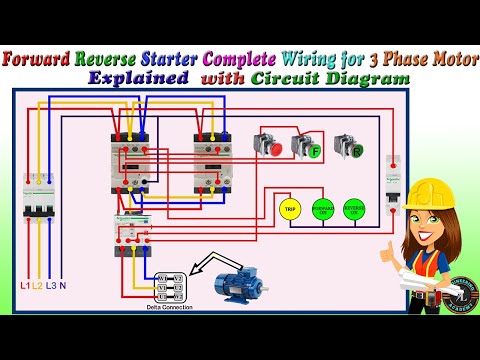
Forward Reverse Starter Complete Wiring for 3 Phase Motor / Forward Reverse Motor Control Connection
 0:08:02
1 phase and 3 phase Electrical System | Electrical Distribution
 0:12:24
120V 240V Electricity explained - Split phase 3 wire electrician
 0:03:27
Total Knee Replacement Exercises | Total Knee Replacement Surgery Recovery | Phase 3
 0:03:49
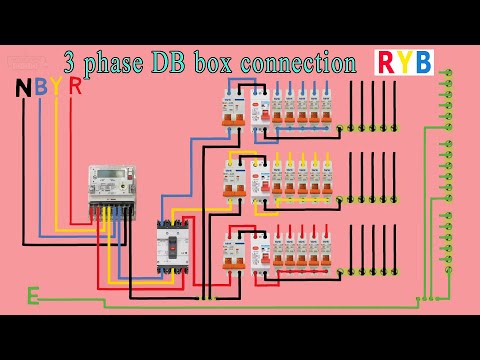
3 phase distribution DB box wiring diagram
 0:00:35
Single Phase Automatic Transfer Switch (ATS)
 0:15:34
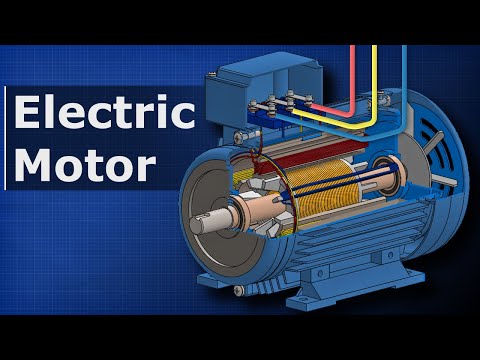
How Electric Motors Work - 3 phase AC induction motors ac motor
 0:05:36
3 Phase Distribution Board Layout and Wiring Diagram / Three phase DB Wiring with New Color Code
 0:03:54
The Four Phases of Clinical Trials | Diversity in Clinical Trials | AKF
 0:00:37
Phase 3 sounds taught in Reception Spring 1
 0:00:16
How to DOL Starter Connection 3 Phase
 0:01:34
How To Measure or Check for 3 Phase Voltage
 0:00:51
Moon Knight Was Introduced In Phase 3 Of The MCU
Комментарии