filmov
tv
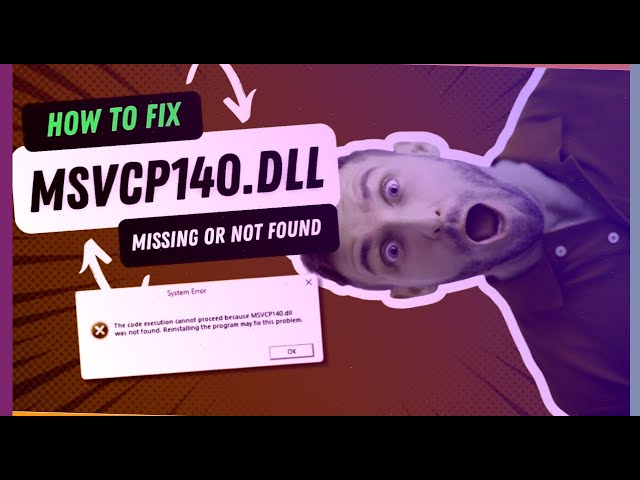
2024 How To Fix Error MSVCP140.dll Error in Windows: Quick Fixes!
Показать описание
First of all, it is necessary to clarify that the steps suggested in the video tutorial can be effective to solve the problem, however, the result may differ depending on the configuration of your computer and the version of Windows. Therefore, if you encounter difficulties or errors, it is recommended to contact a specialist.
1.1 Press the "Windows" key and at the same time the "E" key to open the file Explorer.
1.2 Go to the "This computer" section and right-click on the disk where Windows is installed (usually the "C:\" disk).
1.3 In the context menu, select "View" and then "Options".
1.4 In the window that opens, select "Folders and Search" and make sure that the "Hide protected system files" option is unchecked.
Step 2: Install Visual C++ Redistributable for Visual Studio 2015
2.2 Click on the "Download" button and save the file to your computer.
2.3 Run the downloaded file and follow the instructions of the installer.
Step 3: Windows Update
3.1 Press the "Windows" key and at the same time the "I" key to open the Windows settings.
3.2 In the window that opens, select "Update and Security".
3.3 In the "Windows Update" section, click on the "Check for updates" button. If updates are found, they must be installed.
Step 4: Checking and fixing dependencies for .NET Framework
4.1 Press the "Windows" key and at the same time the "I" key to open the Windows settings.
4.2 In the window that opens, select "Applications".
4.3 In the "Applications and Functions" section, find .NET Framework and right-click on it.
4.4 In the context menu, select "Fix". If a fix is available, run it and restart the application.
Step 5: Start Automatic System Repair
5.1 Turn on your computer in safe mode by pressing the "F8" key while Windows is booting.
5.2 Press the "Windows" key and at the same time the "I" key to open the Windows settings.
5.3 In the window that opens, select "Update and Security".
5.4 In the "Repair and restoration" section, click on the "Start automatic repair" button.
Step 6: Check the disk
6.1 Press the "Windows" key and at the same time the "E" key to open the file Explorer.
6.2 Go to the "This computer" section and right-click on the disk where Windows is installed (usually the "C:\" disk).
6.3 In the context menu, select "Disk Check". In the window that opens, click on the "Analyze and correct errors" button.
Thanks for watching the video tutorial. I hope this guide will help you solve the problem and continue working with your computer. Good luck!
 0:04:27
 0:02:19
 0:02:28
 0:05:36
 0:00:57
 0:03:46
 0:06:25
 0:02:12
 0:02:12
 0:01:25
 0:03:24
 0:01:25
 0:05:26
 0:02:36
 0:04:32
 0:00:40
 0:03:13
 0:00:46
 0:01:03
 0:02:09
 0:08:23
 0:07:53
 0:06:24
 0:01:08