filmov
tv
Arctic Panther Custom Build Log - Full PSU Sleeving

Показать описание
Arctic Panther Custom Build Log - Full PSU Sleeving
PSU: Fractal Design Newton R3 1000W
Sleeving Used: LC Teleios
Lutro0 Customs - Heatshrinkless Sleeving
Lutro0 Customs - Double Wire Guide
Twitter: @paulhardware
Facebook:
Instagram:
Music by Kevin MacLeod
Audio file(s) provided by AudioMicro
PSU: Fractal Design Newton R3 1000W
Sleeving Used: LC Teleios
Lutro0 Customs - Heatshrinkless Sleeving
Lutro0 Customs - Double Wire Guide
Twitter: @paulhardware
Facebook:
Instagram:
Music by Kevin MacLeod
Audio file(s) provided by AudioMicro
 0:18:10
GLORIOUS Custom Watercooled PC! Arctic Panther Build Log Part 1
 0:18:52
Arctic Panther Custom Build Log - Full PSU Sleeving
 0:18:44
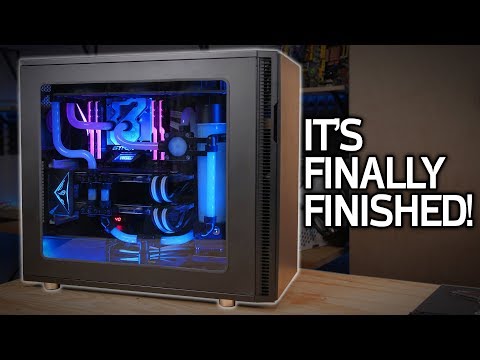
Arctic Panther Custom Water Cooled PC - Finally Finished
 0:15:05
MY WATERCOOLED PC IS FINALLY FINISHED! Arctic Panther Build Log Part 4
 0:26:29
JUST ADD WATER: Arctic Panther Build Log Part 3
 0:15:05
MY WATERCOOLED PC IS FINALLY FINISHED! Arctic Panther Build Log Part 4
 0:15:05
MY WATERCOOLED PC IS FINALLY FINISHED! Arctic Panther Build Log Part 4
 0:17:52
CASE CARNAGE: Arctic Panther Build Log Part 2
 0:15:05
New MY WATERCOOLED PC IS FINALLY FINISHED! Arctic Panther Build Log Part 4
 0:17:06
FINALLY HERE: Water Cooling Parts from EK for Arctic Panther Rebuild!
 0:20:12
Restoring Arctic Panther! (After WAY Too Long)
 0:01:36
ARCTIC PANTHER RETURNS
 0:10:50
Defector Build Log Episode 4
 0:12:04
Custom Water Cooled Build Log 6 - Hardline Tubing At Last!
 0:22:49
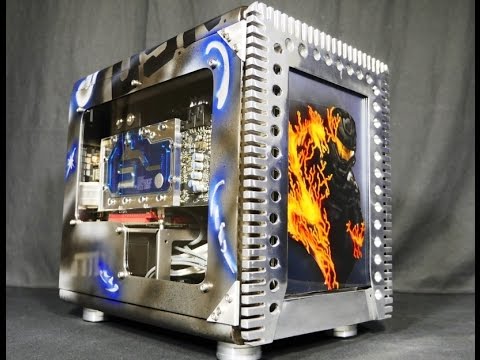
Extreme Modding: CB19 'Master Chief' Build Log: Part 3
 0:25:54
The Build: Arctic Panther Part 1
 0:16:42
Custom Water Cooled Build Log 3 - THE PARTS & GPU Water Block Installation!
 0:14:39
EKWB X240 First look | Watercooling build log Part 1
 0:23:53
Tube Bending: Arctic Panther Build Part 2
 0:15:29
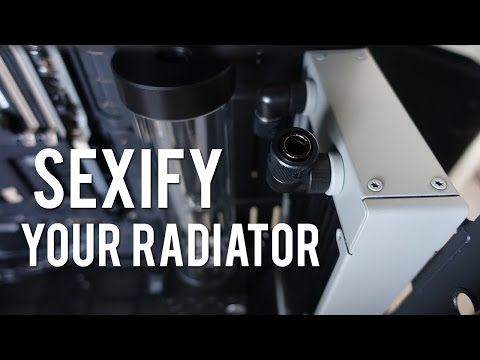
Custom Water Cooled Build Log 2 - Radiator Makeover
 0:14:19
Leak test semi fail - Build Log 7
 0:38:42
Wall Mounted Watercooled PC Build Log
 0:22:42
Bending PETG tubing - Build Log #6
 0:09:44
Glorious Custom PC Builds!
Комментарии