filmov
tv
How to install an Outside Socket with a Fused Switch Spur (Safely)

Показать описание
After spending a RIDICULOUS amount of time watching Electricians on YouTube I decided I was competent (ish) and could safely install a new outside socket on my driveway... How did it go? Did I completely mess it up? Did I blow up the house? Did it all go horribly wrong?
Well blummin' watch and find out!
I would really like to add that this is how *I* installed it - this is the first time I've ever done anything like this, and there are a few mistakes and things I messed up, as well as a few steps I didn't show. However the final result is pretty satisfactory.. But if you're in doubt about doing something like this, then please DON'T.
Special shout out to @Cjrelectrical @NBundyElectrical @dsesuk @artisanelectrics @JRCElectrical @MyTrustedElectrician @Cablesmith and all the other awesome YouTube Sparks who do this stuff a lot better than me!
0:00 Start
0:15 Introduction and Warning
2:20 How I plan to wire the Outside Socket with Fused Switched Spur
3:05 Isolating the power to the Socket
3:40 Taking the socket off and having a look
5:11 Prepping the wall for the new back box
6:10 Cutting the plasterboard for the back box
7:25 A word about Grommets!
8:18 Drilling to the outside!
8:34 How's my hole looking?
8:56 Preparing my back box (ooh eer)
9:35 Installing the Outside Socket!
12:15 Is it level?
12:52 Wiring in the outside socket
14:00 Finishing touches to the outside socket
14:30 Wiring in the Fused Switch Spur - What is load, and what is supply?
15:05 Fitting the MK Rapid Fit Double Socket inside
17:50 Does it work though?
18:19 Wrapping Up and Final Thoughts
21:05 Game Over
 0:15:22
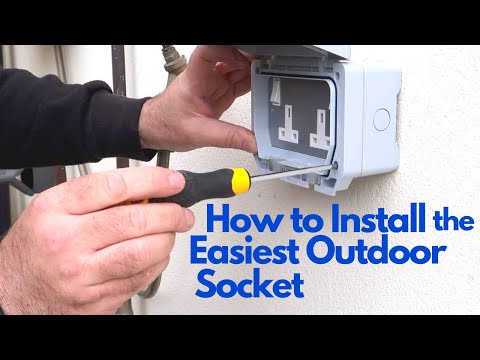
How to Install the Easiest Outdoor Socket
 0:12:46
How To Install an Outside Socket | External Plug Installation Guide
 0:10:13
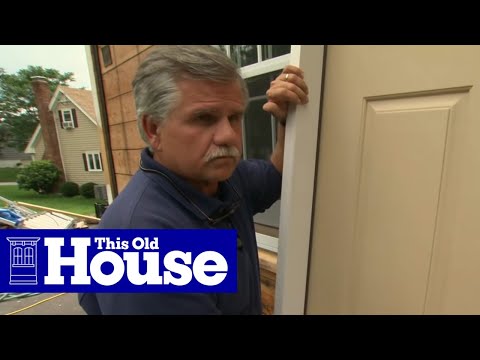
How To Install An Exterior Door In 10 Minutes! - Beginners Guide
 0:05:57
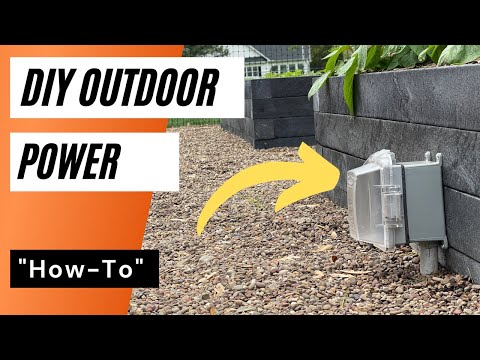
DIY Outdoor Outlet - How to install an outlet in your garden or yard
 0:04:04
How to Install an Outdoor Outlet | The Home Depot with @thisoldhouse
 0:08:51
How To Install An Exterior Light And 3 Common Mistakes To Avoid
 0:06:50
How To Install A Prehung Exterior Door
 0:03:57
How to Install an Outdoor Tap
 0:03:59
Michelle's Show Stopping RTA Outdoor Kitchen Design
 0:11:04
How To Install A Exterior Door
 0:04:09
How to Install an Exterior Door | The Home Depot
 0:40:44
How To Install An Exterior Door
 0:06:44
How To Install An Exterior Door In A Concrete Wall
 0:05:26
How to install outside tap Fitting plumbing garden tap video
 0:03:40
How to Install an Outdoor Security Camera
 0:00:55
How to Install Tile on a Concrete Patio or Porch - Today's Homeowner with Danny Lipford
 0:14:55
How to install an external electrical socket | install outside socket
 0:12:53
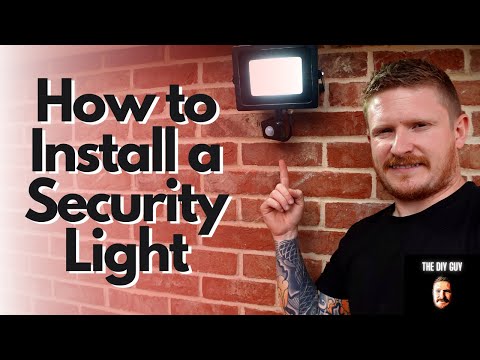
How to Install a Security Light the Easy Way
 0:05:59
How to Install a Fiberglass Entry Door | This Old House
 0:20:43
Don't Install An Exterior Door Without This Kit!
 0:06:19
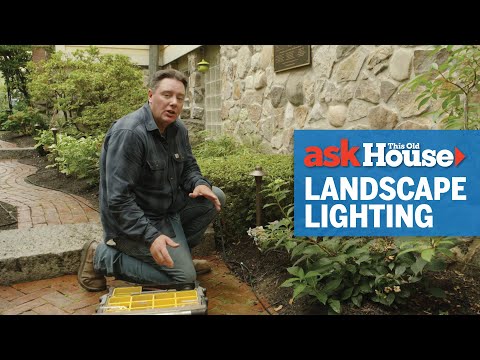
How to Install Outdoor Landscape Lighting | Ask This Old House
 0:03:59
How to Install an Outdoor Faucet | This Old House
 0:04:31
How to Install an Outdoor Wall Sconce and Recessed Lights | All About Lights | Ask This Old House
 0:13:28
How to Install Exterior Window Trim
Комментарии