filmov
tv
Drill perfectly square bench dog holes in your work bench

Показать описание
To make the most of your workbench, it needs dog holes!
Dog holes really let you appreciate that your workbench isnt just a work surface but annother super important tool in your workshop.
In this video I show you how I drilled dog holes in my work bench using a 3-4-5 triangle to get them perfectly straight and square with each other without the need for expensive alignment tools
The dog hole accessories I used can be found here
Similar items from Amazon
Some of my tools:
 0:16:11
Drill perfectly square bench dog holes in your work bench
 0:03:42
Drill Perfect Dog Holes using $5 Jig - Tips with TheTranq
 0:06:53
Don't Make a Bench Dog Until You've Seen This!
 0:17:08
Where To Place Your Bench Dogs
 0:04:49
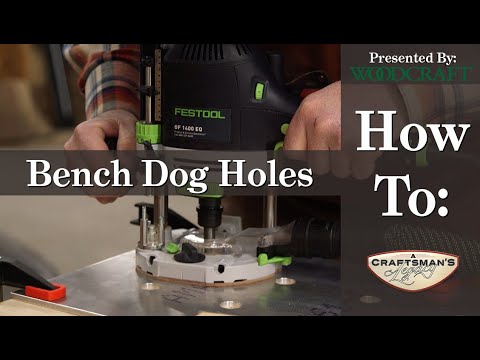
Woodcraft 101: Workbench Dog Holes
 0:03:58
🟢 Drill STRAIGHT Holes (5 Easy Ways without a Drill Press)
 0:06:00
Pop Up Bench Dogs Are GREAT!
 0:09:46
UK Tool Haul | BENCHDOG Precision Woodworking Tools | Practical Tips for Optimal Use with Festool
 0:03:10
#1 Easiest Trick to DRILL STRAIGHT! (Drill at Perfect 90 Degrees...Fastest Method!)
 0:12:58
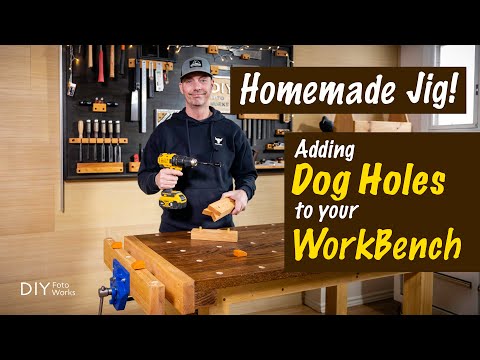
Adding Dog Holes To Your WorkBench I 4K
 0:17:11
Making An MFT Top - No CNC, No Guide Jigs
 0:03:26
Make this Cheap and Simple Dog Hole Jig!
 0:07:12
Workbench Dogs - Quick & Simple
 0:08:54
Genius Idea? Making Push Button Pop Up Bench Dogs
 0:06:00
Bench Dog Holes Drilled to Machine Shop accuracy without a CNC
 0:13:33
Make the best out of your MFT-style workbench! All Bench dogs accessories!
 0:08:02
Drilling bench dog holes & F-Type drill bit mini review
 0:10:20
How To Drill Bench Dog Holes
 0:08:14
How to Make Workbench Dogs, Dog Holes & Holdfast Holes
 0:12:25
Building a Split Top Roubo workbench part 2: Perfect square bench dogs
 0:07:24
Bench Dog Clamps - DIY - Part 1
 0:00:57
Do you need ANY dogs on your bench? #shorts #woodwork
 0:00:15
How'd it work? Picked a drill guide up from LeeValley, I need to drill some straight holes. #s...
 0:02:17
Benchdogs UK - MFT Plugs Demonstration
Комментарии