filmov
tv
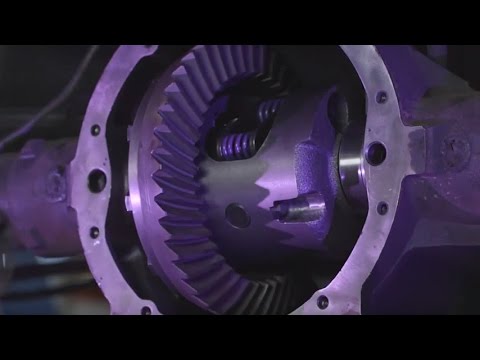
Differential Ring and Pinion Gear Setup
Показать описание
See how to set up a ring and pinion gear set.
TIMELINE:
0:00 Introduction
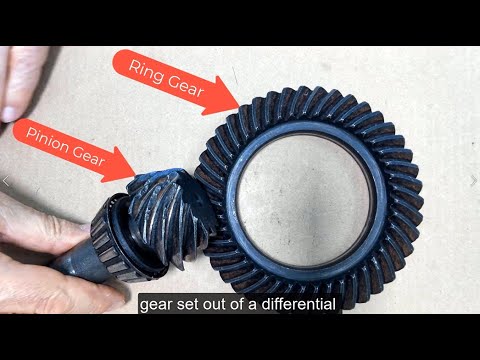
0:22 Pinion gear examples
0:40 Pinion bearing locations
0:48 Oil splash shield and seal
0:50 Pinion flange
0:54 Pinion nut
0:58 Bearing preload control
1:33 Measuring bearing preload with rotational torque
3:10 Crush sleeve style preload control
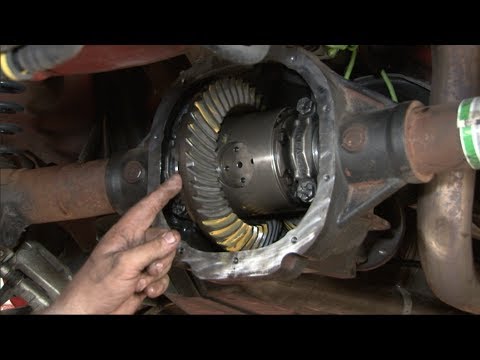
4:55 Learn the parts of the differential case
5:18 Side bearing preload control
5:35 Side bearing shims and shims
8:13 Two purposes of the side bearing shims
8:18 1. Side bearing preload
8:24 2. Ring gear backlash
8:53 Side bearing cap installation
9:50 Total turning preload setup and measurement
11:52 Preparing to measure backlash
12:18 Set up dial indicator for backlash
12:48 Measuring backlash
13:23 Backlash variation warning
14:40 Face Hobbed ring and pinion gear sets
15:15 Face Milled ring and pinion gear sets
16:30 Preparation for painting the gear teeth for a contact pattern check
16:55 Pinion depth shim purpose
18:35 Differential Side gear set backlash check
19:20 Convex Drive side of the tooth
19:27 Concave Coast side of the tooth
19:45 Adjusting backlash
21:00 Gear marking compounds
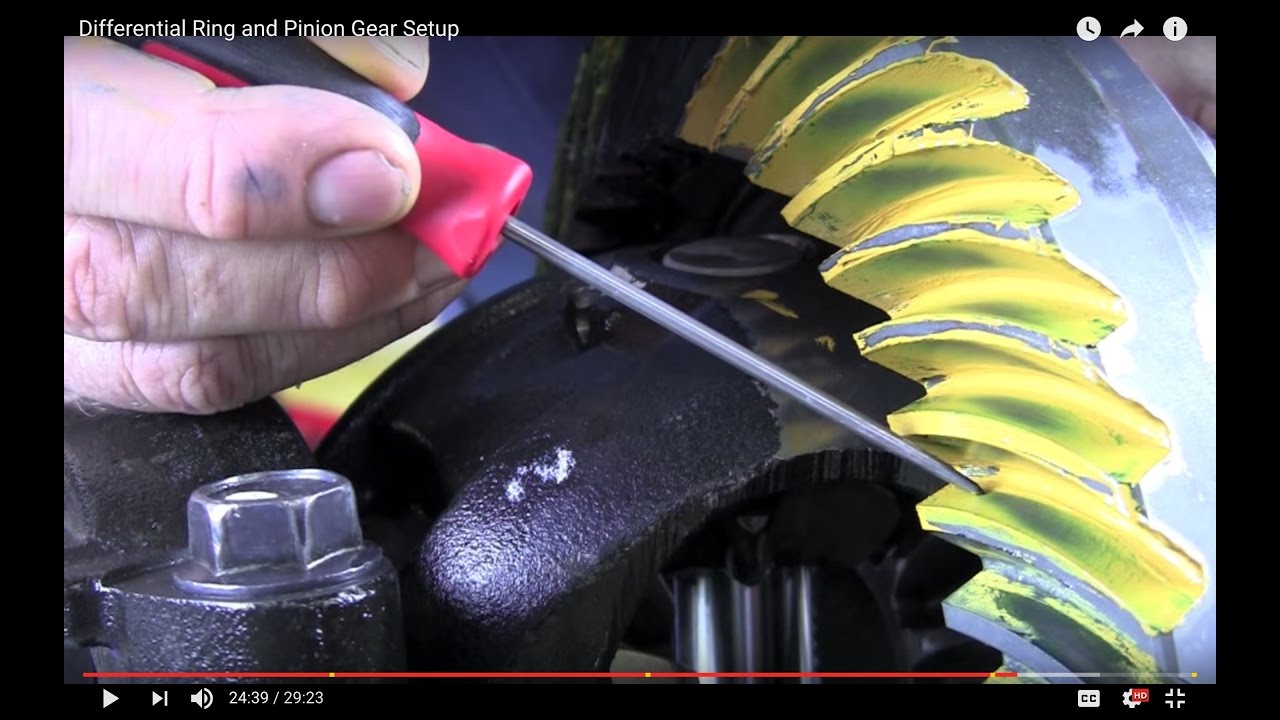
21:40 Loaded contact pattern check
24:16 Interpreting the contact pattern
24:32 Drive side interpretation
25:10 Coast side interpretation
25:50 Examples of incorrect contact patterns
26:00 Heel, Toe, Coast, Drive terminology
26:20 Toe-Toe = Backlash too small
26:30 Heel-Heel = Backlash too large
26:45 Toe-Heel = Pinion depth is too high (decrease pinion shim thickness)
27:07 Heel-Toe = Pinion depth too low (increase shim thickness)
27:40 Contact pattern tells you if your setup is correct or not
ABOUT US:
Weber State University (WSU) - Automotive Technology Department - Transmission Lab. Toyota Tundra 10.5" Rear Differential Ring and Pinion Gear setup. See how to set up a ring and pinion gear set. This differential is typically used in the 2007 and newer Toyota Tundra with the 5.7L Engine. This differential uses a removable differential housing, but the setup is similar to other one-piece housing differentials used by other trucks. Be sure to watch our Differential Side Gear Backlash video for complete setup information.
This video helps demonstrate part of the following 2017 NATEF MAST Tasks:
A3.E.1.8 " Measure and adjust drive pinion depth.", a priority 3 task.
A3.E.1.9 " Measure and adjust drive pinion bearing preload.", a priority 3 task.
A3.E.1.10 " Measure and adjust side bearing preload and ring and pinion gear total backlash and backlash variation on a differential carrier assembly (threaded cup or shim types).", a priority 3 task.
A3.E.1.11 " Check ring and pinion tooth contact patterns; perform necessary action.", a priority 3 task.
DONATE TO OUR DEPARTMENT
TIMELINE:
0:00 Introduction
0:22 Pinion gear examples
0:40 Pinion bearing locations
0:48 Oil splash shield and seal
0:50 Pinion flange
0:54 Pinion nut
0:58 Bearing preload control
1:33 Measuring bearing preload with rotational torque
3:10 Crush sleeve style preload control
4:55 Learn the parts of the differential case
5:18 Side bearing preload control
5:35 Side bearing shims and shims
8:13 Two purposes of the side bearing shims
8:18 1. Side bearing preload
8:24 2. Ring gear backlash
8:53 Side bearing cap installation
9:50 Total turning preload setup and measurement
11:52 Preparing to measure backlash
12:18 Set up dial indicator for backlash
12:48 Measuring backlash
13:23 Backlash variation warning
14:40 Face Hobbed ring and pinion gear sets
15:15 Face Milled ring and pinion gear sets
16:30 Preparation for painting the gear teeth for a contact pattern check
16:55 Pinion depth shim purpose
18:35 Differential Side gear set backlash check
19:20 Convex Drive side of the tooth
19:27 Concave Coast side of the tooth
19:45 Adjusting backlash
21:00 Gear marking compounds
21:40 Loaded contact pattern check
24:16 Interpreting the contact pattern
24:32 Drive side interpretation
25:10 Coast side interpretation
25:50 Examples of incorrect contact patterns
26:00 Heel, Toe, Coast, Drive terminology
26:20 Toe-Toe = Backlash too small
26:30 Heel-Heel = Backlash too large
26:45 Toe-Heel = Pinion depth is too high (decrease pinion shim thickness)
27:07 Heel-Toe = Pinion depth too low (increase shim thickness)
27:40 Contact pattern tells you if your setup is correct or not
ABOUT US:
Weber State University (WSU) - Automotive Technology Department - Transmission Lab. Toyota Tundra 10.5" Rear Differential Ring and Pinion Gear setup. See how to set up a ring and pinion gear set. This differential is typically used in the 2007 and newer Toyota Tundra with the 5.7L Engine. This differential uses a removable differential housing, but the setup is similar to other one-piece housing differentials used by other trucks. Be sure to watch our Differential Side Gear Backlash video for complete setup information.
This video helps demonstrate part of the following 2017 NATEF MAST Tasks:
A3.E.1.8 " Measure and adjust drive pinion depth.", a priority 3 task.
A3.E.1.9 " Measure and adjust drive pinion bearing preload.", a priority 3 task.
A3.E.1.10 " Measure and adjust side bearing preload and ring and pinion gear total backlash and backlash variation on a differential carrier assembly (threaded cup or shim types).", a priority 3 task.
A3.E.1.11 " Check ring and pinion tooth contact patterns; perform necessary action.", a priority 3 task.
DONATE TO OUR DEPARTMENT
 0:29:24
Differential Ring and Pinion Gear Setup
 0:19:02
How to Install a 9 Inch Ford Ring & Pinion Gear Set
 0:19:17
Installing a Ring & Pinion Gear Set | Ford Performance | 1986-2014 Mustang
 0:03:26
Differential Contact Patch Best Technique
 0:10:23
Mustang Gear Install: Ford Racing 8.8 Ring & Pinion | 1986-2009
 0:07:17
Contact Patch & Pinion Depth Explained
 0:13:33
Motive Gear Ring & Pinion Install
 0:01:36
USA Standard Gear - Ring & Pinion Gear Sets Unboxing
 0:13:31
How To Use a Pinion Depth Gauge
 0:04:47
Differential | How does it work?
 0:07:50
The Easiest Way to Read Ring & Pinion Contact Patterns
 0:01:38
Hypoid Ring and Pinion Gears Explained
 0:08:50
What GEARS Did I Install in My Jeep Wrangler? 4.88 or 5.13's?
 0:05:19
Noisy Gears Update - New Ring & Pinion
 0:00:49
How to Identify Ring & Pinion Gear Ratio | Differential Tech Tips
 0:04:19
Blackout Xte, differential ring, and pinion gear upgrade!
 0:04:19
HD Spiral Cut Ring & Pinion Install + Run Footage! | Upgrading the Diffs on our Stampede 4x4 | P...
 0:02:33
How to Set Ring and Pinion Backlash — Yukon Gear & Axle
 0:00:18
Yukon Gear & Axle (YG D44JK-488RUB) High Performance Ring & Pinion Gear Set for review
 0:23:49
Jeep Wrangler JL Gear Swap | Spicer Parts
 0:01:06
How to tell if your ring & pinion gears need replaced
 0:01:18
Identifying Ring and Pinion Gear Noise - Deceleration | Differential Tech Tips
 0:13:11
Truck Pinion and Gear ring replace || The Sound is The Differential Gears || Gear Repairing
 0:18:17
How To Read A Differential Gear Pattern: A Beginner's Guide. ( Gear Tooth Contact Pattern )
Комментарии