filmov
tv
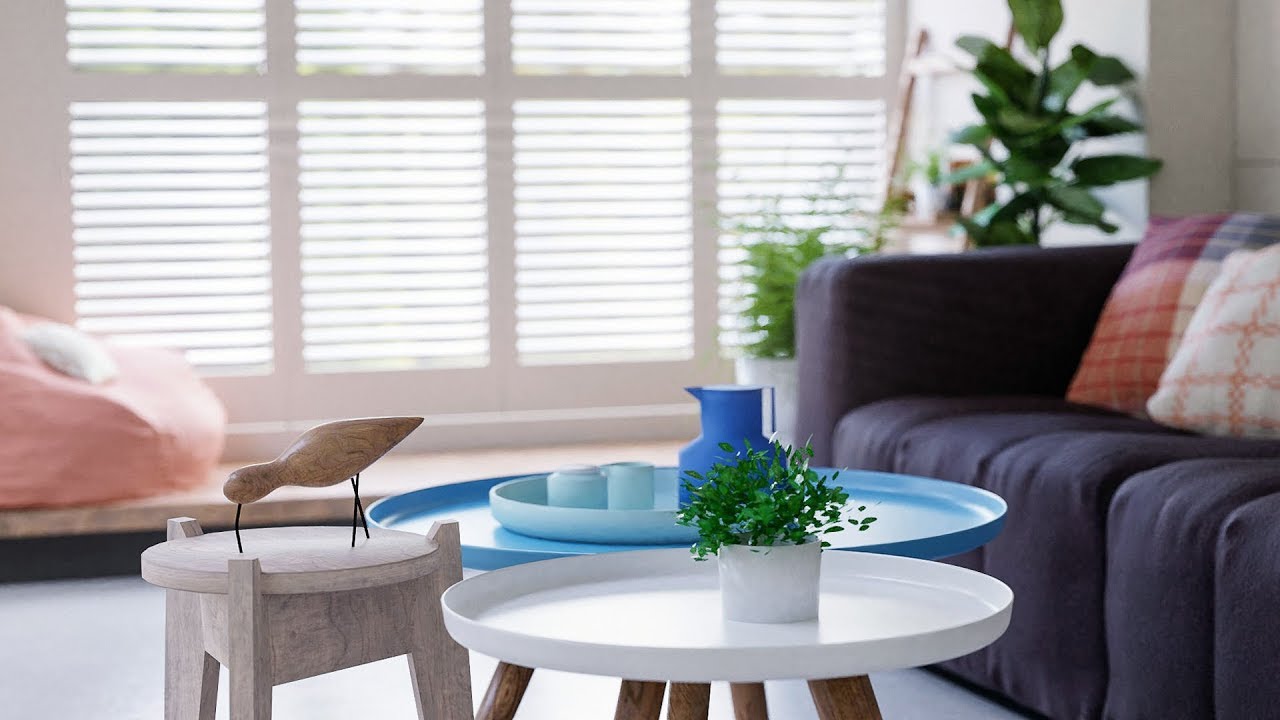
Create a Modern Interior : Blender Tutorial - 6 of 7
Показать описание
Learn how to achieve Realistic Interior Lighting in Part 6! We start by setting up an HDRI map and add some Light portals to control the light and reduce noise, then go on to UV Unwrap our objects and start on Materials!
Textures:
Textures:
 0:25:00
50 Interior Design Styles Explained in 25 Minutes
 0:13:35
Top 10 Interior Design Trends You Need To Know | Latest Home Ideas & Inspirations
 0:38:03
+300 Modern Living Room Designs 2024 Home Interior Design Ideas| TV Unit & Wall Decorating Ideas...
 0:20:18
WARM MINIMALISM Interior Design | Our Top 10 Styling Tips For Calm Homes
 0:03:49
Interior Design: How To Mix Traditional And Modern Decor
 0:10:53
10 INTERIOR DESIGN STYLES EXPLAINED | FIND YOUR DESIGN STYLE 2021
 0:35:23
Create a Modern Interior : Blender Tutorial - 2 of 7
 0:03:23
Organic Modern | Get The Look | Interior Design
 0:00:44
Luxury and Elegant Small House Ideas new Small House Design 2
 0:11:50
TOP 10 INTERIOR DESIGN + HOME DECOR TRENDS FOR 2024
 0:10:04
7 DECORATING RULES YOU SHOULD NEVER BREAK | INTERIOR DESIGN BASICS
 0:10:15
10 TIMELESS INTERIOR DESIGN TRENDS THAT NEVER GO OUT OF STYLE
 0:49:13
Create a Modern Interior : Blender Tutorial - 3 of 7
 0:01:49
Create & Design a Modern Interior in Blender Course
 0:02:21
Minimalist & Modern Interior Design: Are They Different?
 0:27:34
Create a Modern Interior : Blender Tutorial - 1 of 7
 0:16:08
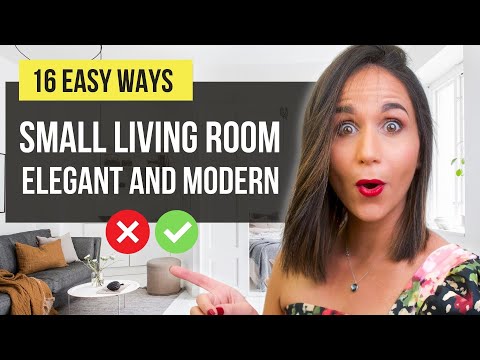
✅ TOP 16 SMALL LIVING ROOM Interior Design Ideas and Home Decor
 0:19:23
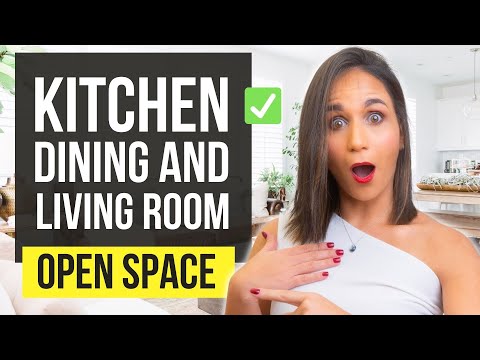
TOP 12 Living room + Dining room + Kitchen Interior Design Ideas | Open Space Home Decor
 0:13:48
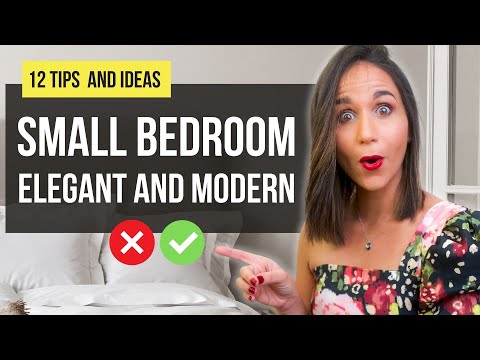
Top 12 SMALL BEDROOM Interior Design Ideas and Home Decor!
 0:57:01
Create a Modern Interior : Blender Tutorial - 6 of 7
 0:14:11
Top Kitchen Trends|Kitchen Design Tips & Hacks|Oppein Living|Interior Design
 1:07:52
Create a Modern Interior : Blender Tutorial - 5 of 7
 0:00:59
Modern Living Room Partition Ideas | Home Interior Design Ideas
 0:09:23
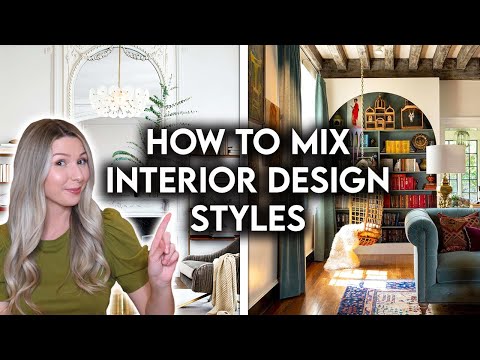
HOW TO COMBINE INTERIOR DESIGN STYLES | DESIGNER HACKS
Комментарии