filmov
tv
RIP Philips Hue & Govee

Показать описание
Patrons get ad-free early access to all of my videos + More
Links to all of the tools from this video (All of the below are affiliate links)
All My Filming Gear:
Check me out on Instagram - @ZacBuilds
Check out my website for all past projects:
 0:16:28
RIP Philips Hue & Govee
 0:12:33
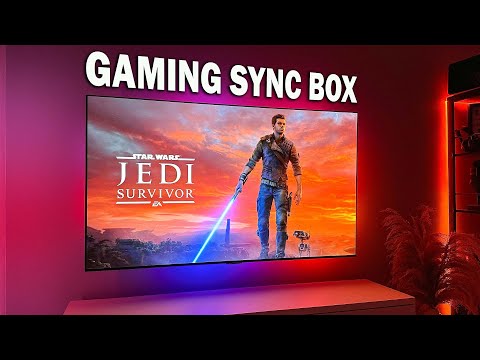
The GAME CHANGER Philips Hue DIDN'T want Govee to Release! | Govee AI Gaming Sync Box
 0:05:53
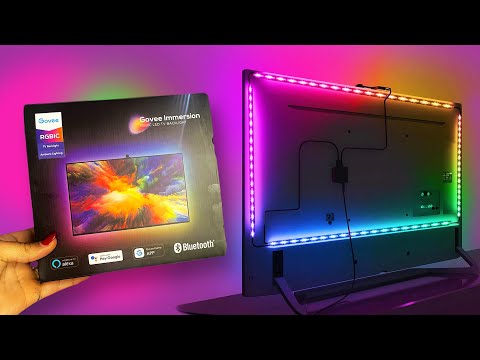
Testing Govee's new Envisual Camera vs Hue HDMI Sync - TV Backlights Compared!
 0:06:06
Govee vs Philips Hue | And the winner goes to...
 0:12:36
Which TV Sync Backlight RGB Lightstrip Should You Buy?
 0:11:57
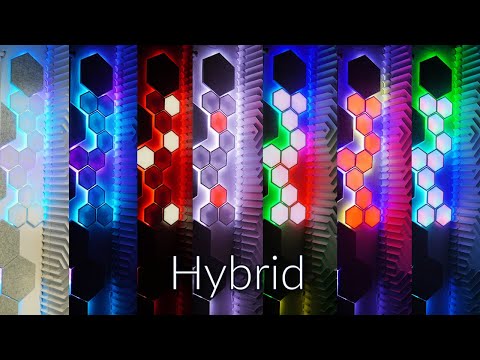
Govee's GAMING Wall Lights DESTROYED Philips HUE and Nanoleaf | Govee Evangelion Review
 0:08:36
Philips Hue Signe vs Govee Lyra Floor Lamp: Two Smart LED Lights Compared
 0:06:49
Philips Hue Gradient Lightstrip Ambiance Review
 0:15:33
Ultimate Light Strip Comparison | Nanoleaf, Philips Hue, Govee, Switchbot
 0:00:16
Govee and Philips hue demo
 0:17:11
Philips Hue Surround Lighting Alternative: Govee DreamView/Highlight
 0:10:31
Forget Philips Hue... Buy This Instead! - Govee DreamView G1 Pro
 0:05:18
Affordable Smart Bulbs That WOW - Govee LED Light Review
 0:16:26
Better Than PHILIPS HUE? Govee Lyra VS Govee LED Lamp
 0:05:14
[ Ambilight Showdown ] Govee DreamView vs Philips Hue Play Sync Box
 0:08:22
Philips Hue Sync box HDMI 2.1 | The FIX we've ALL been waiting for!
 0:00:45
GOVEE M1 - Connecting 2 Strips Together. It can be done! Total of 32.8 Ft.
 0:08:06
Philips Hue Signe vs Govee Lyra - Gradient Floor Lamps
 0:41:23
The Ultimate Smart Light Strip Comparison! (6 Popular Devices)
 0:10:12
Govee AI Gaming Sync Box Kit Review | The BEST Gaming Lights 🌈 Goodbye Philips HUE!
 0:00:26
Upgraded LED strips - Govee Lights
 0:11:55
This Is NOT Photoshop!! - Govee Matter M1 Review
 0:00:58
LEDs that MATCH what you're watching on TV
 0:13:19
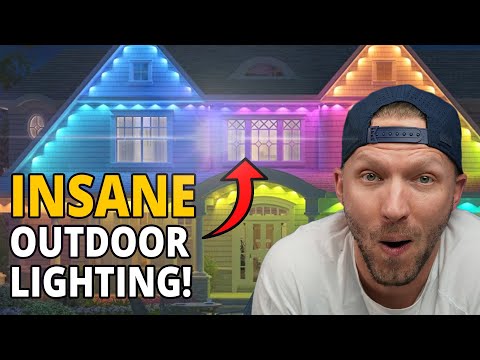
SMART Outdoor Lighting! (Govee and HomeKit!)
Комментарии