filmov
tv
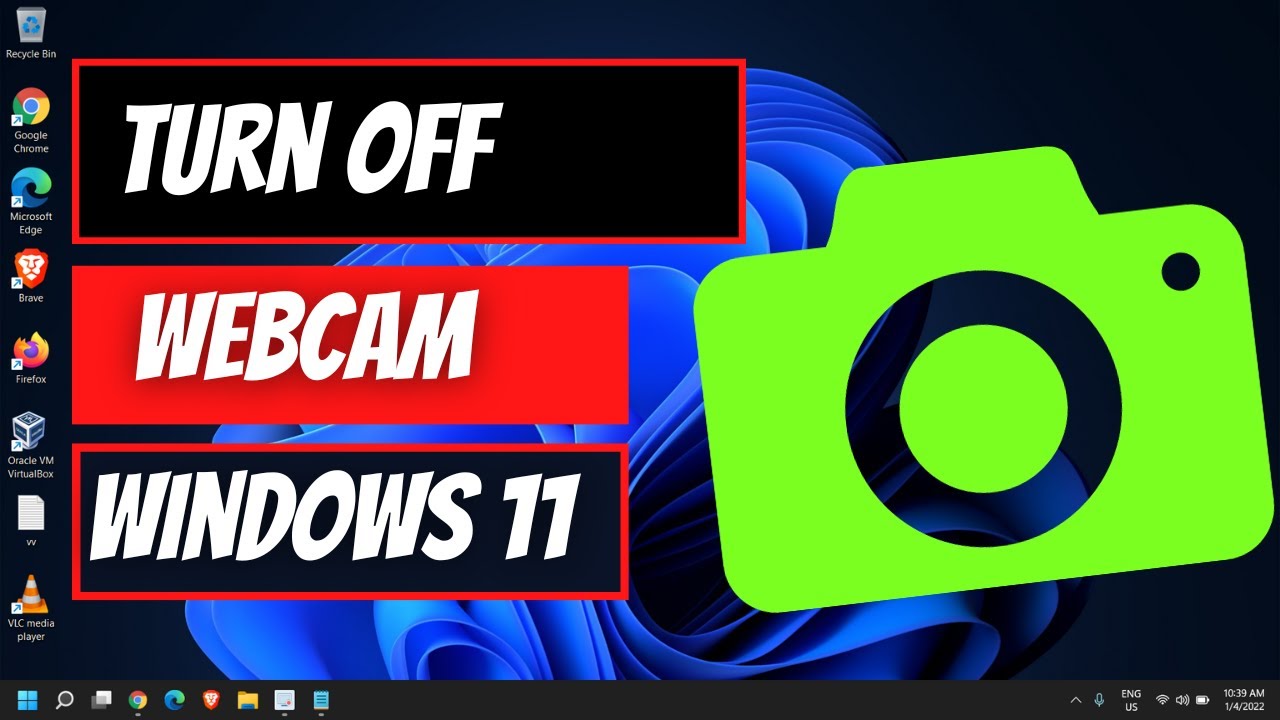
How To Enable or Disable the Camera or Webcam in Windows 11
Показать описание
In this video, you will learn how to enable or disable the camera or webcam in Windows 11. This can be useful if you want to protect your privacy, troubleshoot some issues, or optimize your system performance.
There are two methods to do this:
Method 1: Using Settings
Open Settings from the Start menu or by pressing Windows + I keys.
Click on Privacy & security on the left pane.
Click on Camera on the right pane.
You will see a toggle switch that says Allow apps to access your camera. Turn it on or off as per your preference.
You can also customize which apps can use your camera by scrolling down and adjusting the individual app permissions.
Method 2: Using Device Manager
Open Device Manager from the Start menu or by pressing Windows + X keys and selecting it from the menu.
Expand the Cameras category and right-click on your camera or webcam device.
Select Disable device or Enable device from the context menu as per your preference.
You may need to restart your computer for the changes to take effect.
That’s it! You have successfully enabled or disabled the camera or webcam in Windows 11. If you found this video helpful, please like, share, and subscribe to our channel for more tips and tricks. Thank you for watching!
 0:01:14
 0:00:24
 0:00:21
 0:00:26
 0:01:31
 0:00:42
 0:01:17
 0:02:07
 0:01:24
 0:01:36
 0:04:20
 0:00:55
 0:06:08
 0:01:30
 0:02:31
 0:01:15
 0:01:37
 0:00:35
 0:03:24
 0:02:10
 0:00:54
 0:00:33
 0:01:02
 0:03:09