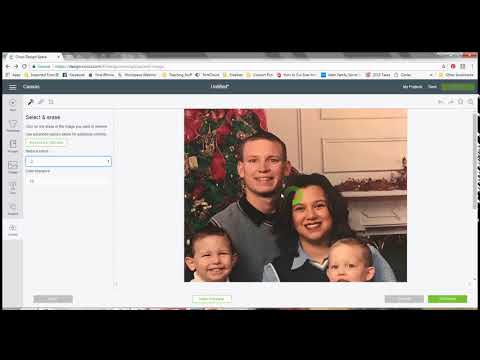
Uploading Images to Cricut Design Space

preview_player
Показать описание
This is the beginning of our Cricut Basics series. We are starting with how to upload images to Cricut Design Space. Be sure to subscribe to learn more about your machine and Design Space!

Learning your new Cricut machine:

Be sure to follow me on social as well!

#cricutdesignspace
Рекомендации по теме
Комментарии
Автор

Angie, I just watched your video after surfing through many other's looking for instructions on uploading an image. I found your video easy to follow and understand. The other's moved so quickly I'd get lost. I'm not new to crafting by any means, but my technical skills with files are not up to speed. You speak clearly and explain in detail. You are a good teacher. Actually I have found all of your videos to be the same. Good work. Thank You.

kaleebruns
Автор

Angie, very well done! I too surfed to find someone that could take me step by step with easy to follow instruction. You moved at an even pace, gave me a chance to take notes, and explained with enough detail where I could identify the places I needed to be. You were great at not giving much detail. Thank you.

kimb.
Автор

Thank you Angie for another great teaching video! Hugs Liz.

elizabethvallely
Автор

I just recently got a cricut and I just want to say a big thank you for all your videos! They have been so helpful! You have a new subscriber! 😄

nykhong
Автор

omg, thank you for making it super duper easy. I'm a new Joy and Explorer owner and I'm so loving them.

Bedroomeyz
Автор

Thank you Angie! I am a new Cricut user and I appreciate you taking the guess work out!

debrameinert
Автор

Thank you Angie. I am new with Cricut and any tip is very appreciate.

adrianaariza-jones
Автор

THANK YOU FOR THIS VIDEO!!!! This was exactly what I needed.

celestialrose
Автор

Thank you so much! I’ve been searching for an answer to why my cut image is all black. I found your video and fixed it in one minute!

sophiakramer
Автор

Ahh I learned something new today! Thank you!

cocom
Автор

Hello. Very useful video but may i ask, once you have uploaded your image is there a way to go back incase you missed something to ease or cut out completely?

mummy_jelley
Автор

Hi Angie, I'm trying to learn more about design space as relates to the cricket Joy. I have several owned cartridges which I understand I can somehow link to design space if I have a subscription. Question for design space: Assuming I do have subscription, how do I link or upland to my cartridges or is there something in design space that you click on and does it automatically. My question for cricut Joy: how does Joy cut those cartridges that have many layers such as twinkle toes, little critters, etc to name just a couple. To help clarify, I'm looking to maybe purchase the Joy because it is small for traveling and for small projects like scrapbook embellishments. I want to have a clear understanding of my own cartridges working with this little cricut Joy. Can you help to explain or point me to videos that already exist. Thanks, Connie

stanhurst
Автор

Your Video was very helpful, however I'm new to this and if I want my images to come out in colors what kind of vinyl would I need. Say I'm using green vinyl and I want like You did the love in black and red how would that come out on green vinyl. I am really new I'm sorry

pameladavis
Автор

When i uploaded image the scanner showed only a portion of the image. How do i get the image in the correct space so it scans the entire image

donnavinke
Автор

What is the difference between saving it as cut vs print an cut

Slack can you save it both ways if needed

gentryluz
Автор

I realize this video is from Feb 2018. But while this is a basic how to upload images to Design Space tutorial, I wish that you had mentioned that on the Save page, that those who upload, should be sure to add keyword Tags to their images and also to name their uploaded images with more descriptive names, than for example what you had which is just the word Love. I would have added tags of love cut file, circle vine, and also add the website I obtained the image from etc. Adding tags is very useful for when in the future you are wanting to search for files, using >> Images, then input any keywords you think may have been entered previously and then use the filter of Uploaded. Thank you for this basics tutorial for those who own an Explore or Maker machine on how to upload images from their computers.

maryniederlander
Автор

Does this work to slice apart multiple parts of a image to change color or can you only do it into 2 pieces? I have a picture that i am working with and would like to slice apart a few different parts to change the color but i can only separate 1 part.

heatherlurz
Автор

how do you make it not blurry?? i'm having issues

angelissapitts
Автор

What if I want to change the cut line? Design Space keeps cutting through the middle of one of my images...

karenwood
Автор

Angie, I have a caricature that I made in another program that saved it as a jpeg. What do I do to upload and have it drawn by infusible ink pen? I am lost

juliasnider