filmov
tv
How to STRAIGHTEN Your Photos in PHOTOSHOP or LIGHTROOM

Показать описание
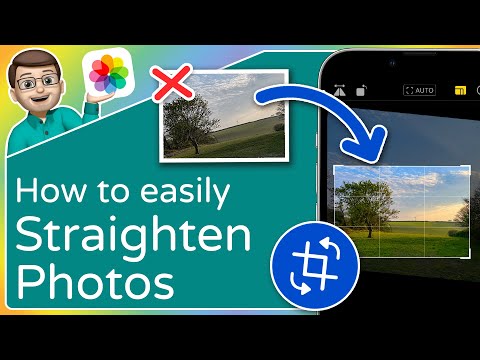
In this #Photoshop #Tutorial I‘m showing you how to quickly straighten your photos in the Camera Raw Editor (this also works in Lightroom).
To follow along this tutorial, you can download the raw file here:
▬▬▬▬▬▬▬▬▬▬▬▬▬▬▬▬▬
Thank you for watching my video!
▬▬▬▬▬▬▬▬▬▬▬▬▬▬▬▬▬
0:00 Intro
For this photo the main goal was to correct the vertical lines, bring back some more brightness as well as some more warmth to give it more of a sunset feeling. 95 percent of the editing was done in the Camera Raw editor, while I used Photoshop to clean up the image and add a little more glow to it.
0:12 1. Straighten your photo
Straightening lines in Photoshops camera raw editor (or Photoshop) is very easy. You can find all the settings you need in the geometry tab. Photoshop offers a bunch of settings which try to fix things automatically (horizon, vertical lines, and so on). I personally prefer to use the sliders just below those settings however since I have more control over the outcome!
2:50 2. Basic Raw Adjustments
I started by adjusting the vertical lines in the geometry tab until they appeared to be straight. Then, I switched the profile to Adobe Landscape for more saturation. I adjusted the white balance temperature to give the photo some more warmth. As the raw was a bit too dark, I brought up the exposure, the whites and the blacks. Also, I dropped the highlights and the shadows to get a well-balanced exposure.
4:40 3. Local Adjustments
First, I added a radial gradient on the left to add some glow. Here, I increased the blacks, dropped the dehaze and played around with the white balance temperature for more warmth. Then, I added a linear gradient over the sky to make the top part a little darker. Using the select subject mask, I targeted the pavilion in the center and slightly raised the whites to increase brightness.
6:58 4. Color Grading
I skipped the HSL stuff, went straight to the split toning where I added a warm tone to the highlights and mid-tones and a cold tone to the shadows.
8:31 5. Photoshop
I cleaned up the image using the spot healing brush and the clone stamp tool (worked like a charm on the vertical railing part in the near foreground). Then, I used a soft light layer to introduce more glow on the left side.
Комментарии
 0:03:05
 0:01:28
 0:06:10
 0:01:50
 0:07:30
 0:00:11
 0:01:05
 0:01:41
 0:04:17
 0:01:55
 0:00:32
 0:04:31
 0:01:08
 0:03:18
 0:02:01
 0:01:02
 0:01:17
 0:12:58
 0:00:16
 0:01:12
 0:01:15
 0:00:15
 0:01:56
 0:00:59