filmov
tv
Wall Framing Layout Explained!

Показать описание
Follow along as we finish the last part of the wall layout series! including snapping, plating, and of course laying out!
follow our instagram for daily updates and more content there as well!
follow our instagram for daily updates and more content there as well!
 0:13:00
Wall Framing Layout Explained!
 0:01:36
Basic Wall Framing: Layout
 0:01:45
Wall Framing - How to measure 16” on center (oc) - stud layout
 0:10:05
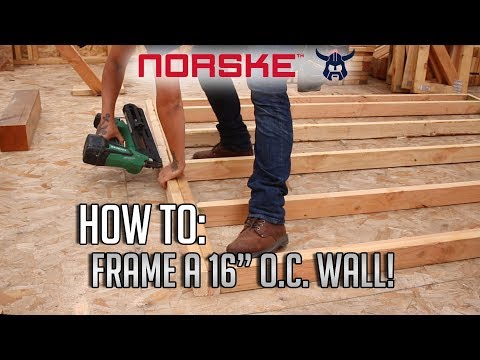
How To: Frame a 16' O.C. Wall! (Most Common Wood Framing Method)
 0:10:34
Wall Framing Layout Lecture Lesson
 0:10:38
Wall Frame Components and Construction Sequence
 0:10:41
Wall Framing Layout (Framing Our First Wall!)
 0:04:44
2 Examples of Wall Layout When Framing Studs at 16 Inch Centres
 0:05:28
Modern House Front Wall Tiles Design Ideas 2024 Home Exterior Wall Design | Outdoor Wall Decorations
 0:05:59
How to layout wall studs 16' on center o.c. Wood Frame
 0:04:17
Wall Framing Sequence and Sheathing Patterns
 0:12:09
Wall framing layout
 0:17:54
Wall Framing: Everything You Need to Know! // DIY Workshop Build 20x32 Stick Framed
 0:10:43
Framing Our First Wall with a 16 on Center Layout
 0:11:03
Metal Stud Framing Layout From The Drawings Wall Types
 0:05:56
Framing And Building A Wood Stud Wall
 0:17:40
Framing Layout On Interior walls For Getting The Most Out Of Your Home
 0:15:07
How to Frame a Wall
 0:03:32
The Reason Why Engineers And Builders Use 92.25 Inch Wall Framing Studs And Not 8 Foot Tall Studs
 0:02:06
Wall Framing Layout Tool - Home Building Help
 0:01:00
How To Frame A Wall
 0:22:25
Wood Stud Wall Framing
 0:09:09
How To Layout Square Wall Framing On Concrete Foundations That Is Not - Home Building Tutorial
 0:19:29
Wall Framing Layout | Line Snap | Plating | Detailing Walls | New Construction
Комментарии