filmov
tv
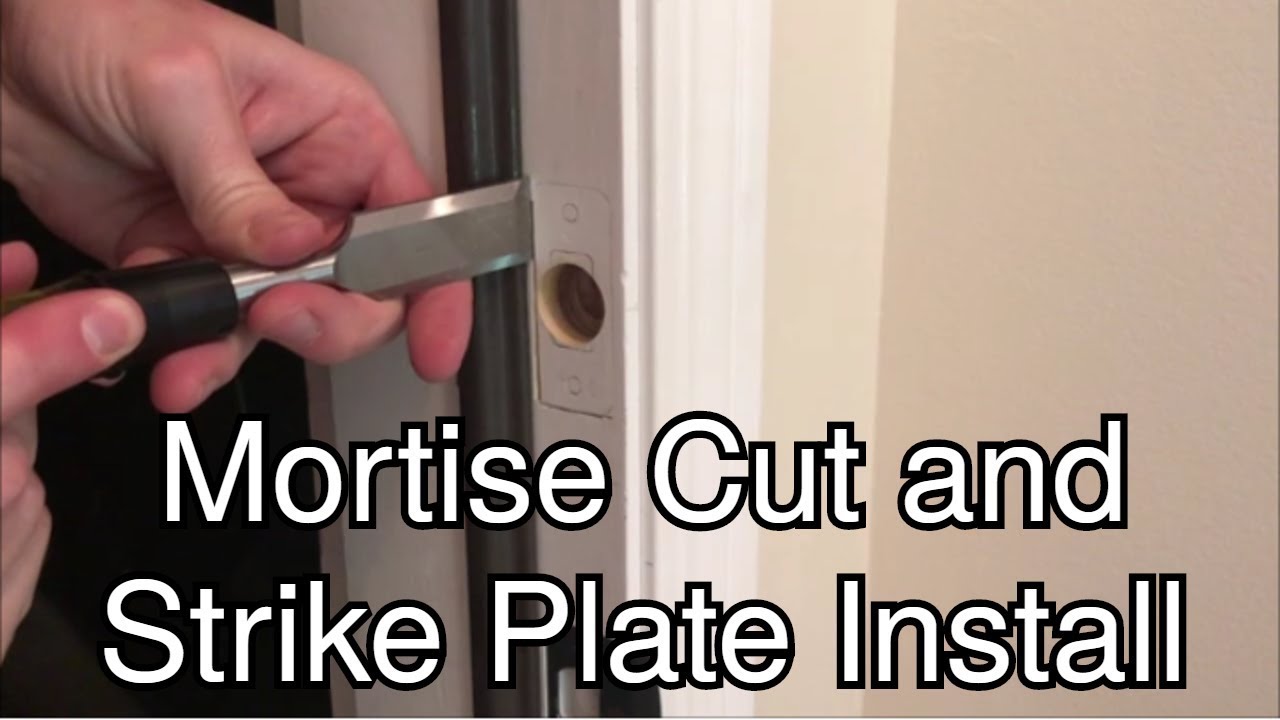
Mortise Cut Made Easy
Показать описание
Complete guide to install a mortise using a simple way to determine mortise cut location with a common household item.
 0:05:17
Mortise Cut Made Easy
 0:13:35
Mortise Basics: Marking, Chopping, Fitting
 0:11:31
STOP Making Mortises So Complicated!
 0:07:38
HOW TO CUT CRISP MORTISE AND TENON JOINTS LIKE A PRO! [WOODWORKING]
 0:08:26
Drill Press Mortising made easy
 0:02:05
How to Make Simple Mortise & Tenon Joints
 0:03:39
Quick & Easy Mortises
 0:01:00
How to Mortise Hinges With a Chisel
 0:39:05
Through Mortise And Tenon Joint - (Made Easy)
 0:01:42
Easy Door Lock and Mortise Jig - XTORQUE
 0:29:56
How to make a Mortise and Tenon Joint - The Three Joints - | Paul Sellers
 0:08:47
How to Make Mortise and Tenon Joints with Hand Tools
 0:05:19
5 min timber frame tenon
 0:04:34
The Easiest Mortise!
 0:05:42
How to make a square mortise with a drill press and a forstner bit!
 0:08:30
Router Jig for Mortice Latch Faceplates
 0:34:54
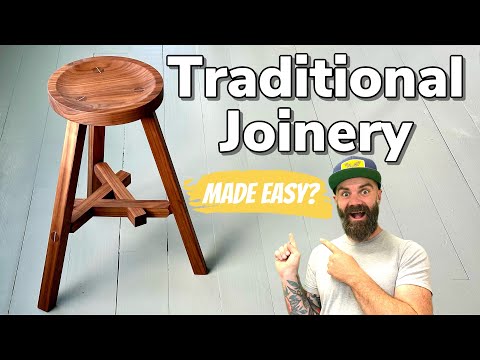
Traditional Joinery Made Easy || There Is A Reason I Don't Do This
 0:09:59
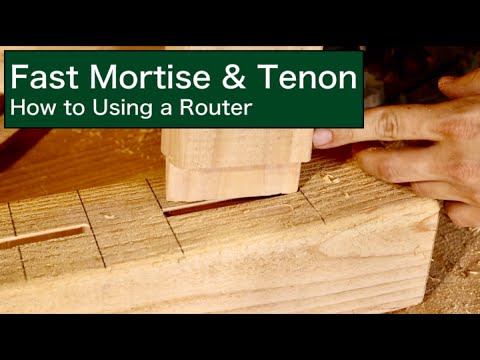
Fast Mortise & Tenon | How to Using a Router
 0:08:20
How To: Make a Mortise and Tenon using only the Router Table/Woodworking How To
 0:04:52
Quick and Perfect Mortises with a Router Jig!
 0:06:20
How to Make a Mortise Jig for a Plunge Router
 0:04:13
Timber Framing Mortise & Tenon
 0:00:36
Amazing Woodworking Hack | Router Tips and Tricks
 0:14:22
Less Than one Tips To Cut Perfect Mortise
Комментарии