filmov
tv
Raspberry Pi LESSON 48: Creating A Bouncing Box Overlay in OpenCV

Показать описание
Announcing the Most Awesome Raspberry Pi Lessons of All Times! This time we RUMBLE!
In this class series, we will be using the most excellent Sunfounder Ultimate Raspberry Pi kit, available here: (Affiliate Link)
In this lesson I will show you how to use the Raspberry Pi camera on the Bullseye operating system, in either 32 bit or 64 bit mode. I will show how to create a bouncing box overlay using openCV.
If you want to grab those cool little straight jumper wires I am using to keep my breadboard builds neat and clean you can snag a box of them here:
If you guys are interested in the oscilloscope I am using, you can pick one up here (affiliate link):
You guys get your hardware ordered so you can follow along at home!
You will also need a Raspberry Pi. I suggest the Raspberry Pi 4. If you do not already have one, this is the most suitable gear I could find:
The Raspberry Pi's are sort of pricy right now, so you can look on ebay or elsewhere to see if there are any deals. You will need a SD card. If you do not already have one, this is a good one:
I like using a wireless keyboard and mouse to have fewer wires. You can certainly use your USB keyboard and mouse, but if you want a nice wireless one, this one works on the pi. We demonstrate this by using a button switch to control a LED.
You guys can help me out over at Patreon, and that will help me keep my gear updated, and help me keep this quality content coming:
#bullseye
#opencv
#raspberrypi
 0:34:16
Raspberry Pi LESSON 48: Creating A Bouncing Box Overlay in OpenCV
 0:36:48
Raspberry Pi Pico W LESSON 48: Measuring Rotation Using the Gyros on the MPU6050
 0:00:13
Control Stepper Motor Using Raspberry Pi Pico & Micropython Script
 0:27:32
Raspberry Pi Stepper Motor Tutorial
 0:26:38
Raspberry Pi LESSON 47: Adding Boxes, Rectangles and Circles on Images in OpenCV
 0:00:58
How a Raspberry Pi is made (in 60 seconds) #shorts
 0:00:59
ChatGPT Running Locally on Raspberry Pi (ft. Ryan Reynolds)
 0:01:37
#48 - Static IP on Raspberry Pi OS
 0:07:15
Raspberry Pi Pico - A Beginners Guide
 0:00:17
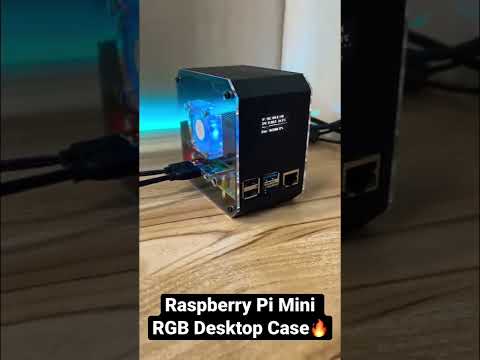
Raspberry Pi Mini RGB Desktop Case
 0:48:40
Raspberry Pi GPIO - Getting Started with gpiozero
 0:00:24
Coding for 1 Month Versus 1 Year #shorts #coding
 1:01:59
Raspberry Pi LESSON 2: Linux Essentials in One Session
 0:00:16
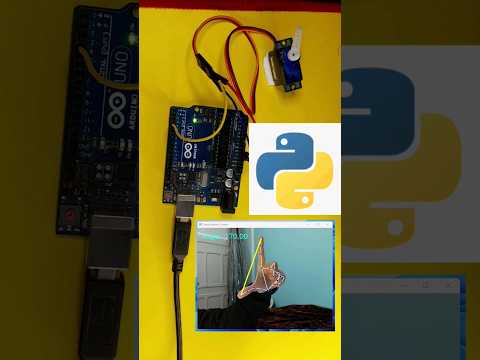
Gesture-Controlled Servo with Python and Arduino #electronics #arduinotraining
 0:01:26
How To Make A Raspberry Pi To Reboot Everyday
 0:00:48
Raspberry Pi Ad Blocker with Pi-Hole!
 0:00:23
Raspberry PI running bare metal ULN2003 plus 28BYJ-48 step
 0:16:23
28BYJ-48 Stepper Motor with Raspberry PI Pico (C++ and FreeRTOS)
 0:00:09
Hydroponics Setup At Home 48 Plants
 0:33:03
RetroPie: A Raspberry Pi Gaming Machine
 0:00:56
5 Years of Coding in under a Minute #shorts
 0:12:58
My solutions for Paul McWhorter's Raspberry Pi Lessons 46 - 48 using OpenCV,
 0:04:29
28BYJ-48 stepper motor and ULN2003 Arduino (Quick tutorial for beginners)
 0:01:00
OFF GRID Raspberry Pi Crypto Miner!
Комментарии