filmov
tv
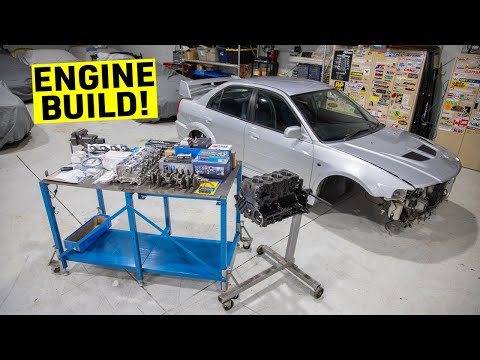
Cheap EVO 6 Engine Teardown - How BAD is the 4G63?

Показать описание
We continue the rebuild of the Mitsubishi Lancer Evo 6 VI to beat our Subaru STI by tearing down the 4G63 engine showing you a complete how to process and getting ready to rebuild it.
HP ACADEMY $75 OFF DISCOUNT CODE: 8H7WM2
Favorite Tools:
HP ACADEMY $75 OFF DISCOUNT CODE: 8H7WM2
Favorite Tools:

Cheap EVO 6 Engine Teardown - How BAD is the 4G63?

We Didn't Think This Would Happen... Evo 6 Engine Teardown Gone WRONG
EVO 6 4G63 Engine Rebuild How To - Measure EVERYTHING! PT 1

Restoring EVERYTHING On the CHEAP EVO 6

Cheap EVO 6 Engine is a MESS

I was forced to pull my Evo Engine

Cheap EVO 6 Custom Oil Cooler & Intake (Turned out AWESOME!)

EVO 6 Engine Failure - What Went Wrong?

EVO 6 4G63 Engine Rebuild How To - Killer Turbo Setup! PT 4

Cheap EVO 6 Built 4G63 Engine Assembly

How To Fix Worn Interior QUICK & EASY in the CHEAP EVO 6

Mitsubishi Evo V | Engine Tear Down

Tesla Maintenance is Becoming Too Much 😩😭

How To Rebuild A Car Engine (4G63)

Cheap EVO 6 Rust Issues - We Fix THEM!

Well, it could be worse (blown evo engine tear down)

engine overhaul|| engine head reface ||head gasket replacement ||engine overheat||#shorts #reels.
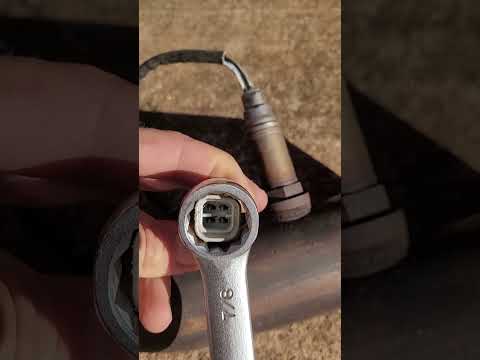
O2 Sensor Engineers HATE Mechanics

Burning electric car

Adjust Your Boost Pressure | #turbo

Who wins? #ducati #harleydavidson #panigale #cruiser #motorcycle #v2 #sportsbike #engine #shorts

Blown Head Gasket

EVO 6 4G63 Engine Rebuild How To - Timing Belt Assembly PT 3

How to do a muffler delete in less than 60 seconds #shorts
Комментарии