filmov
tv
3 Simple Model Railroad Arduino Projects for Beginners

Показать описание
Parts
TRAIN SETS
3D PRINTERS
CAMERA
MICROPHONE
LIGHTS
MOTION CONTROL
Consider donating the PCOS Challenge to help women everywhere with PCOS
“The godly may trip seven times, but they will get up again.
But one disaster is enough to overthrow the wicked.
Don’t rejoice when your enemies fall;
don’t be happy when they stumble.
For the Lord will be displeased with you
and will turn his anger away from them.
Don’t fret because of evildoers;
don’t envy the wicked.”
Proverbs 24: 16-19 NLT
 0:11:55
3 Simple Model Railroad Arduino Projects for Beginners
 0:15:55
EASY Model Train Building Automation - ARDUINO
 0:00:17
Arduino model Railway OLED
 0:25:20
I Made an Automated Model Train With An Arduino!
 0:05:53
How to Control Multiple Model Railroad Turnout Servos | Full Arduino Sketch Run-through
 0:17:54
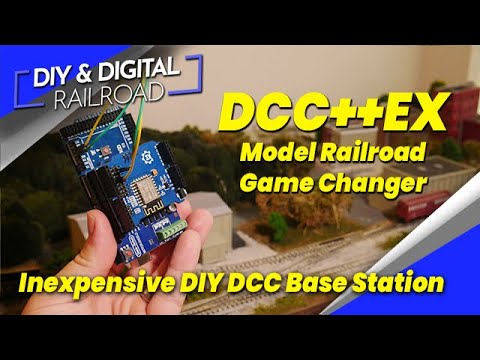
DCC++EX: A Cheap DIY DCC System?!?! This is a Model Railroad Game Changer
 0:15:13
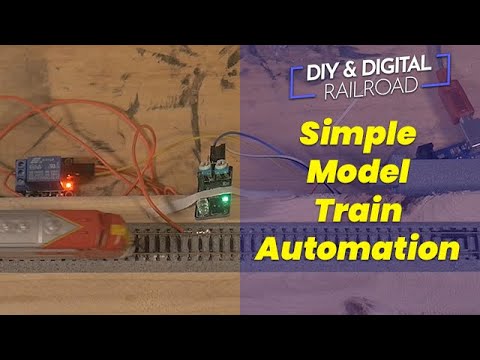
Easy Model Train Automation with an Arduino: Stopping and Starting a locomotive
 0:17:30
26. Semaphore signalling- prt 3- Arduino Servo Control
 0:02:51
Arduino Micro Controllers For Model Railroads 🚂
 0:22:24
Animated Model Railroad Building Lights with Arduinos!
 0:00:37
Model railroad crossover using servos controlled by one switch #arduino #modelrailroad #servos
 0:03:52
Simple Automated Point to Point Model Railway Layout | Arduino Based
 0:00:32
Arduino controlled model railroad. Stop/start problem.
 0:00:15
Model Railroad Arduino Controlled Crossing Gates
 0:27:54
Model Railroad Arduino Block Signal Upgraded!
 0:00:52
Experimenting with Arduino and Servos for turnout control.
 0:03:11
Arduino DC model train controller, manual & automated
 0:00:10
Beyond the Basics: Automatic Gatekeeper With IR Sensor And ChatGPT Generated Arduino Code
 0:00:19
DIY Radar With Ultrasonic Sensor And Chat-GPT Generated Arduino Code | Coders Cafe
 0:00:09
Arduino Speedometer for model railway. High speed test with dark locomotive and neon lights
 0:00:34
How to test Servo Motor using Arduino Uno | Step-by-Step guide
 0:00:15
Top Five Arduino Projects #diy #arduino #arduinoprojects #experiment #eazytronic
 0:01:00
Seperate throttle, idle & brake. #modelrailroad #operations #protothrottle #modelrailway
 0:00:21
learn Arduino programming in 20 seconds!! (Arduino projects)
Комментарии