filmov
tv
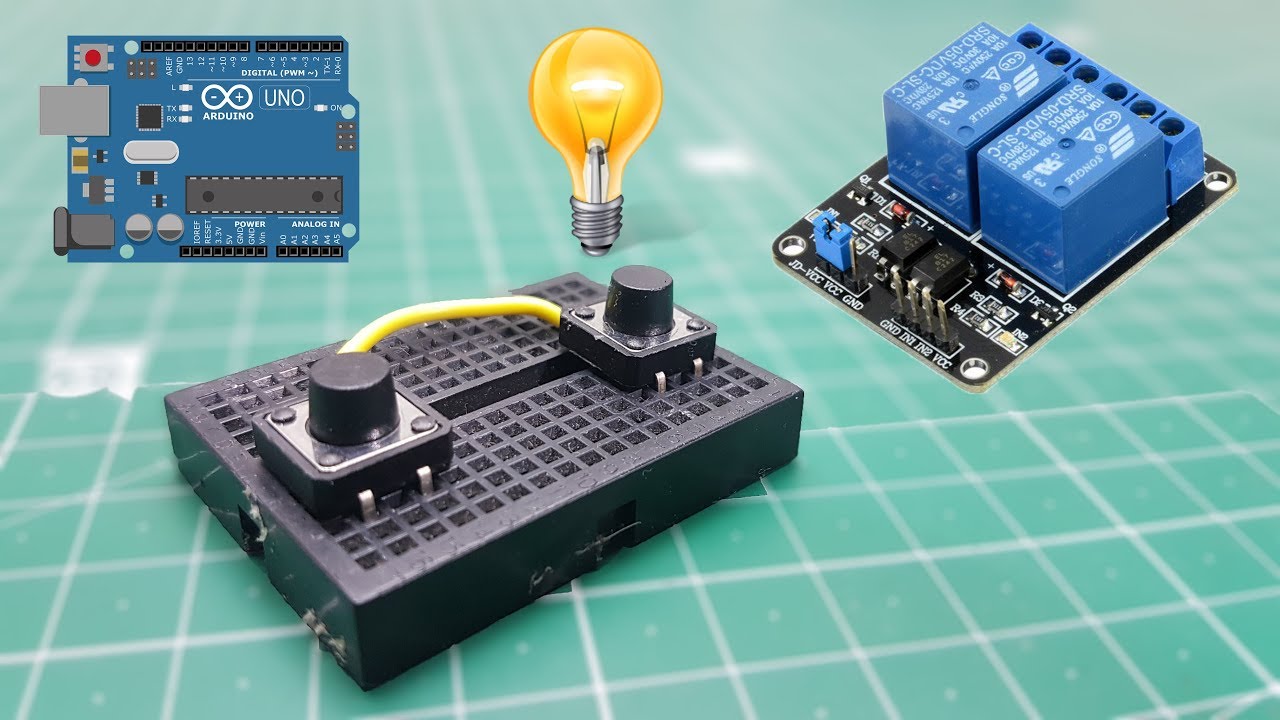
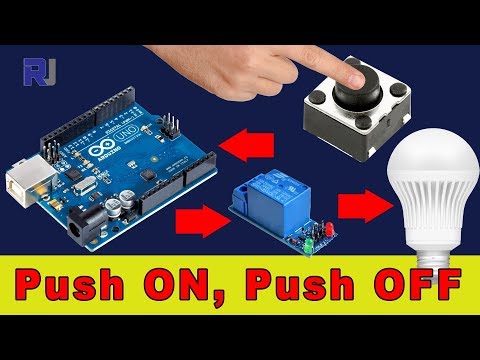
Arduino Push Button Relay Control
Показать описание
Hey friends in this video i will show you how to control relay with a push button.
Materials
Arduino UNO
Relay Board 2 Channel
Push Button
Breadboard
Jumpers
Follow me on:-
snapchat:- viraldodhia20
---------- VIRAL SCIENCE © -----------
Materials
Arduino UNO
Relay Board 2 Channel
Push Button
Breadboard
Jumpers
Follow me on:-
snapchat:- viraldodhia20
---------- VIRAL SCIENCE © -----------
 0:02:21
Arduino Push Button Relay Control
 0:03:52
Arduino Push Button Relay Control
 0:00:22
IO22D08 / IO22C04 Arduino Pro Mini delay relay demo
 0:00:42
1 Push Button 4 Relays - Sequence Control - Arduino
 0:00:42
Single, Double, Triple, Long Press Pushbutton #arduinoiot #esp32 #relay #arduino
 0:01:33
QMV 12VLR1 Latching Relay | On-Board Switch and Switch Leads
 0:01:05
Controlling 4 Channel Arduino Relay With Buttons
 0:13:29
Home Automation: Using 4 Push button push-ON and push-OFF 4 relays with Arduino
 0:01:51
Arduino Push Button Relay Control
 0:13:24
Lesson 66: Controlling 4 channel relay with 4 push buttons | Arduino Step By Step Course
 0:03:14
Arduino Push Button Relay Control🤖
 0:05:38
How to make Push button Relay Switch (Arduino)
 0:03:46
Arduino operated relay using either Bluetooth, button or a switch
 0:04:52
How to Control Relays with Arduino and Push Button
 0:44:33
Control 10 output pins or relay using 10 push button switch with 1 Arduino input pin ANPB-V2
 0:12:16
Using Arduino Turn AC bulb with push button On and OFF toggle with relay
 0:00:38
Relay one push button on-off switch simulation | One pushbutton on off relay switch circuit.
 0:00:17
Arduino - Driving DC Motor (Water Pump) with Relay
 0:02:06
Arduino nano bluetooth relay control with manual push button switch
 0:04:13
Push button control relay by Arduino
 0:06:20
How to control relay module with one push button
 0:00:07
DC Motor direction control using push button switch #electronic #circuit #relay #switch
 0:00:06
Arduino Nano Toggle Switch Using Push Button and LED
 0:00:14
Control anything from a long distance - RF relay module #technoreview85 #electronicproject
Комментарии