filmov
tv
How To Fit Blades On a STIHL Brushcutter | STIHL GB

Показать описание
Many STIHL brushcutters can run both line heads and metal cutting attachments or blades. To find out whether your machine can run with a cutting blade and if so, which ones can be used, check in the user manual or speak to your nearest STIHL approved dealer:
Once you know which cutting attachment you can run, you will need the attachment itself plus a fitting kit. If you’re unsure which fitting kit your machine needs, again, your nearest STIHL approved dealer will be able to help you with this.
In this video, we’ll show you exactly how to fit blades to your STIHL brushcutter.
🔶 First, you need to remove the line head. If your machine has a gearbox and can run metal cutting attachments, you need to lock the line head in place so it can be unscrewed.
🔶 To lock the line head in place, you need a locking pin which is usually supplied with the machine. Simply slot it in as shown in the video and you will feel it click into place. This locks the gearbox so you can undo the head
** Top Tip **
If you turn the machine over, it’s easier to keep the locking pin in place and then remove the head completely.
🔶 Take the blade and check for any directional or rotational markings to make sure it’s fitted the right way round, then place it over the circular shoulder. It must be correctly seated on the shoulder as if it is even slightly off-centre, it can lead to excessive vibration when using the machine.
🔶 Once it’s correctly seated, you need to put the thrust washer on, followed by the cup, and then the nut to secure everything in place.
🔶 Keep the locking pin in place and hold the machine level, then tighten the nut using a combination wrench. Once it is tight, remove the wrench and the locking pin and check that the blade is moving freely and is still completely centred.
🔶 Check that you are using the right guard for the cutting attachment as if you have the wrong guard, it can lift the cutting attachment too high off the floor and cause debris to fly around and increase the risk of injury or damage to nearby objects.
🔶 If your machine uses a type of Universal Guard that has the black strip shown in the video, you can use the same locking pin to push the lug in there and remove the black strip. Removing the black strip drops the attachment down to the correct level for safe use of the blade.
For more how-to videos, just take a look at the STIHL GB YouTube channel.
Timestamps
00:00 - Intro
0:47 - Remove the line head
1:22 - Fit blade
2:22 - Check blade moves freely
2:27 - Check guard
#STIHL #STIHLGB #STIHL2020 #STIHLHowTo #HowToGuide #Bruchcutter #STIHLBrushcutter #BrushcutterBlade
 0:03:09
How To Fit Blades On a STIHL Brushcutter | STIHL GB
 0:00:21
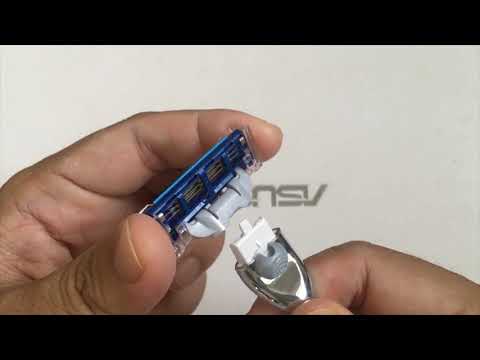
How to Put Blades in a Safety Razor
 0:04:58
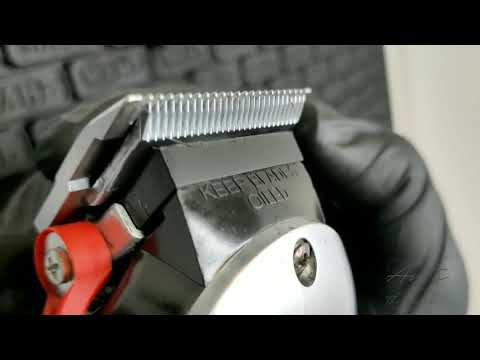
HOW TO SET YOUR WAHL CLIPPER BLADES
 0:01:38
HOW TO ADJUST YOUR HAIR TRIMMER BLADES FOR A CLOSE & SHARP CUT
 0:09:05
How to change blades and fine tune your electric planer | DIY level advanced
 0:09:16
How To Series: Installing Foot Pockets onto Carbon Blades
 0:00:31
Hook Connection - How to Install Bosch ICON Wiper Blades
 0:01:41
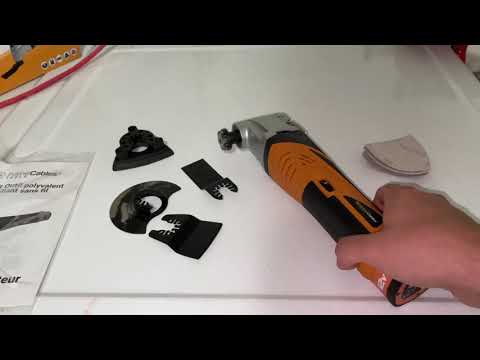
How To Change Blades On An Oscillating Multi Tool
 0:08:24
THE BEST ROSECRAFT BLADES KNIFE EVER JUST GOT A MAKEOVER! 🌹⚔️🔥
 0:00:27
Wipertech Universal Aeroflex II - How to install universal hook wiper blades
 0:02:22
How to Change Planer Blades
 0:00:39
28' Hook Connection - How to Install Bosch Sprectrum DirectFit Conventional Wiper Blades
 0:01:34
How to replace your windshield wiper blades
 0:03:43
How To Change Circular Saw Blades
 0:01:54
How To: Install Wiper Blades
 0:08:12
How to replace the blades on Wahl clippers
 0:04:45
How to sharpen lawn mower blades THE CORRECT WAY ( Angle grinders will destroy your mower blades)
 0:01:10
How to change blades on a shaver (Gillette Mach 3 Turbo)
 0:03:32
HOW TO CHANGE LAWN MOWER BLADES
 0:03:16
Changing Hacksaw Blades The Correct Way
 0:00:25
How To replace Honda Fit windshield wiper blades
 0:01:45
How to fit HEYNER HYBRID Windscreen wiper blades on hook (U) wiper arm
 0:01:36
How to fit car wiper blades Valeo First™ for Gen2D? | Valeo Service
 0:01:04
How to fit alca UNIVERSAL windscreen wiper blades on hook wiper arm
Комментарии