filmov
tv
How To Make An Options Menu - Unreal Engine 5 Tutorial

Показать описание
#Optionsmenu #UnrealEngine5 #Uisco
📚 Chapters
Intro 0:00
Designing The Options Menu 0:55
Adding Functionality 4:36
Applying The Option Changes 12:24
Displaying The Options Text 19:15
Adding The Options Menu To The Main Menu 22:31
Final Result + Outro 26:14
 0:50:23
Options Trading For Beginners: Complete Guide with Examples
 0:07:17
POCKET OPTION STRATEGY FOR A 5X BALANCE BOOST?! | BINARY TRADING STRATEGY | POCKET OPTION SIGNALS
 0:07:04
Options Trading in 7 Minutes (How to Make $100 DAY As A Beginner)
 0:10:31
Options Trading in 10 Minutes | How to Make $1,000 a day | For Beginners Only
 0:17:25
How to Create an Options Trade: Live Walkthrough
 0:10:28
How To Make $100-a-Day Trading Options in 10 Minutes
 0:07:49
💯 START MAKING MONEY ONLINE NOW | Follow a Clear and Simple Pocket Option Strategy
 0:00:12
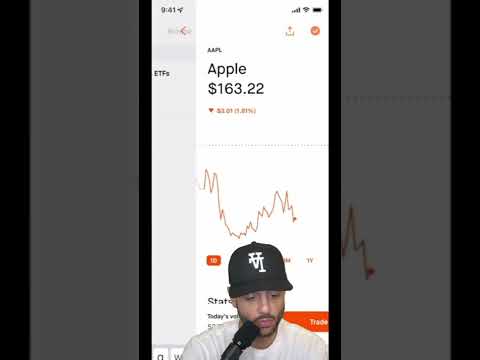
Trading Options on Webull for beginners - How to make money? #stockmarket #webull #optionstrading
 0:09:06
BINARY OPTIONS Strategy! How I Make $500 a Day with This Simple Method!
 0:09:51
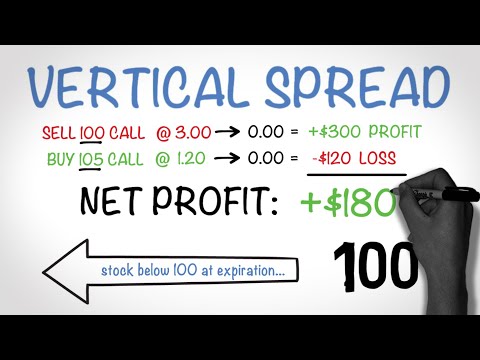
How to Make Money Trading Options - The Vertical Spread
 0:00:52
💰 How to trade options in 60 seconds
 0:07:23
🔥 I Made THIS in 7 Minutes | Here's Exactly How to Earn Money on Pocket Option
 0:08:01
🔥 I Made BIG MONEY in 8 Minutes Using This Pocket Option Strategy | Live Trading
 0:00:29
MADE A MILLION OFF $460 ON TESLA ON ROBINHOOD || Wall Street Bets Options Trading
 0:17:34
Futures and Options (F&O) is a GREAT way to make regular income ? | Basics of FnO
 0:00:20
YOLO COLLEGE SAVINGS INTO TSLA ON ROBINHOOD | Wall Street Bets Options Trading
 0:00:59
A One Day Options Trade (66% return)
 0:20:51
What is Future & Options Trading in Share Market? | How to Make Money in F&O?
 0:12:57
How to Make Money Buying Put Options for Beginners
 0:00:59
3000% in 2 Weeks with this Options Strategy 🚀💰
 0:24:46
How to Make $10,000/mo Selling Put Options (Ultimate Guide)
 0:16:14
How To Make $100 A Day Trading Stock Options - The Easy Way
 0:08:56
🤑 APPLY IT RIGHT AWAY | My Go-to Pocket Option Strategy That’s Easy to Follow
 0:08:22
0DTE Options Strategy - How to make $200 per day with 0DTE SPY
Комментарии