filmov
tv
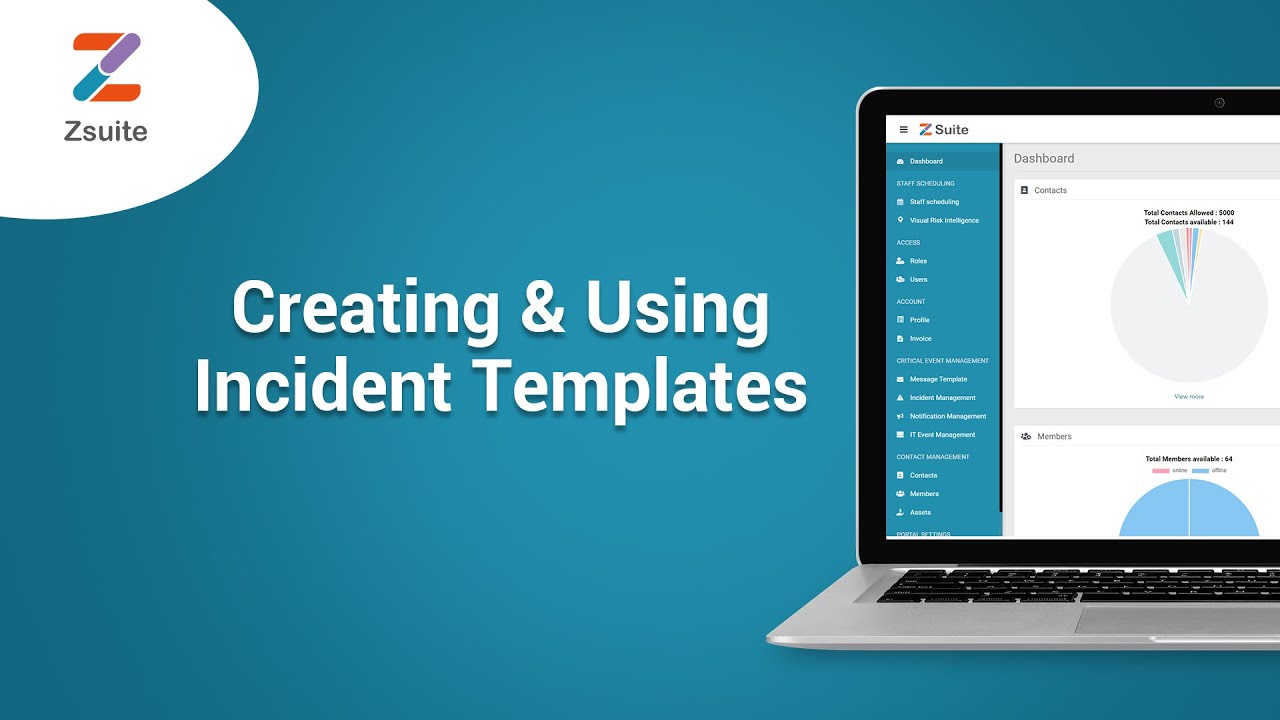
Creating and Using Incident Templates || ZSuite Critical Event Management
Показать описание
Let us learn in this tutorial how to create and use Incident Templates in ZSuite - A Critical Event Management and Collaboration Tool by Zapoj, that helps the companies to improve business resilience by predicting risks and automating the mitigation process and thus helping them reduce the losses.
#CriticalEventManagement #RiskIntelligeneTool #RiskMitigationTool
Below is the process followed to achieve the same on the tool.
Here is how Templates page look like
Creating a Template:
To send a message you have to create a Template. Here you can know how to create a Template. Click on the create template button.
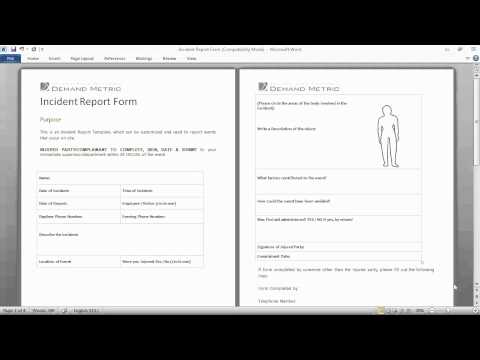
You will be taken to a page to give some details to create a message template. Firstly, you have to fill some Incident details like Incident name and Incident Category.
Phase details and Operator form: These are the Phase details and operator form. There are two phases like single and multiphase. Operator form is where you can drag and drop the fields you have already created in form fields
The above are the Phase details and operator form. There are two phases like single and multiphase. Operator form is where you can drag and drop the fields you have already created in form fields.
Message: Here you have to give the message you wanted to make a Template.
If you click on Include a separate message for Email notifications, there opens an Email box so that you can give your message there.
Speech: This is the voice message you wanted to make a Template. There are Text to Speech, use a voice recording and None.
Text to Speech: This converts your given message to Speech.
Use a voice recording: Here you can select an audio clip or record an audio to send a message.
If you select None, no audio will be sent.
Select contacts: Here you have options to select contacts; like you can select Individual contacts, select from groups, select from zones i.e., based on locations and also Staff scheduling.
Individuals: Click on “Individuals” tab to select the contacts you want by giving their name.
Groups: This is used to send messages to Groups that are already created. Click on “Groups” tab so that it will display all the groups present in the Organisation. Select the preferred group.
Zones: This is used to select the zone i.e specific place, so that the message reaches the Users present in that area.
Staff Scheduling: Here you have to select from a calendar where the schedules of the staff are present.
Settings: Here are some of the settings you can do for the Template. These are some of the mandatory fields.
Select Email Format: Here you can find some formats available for the Email, you can select from them.
Sender Email Address: Give the email address of the sender here.
Sender Caller ID: Give caller id here.
Delivery Order: Here you can see the options for Delivery order that are already given by the management. Select from them.
Delivery Method: Here are 4 delivery methods like SMS devices, Email Address, Mobile Phone and Landline.
Broadcast Duration: Select the options for the duration of the message broadcast.
Contact cycles: You can select contact cycles here. There are up to 20 cycles available.
Interval between Delivery Method: There is an interval from 5 min to 55 min.
Language: English (USA), English (U.K), Hindi are available. Select your preferred language.
#CriticalEventManagement #RiskIntelligeneTool #RiskMitigationTool
Below is the process followed to achieve the same on the tool.
Here is how Templates page look like
Creating a Template:
To send a message you have to create a Template. Here you can know how to create a Template. Click on the create template button.
You will be taken to a page to give some details to create a message template. Firstly, you have to fill some Incident details like Incident name and Incident Category.
Phase details and Operator form: These are the Phase details and operator form. There are two phases like single and multiphase. Operator form is where you can drag and drop the fields you have already created in form fields
The above are the Phase details and operator form. There are two phases like single and multiphase. Operator form is where you can drag and drop the fields you have already created in form fields.
Message: Here you have to give the message you wanted to make a Template.
If you click on Include a separate message for Email notifications, there opens an Email box so that you can give your message there.
Speech: This is the voice message you wanted to make a Template. There are Text to Speech, use a voice recording and None.
Text to Speech: This converts your given message to Speech.
Use a voice recording: Here you can select an audio clip or record an audio to send a message.
If you select None, no audio will be sent.
Select contacts: Here you have options to select contacts; like you can select Individual contacts, select from groups, select from zones i.e., based on locations and also Staff scheduling.
Individuals: Click on “Individuals” tab to select the contacts you want by giving their name.
Groups: This is used to send messages to Groups that are already created. Click on “Groups” tab so that it will display all the groups present in the Organisation. Select the preferred group.
Zones: This is used to select the zone i.e specific place, so that the message reaches the Users present in that area.
Staff Scheduling: Here you have to select from a calendar where the schedules of the staff are present.
Settings: Here are some of the settings you can do for the Template. These are some of the mandatory fields.
Select Email Format: Here you can find some formats available for the Email, you can select from them.
Sender Email Address: Give the email address of the sender here.
Sender Caller ID: Give caller id here.
Delivery Order: Here you can see the options for Delivery order that are already given by the management. Select from them.
Delivery Method: Here are 4 delivery methods like SMS devices, Email Address, Mobile Phone and Landline.
Broadcast Duration: Select the options for the duration of the message broadcast.
Contact cycles: You can select contact cycles here. There are up to 20 cycles available.
Interval between Delivery Method: There is an interval from 5 min to 55 min.
Language: English (USA), English (U.K), Hindi are available. Select your preferred language.
 0:01:44
 0:04:20
 0:02:59
 0:05:49
 0:12:56
 0:00:39
 0:05:00
 0:04:33
 0:02:56
 0:03:43
 0:12:50
 0:09:47
 0:22:43
 0:03:17
 0:07:55
 0:05:25
 0:12:59
 0:57:55
 0:00:24
 0:02:37
 0:49:14
 0:02:27
 0:19:21
 0:04:00