filmov
tv
Sew Better! 8 BEST Beginner Sewing Machine Tips

Показать описание
Want to get better at using your sewing machine? Then follow these simple 8 steps that will make a HUGE difference and make your sewing look much more professional.
👖Order my latest book Sewing Jeans: The complete step-by-step guide
✂️ Shop my sewing books and patterns
📘 My book Master the Coverstitch Machine
🏃♀️ Get my book Sewing Activewear
✂️ Shop my favourite sewing tools
8 Best Beginner Sewing Machin Tips
1. Release the tension
You do this by lifting the presser foot. This will release the tension disks. If you skip this step, the stitching might look off
2. Pull back the thread
Always pull the needle and bobbin thread towards the back before you start sewing. This prevents the thread from getting tangled.
3. Needle in fabric
This is another effective way to prevent the threads from forming a knot. Use the handwheel to lower the needle or see if your machine has a function that does this automatically for you. Using this method also assures that the needle won’t miss the fabric on the first stitch.
4. Stitch length and width
Stitch Length
The stitch length is usually shown in mm. For a straight stitch, a length around 2.5 mm is great for seams, and for topstitching increase the length to 3 or 3.5. Remember that a longer stitch length means less durability. It also means less coverage if you are using a zigzag stitch, which can cause fraying of the fabric.
Stitch Width
On a straight stitch, the width is zero, but on a zigzag stitch and other wider stitches, you need to adjust the width too. For a regular zigzag opt for a width around 2 mm.
5. Balanced tension
The mark of a beautiful stitch is balanced tension. If the needle tension is too loose, this causes the needle thread to form loops on the reverse side.
If the needle tension is too high, you can see on the red dots of bobbin thread showing on the right side.
6. Backstitch
The threads will unravel if you don’t secure them. Start and finish the stitch with backstitching. The exception is if you are sewing on the round, such as hemming a pair of pants. Don’t start with backstitching, instead finish by overlapping the beginning and the secure with a backstitch.
7. Sew straight
If the guides on the plate are not enough, use a raised seam guide to help you sew straight. A stack of post-it notes or a piece of lego attached with blue-tac is both great options if you don’t have a machine seam guide
8. Guide the fabric
Another trick for sewing straight is to guide the fabric with your hands. Softly pinch the fabric edge with your right hand thumb and index finger and gently guide the fabric with your left hand. Never pull or force the fabric, let the rhythm of the sewing machine decide your movements.
✂️Find me on the Internet✂️
 0:04:08
Sew Better! 8 BEST Beginner Sewing Machine Tips
 0:11:27
10 Sewing Mistakes Beginners Make
 0:13:48
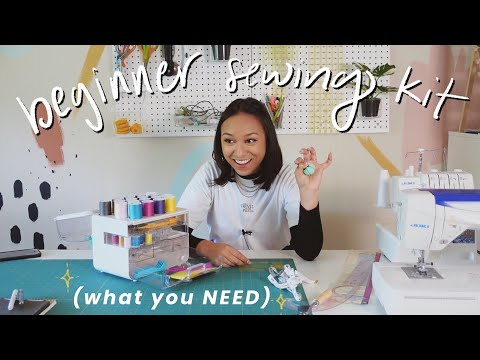
Here are the sewing supplies you NEED as a BEGINNER!!! (my recommended beginner sewing kit)
 0:14:03
Best Sewing Machine for Beginners Under $100 | 8 layer denim test!
 0:13:30
Beginner Sewing Video | Tools, Basics & First Sewing Projects | Best Beginner Sewing Machine 202...
 0:15:10
14 things I wish someone told me about sewing as a beginner!
 0:16:38
Learn to sew in 20 minutes! | easy step-by-step tutorial
 0:08:32
🧵 BUYING A NEW SEWING MACHINE - 8 QUESTIONS YOU NEED TO ASK YOURSELF BEFORE YOU PURCHASE
 0:30:56
How to Finish Your First Quilt Top - Quilting for Beginners || Free Quilting Course
 0:23:40
SEWING 101 // Ultimate Beginners Guide
 0:06:18
BEST Leather Sewing Machine for Beginners
 0:17:25
TESTED: Best Sewing Machines for Beginners
 0:13:14
What Sewing Machine Should I Buy?
 0:14:15
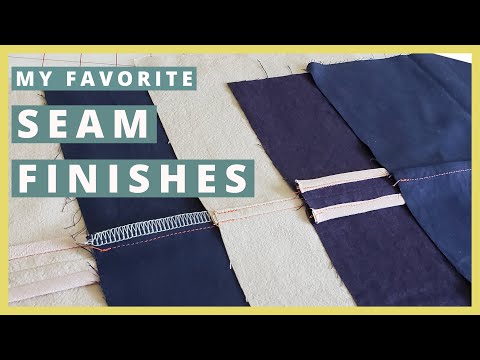
7 Seam Finishes (5 are WITHOUT a SERGER) | Sewing Basics for Beginners
 0:11:52
How to Operate a Mini Sewing Machine - Tutorial
 0:15:46
How to Choose a Sewing Machine | Beginner Sewing 101| LYDIA NAOMI
 0:07:19
Sewing Tools for Beginners | GA008
 0:10:14
how to ACTUALLY start sewing in 2022 | Seams Too True EP 9
 0:14:59
A Beginner's Guide To SEWING! How to use a sewing machine
 0:15:33
Best All Round Sewing Machine
 0:03:56
Hand Sewing Tutorial (RIGHT HANDED): Easy and Strong Seam
 0:08:27
Gertie's Top 10 Sewing Tips for Beginners and Self-Taught Sewists
 0:00:44
Beginner Sewing Machine - What to look for
 0:20:41
10 Beginner Level Sewing Seams! How to use a sewing machine tutorial - Brother ST150HDH
Комментарии