filmov
tv
How to Implement Delete Operation in NET Core MVC Step by Step Tutorial

Показать описание
In this video, we’ll guide you through implementing the Delete operation in a .NET Core MVC application. You’ll learn how to show a delete option for each record, display a confirmation alert, and delete the item only if the user confirms. We’ll also create a delete view to confirm the action and ensure proper functionality.
📌 What You'll Learn:
Adding a delete button for each item in the list.
Creating a delete confirmation view to prevent accidental deletions.
Writing both GET and POST actions for the delete operation.
Refreshing the page dynamically after successful deletion.
This is part of our Todo App tutorial series for beginners, where we cover each CRUD operation step-by-step!
0:00 - Introduction to the Delete Operation
Overview of the delete operation and why we need a confirmation mechanism.
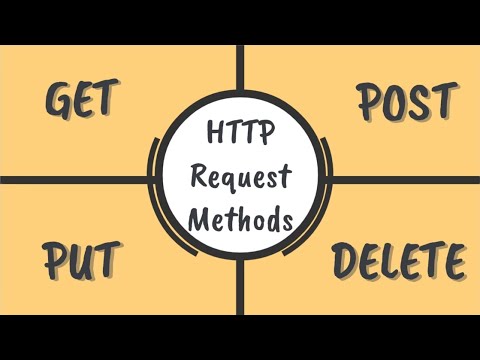
Brief explanation of the DELETE HTTP method and route consistency.
1:32 - Adding a Delete Button in the Table
Step-by-step guide to adding a delete button for each record in the index view.
Linking the button to the GET Delete action.
2:00 - Creating the GET Delete Action in the Controller
Writing a controller action to fetch the item to be deleted.
Passing the fetched item to the delete confirmation view.
3:00 - Creating the Delete Confirmation View
Building a view that displays item details and asks for confirmation.
Adding buttons for “Delete” and “Cancel” options.
05:32 - Writing the POST Delete Action in the Controller
Implementing the logic to remove the item from the database.
Using [ActionName] to handle route consistency for both GET and POST.
08:42 - Testing the Delete Operation
Demonstrating the entire delete flow: viewing the delete page, confirming the action, and refreshing the list.
10:00 - Wrapping Up the video
📌 What You'll Learn:
Adding a delete button for each item in the list.
Creating a delete confirmation view to prevent accidental deletions.
Writing both GET and POST actions for the delete operation.
Refreshing the page dynamically after successful deletion.
This is part of our Todo App tutorial series for beginners, where we cover each CRUD operation step-by-step!
0:00 - Introduction to the Delete Operation
Overview of the delete operation and why we need a confirmation mechanism.
Brief explanation of the DELETE HTTP method and route consistency.
1:32 - Adding a Delete Button in the Table
Step-by-step guide to adding a delete button for each record in the index view.
Linking the button to the GET Delete action.
2:00 - Creating the GET Delete Action in the Controller
Writing a controller action to fetch the item to be deleted.
Passing the fetched item to the delete confirmation view.
3:00 - Creating the Delete Confirmation View
Building a view that displays item details and asks for confirmation.
Adding buttons for “Delete” and “Cancel” options.
05:32 - Writing the POST Delete Action in the Controller
Implementing the logic to remove the item from the database.
Using [ActionName] to handle route consistency for both GET and POST.
08:42 - Testing the Delete Operation
Demonstrating the entire delete flow: viewing the delete page, confirming the action, and refreshing the list.
10:00 - Wrapping Up the video
 0:07:07
 0:23:52
 0:13:16
 0:18:27
 0:03:17
 0:03:45
 0:22:01
 0:17:35
 0:00:16
 0:03:01
 0:00:15
 0:00:33
 0:00:10
 0:00:15
 0:00:22
 0:17:23
 0:00:13
 0:00:23
 0:00:13
 0:00:13
 0:00:20
 0:00:18
 0:00:18
 0:00:18