filmov
tv
Arduino Tutorial 35: Understanding How to Use a Stepper Motor

Показать описание
You guys can help me out over at Patreon, and that will help me keep my gear updated, and help me keep this quality content coming:
In this lesson we show you how you can control a stepper motor using the Arduino. We show how to operate the motor in both directions and how to control the speed.
You can get the kit I am using for this series at the following link:
Follow these lessons on our WEB site:
#Arduino
In this lesson we show you how you can control a stepper motor using the Arduino. We show how to operate the motor in both directions and how to control the speed.
You can get the kit I am using for this series at the following link:
Follow these lessons on our WEB site:
#Arduino
Arduino Tutorial 35: Understanding How to Use a Stepper Motor
 0:10:07
Arduino Tutorial 35- Real Time Clock using DS1302 RTC Module
 0:14:16
LESSON 35: Passing Parameters and Variables by Reference in Arduino Functions
 0:31:25
Arduino Tutorial 37: Understanding How to Control DC Motors in Projects
 0:20:58
Arduino Tutorial 36: Understanding How to Use Tilt Switches in Your Projects
 0:05:44
Control Stepper Motor with Arduino - Tutorial
 0:00:40
Arduino project 😎^ Arduino #arduino #2022 #2021 #2023 #dc #arduinoproject #diy #foryou
 0:23:50
Arduino Tutorial 1: Setting Up and Programming the Arduino for Absolute Beginners
 0:06:18
🔥ЭЛЕКТРОННЫЙ LEGO РОБОТ на Arduino
 4:04:22
Arduino Course for Beginners - Open-Source Electronics Platform
 0:10:35
Arduino Workshop - Chapter Three - Creating Functions
 0:18:05
Arduino Tutorial 30: Understanding and Using Servos in Projects
 0:12:32
Arduino Uno R3: Digitalwrite your First Robot Car
 0:00:16
Amazing arduino project | Check description to get free money.
 0:08:34
LM35 with Arduino | Temperature Sensor | SdevElectronics
 0:09:07
How to Use Passive Infrared Motion (PIR) Sensors on the Arduino - Ultimate Guide to the Arduino #35
 0:01:33
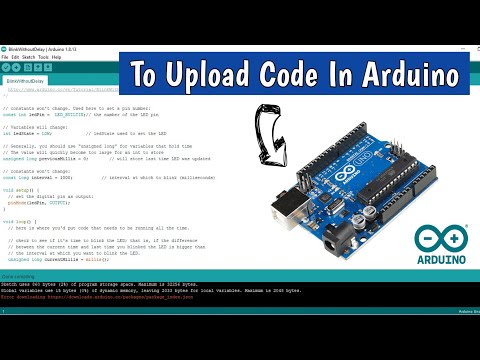
How to Upload Code(Sketch) in Arduino | Arduino IDE ⏩
 0:26:45
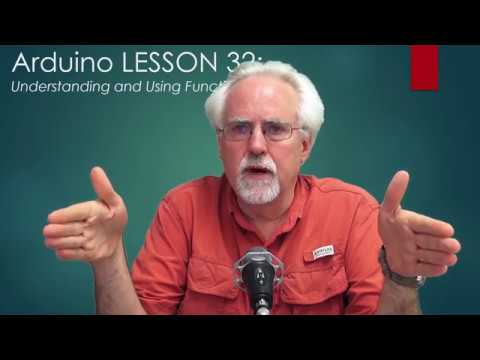
LESSON 32: Understanding Arduino Functions
 0:49:14
Arduino Tutorial 33: Understanding How to Control Servos with a Joystick
 0:38:08
Arduino Tutorial 2: Understanding How Light Emitting Diodes (LEDs) Work
 0:05:03
How to use Gas/Smoke sensor with Arduino | Gas leak alarm system
 0:09:52
What is Arduino and can I use it for my project? [Beginner Friendly]
 0:35:50
Learn Arduino in 30 Minutes: Examples and projects
 0:00:11
Stepper Motor Driver with Arduino Board
Комментарии